General features menu
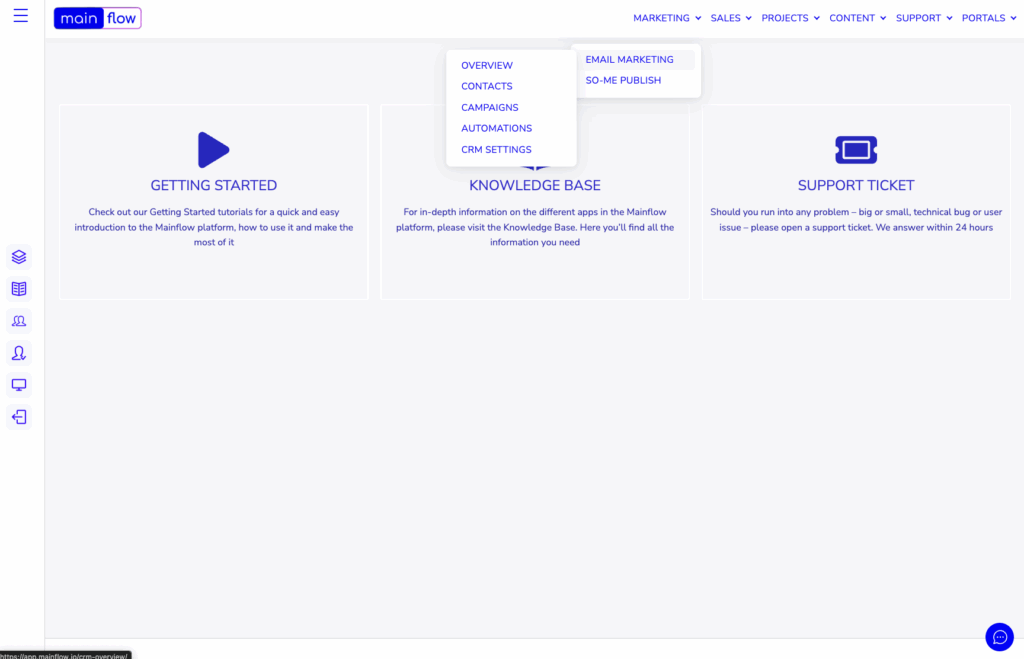
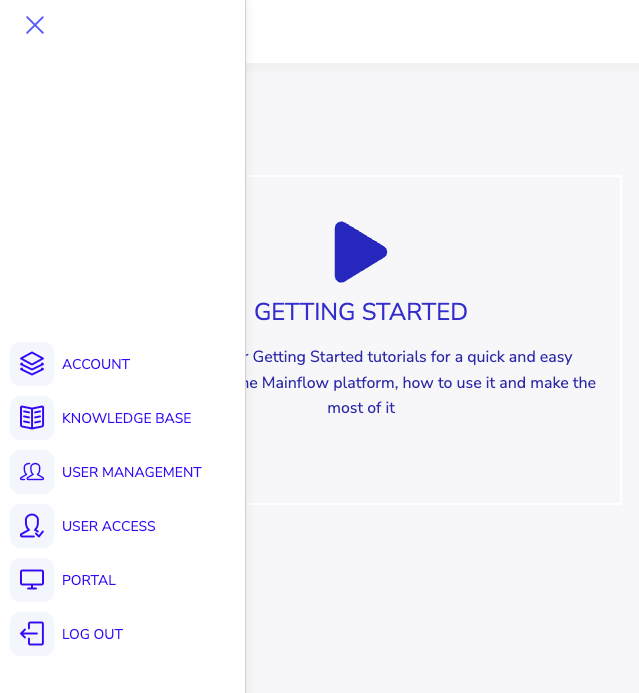
When you log into Mainflow, you’ll see the Dashboard and the two menu bars: One horizontal at the top for easy access to all the core applications and: One on the left hand side, containing all general features such as account management and user management. In this short Getting Started article we will be going over these features of Mainflow one by one, to help you get off to a good start.
Accounts area
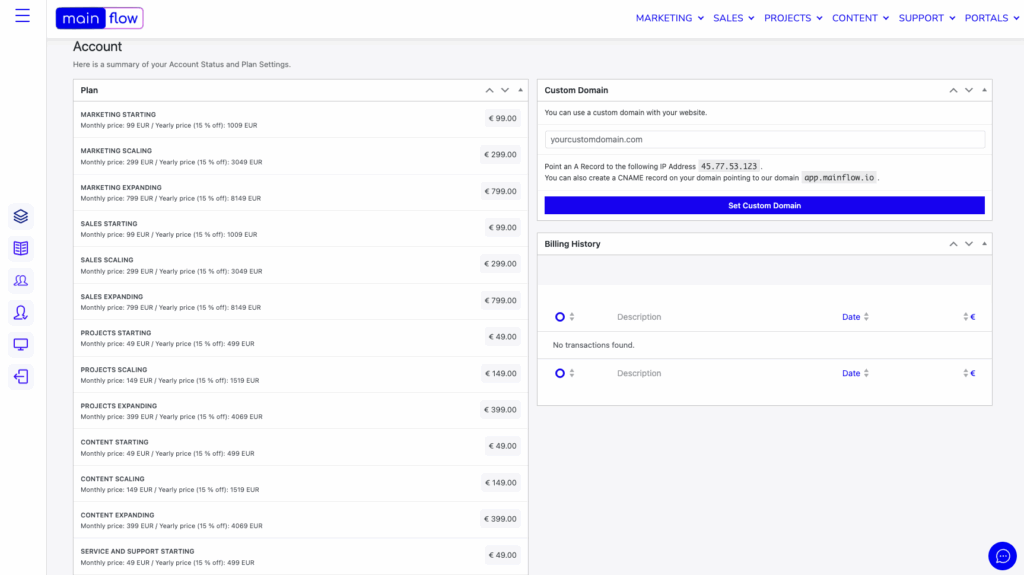
In the Accounts area you’ll find an overview of your current subscription plan, your billing history and you can set your custom domain there as well. You can change subscription plan with a few clicks and you can also delete your account entirely in the Accounts area.
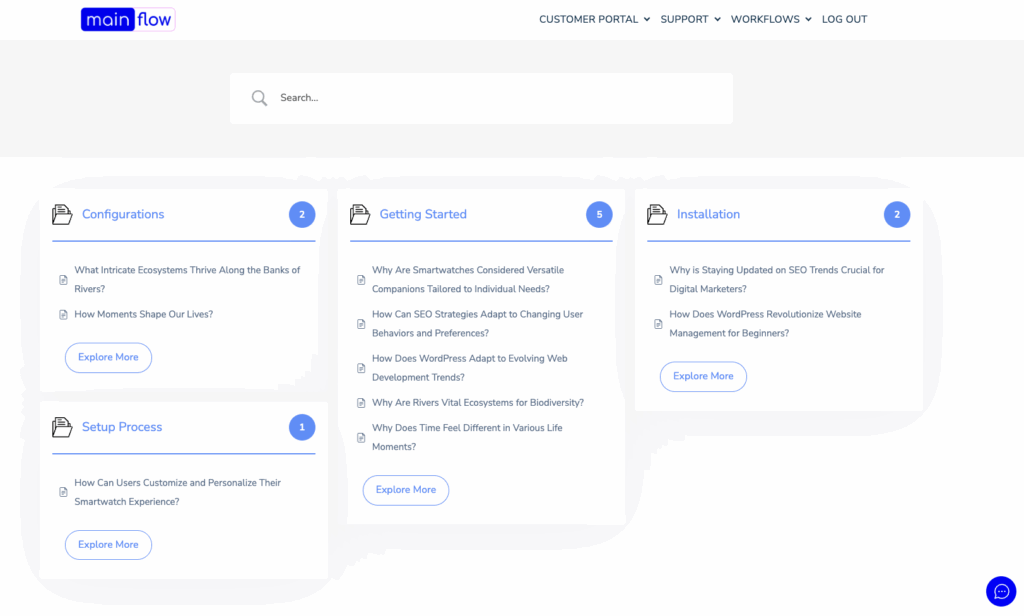
Knowledge Base
If you click the second menu item: Knowledge Base, you’re taken straight to the Mainflow Knowledge base in which you can search across +400 knowledge articles to find a speedy answer to any of your questions. The Knowledge Base is also available in-app by clicking the chat widget in the lower, right hand corner.

User Management
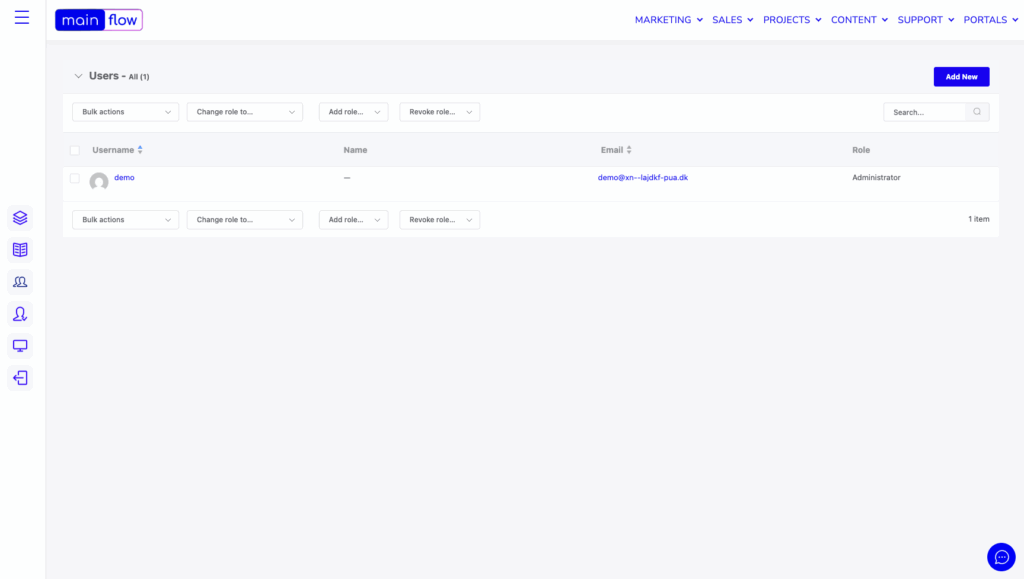
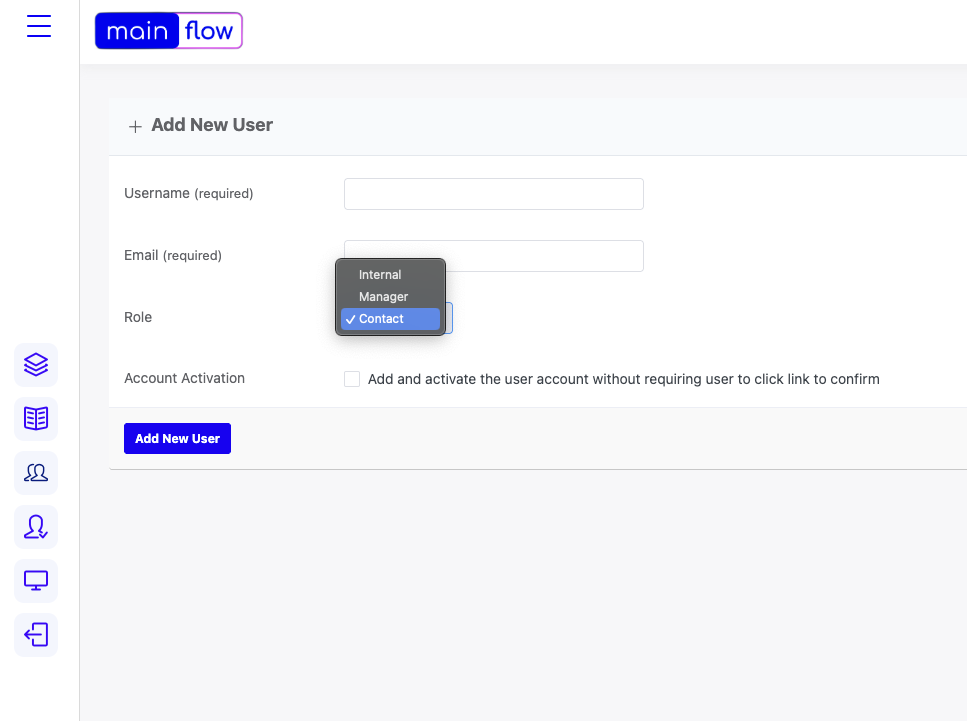
In the User Management section you’ll be able to add users to your Mainflow application. It’s important to know that users can have different roles on the platform, with varying access rights. When you need to add a new user you simply click ‘Add New’ in the upper right hand corner and you’ll be taken to the next step where you can add the user and set the role of the user.
There are 3 different user roles: Internal (a user role for your colleagues you can use to manage their access to the front-end facing parts of Mainflow relevant to them. For example logging into the Community app). The Contacts user role is for your customers or potential customers. These are all named Contacts in general across the Marketing and Sales apps. Your Contacts does not necessarily need to be added as a user and with a role. This is only necessary when you would like to have them log into one of the front-end apps (for example logging into the Portals app to hand over information to you or to edit and maintain their information). The role of ‘Manager’ is meant for those of your colleagues that should have the same access privileges as you (as an admin) and be able to log into the Mainflow Dashboard and manage the apps and users and more.
User Access
In the User Access section of the left hand menu, you can manage access to the front-end parts of your Mainflow application. The User Access management works together with the user roles mentioned above.
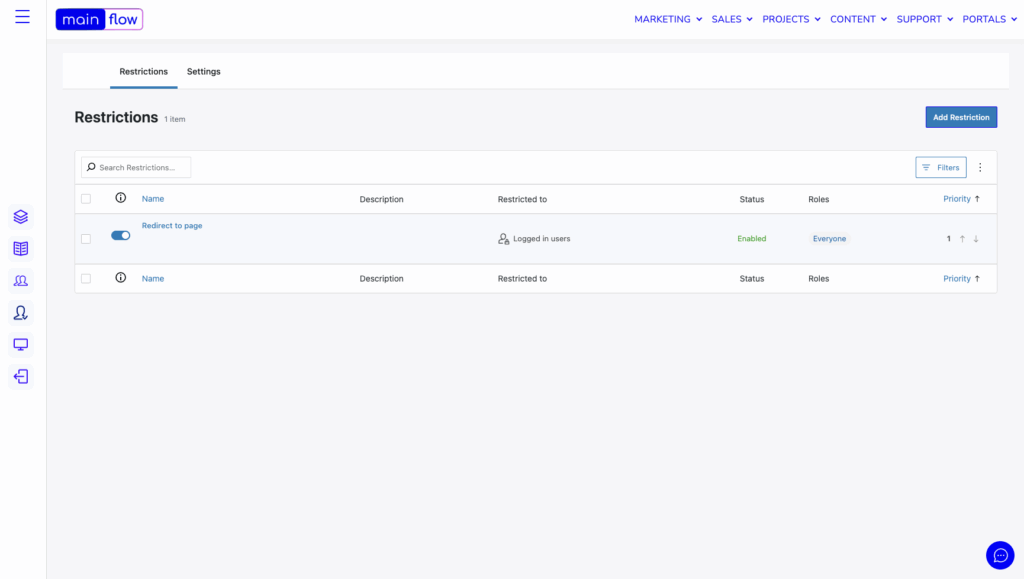
Using the User Access restrictions you will be able to define exactly what pages of the front-end features you would like to grant or restrict access to, based on either an entire user role (e.g. granting/restricting access for all users with a said role, for example the Contact role). The access can also be granted to specific, individual users (or restricted) and specified to select, individual pages in your front-end application.
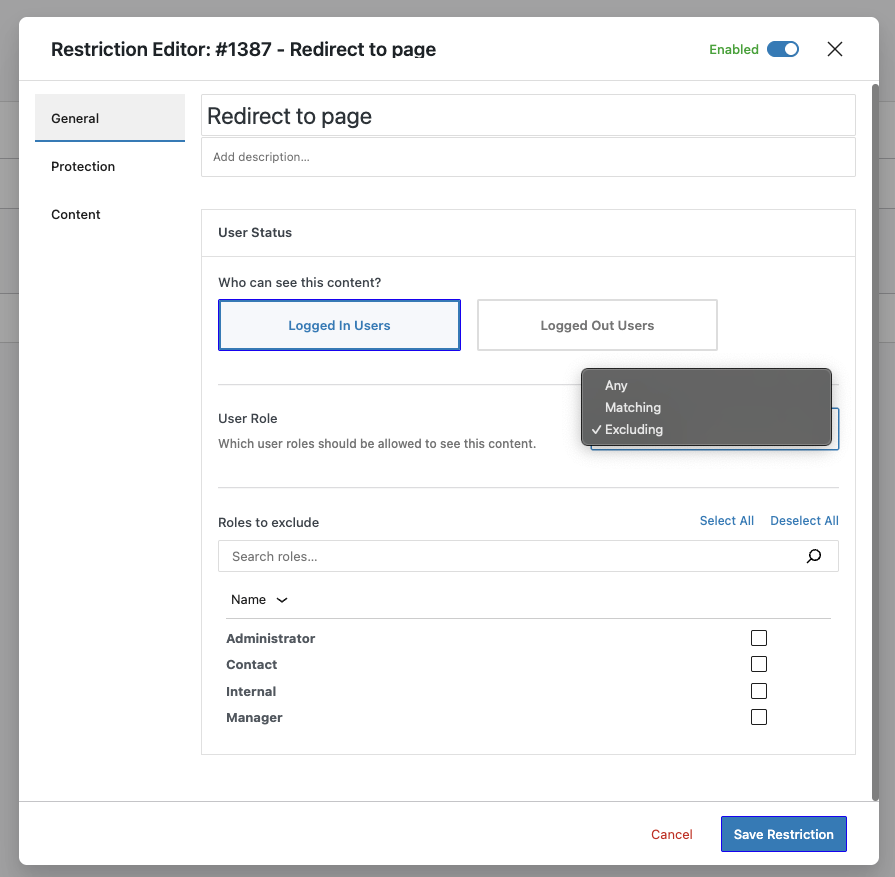
You’ll notice that there are 3 tabs in the User Access restriction menu: General, Protection, and Content. Each tab holds various parameters that can be set to protect access to your pages. In the General tab you define WHO can access your front-end pages (or be restricted from doing so). Access can be defined by way of logged in users, logged out users and specified user roles.
After having set things up in the General tab, it is now time to head over to the Protection tab. Here you’ll see the below features:
Using the Redirect protection option

The Where will the user be taken? gives you 3 ways to handle visitors who aren’t allowed to view the content.
- Login & Back
- Home Page
- Custom URL
Login & Back (default) #
The Login & Back option redirects unauthorized visitors to the login page. The visitor must log in with a role that matches your restriction. If the logged-in role matches, Content Control automatically sends them back to the original post/page.
Home Page #
The Home Page option redirects unauthorized visitors to your site’s homepage. If you use the rules Content Is A Page or Content Is The Home Page, you must add AND Is Not The Home Page (exclude the home page) to avoid a too many redirects error.
Custom URL #
This Custom URL option redirects unauthorized visitors to the URL you enter here (see the screen capture below). Make sure your custom URL is valid and working. Be careful to check your content rules. They must not include your custom URL to avoid the too many redirects error.

Above: You can enter any valid URL for the Redirect Protection.
Click Save Restriction #

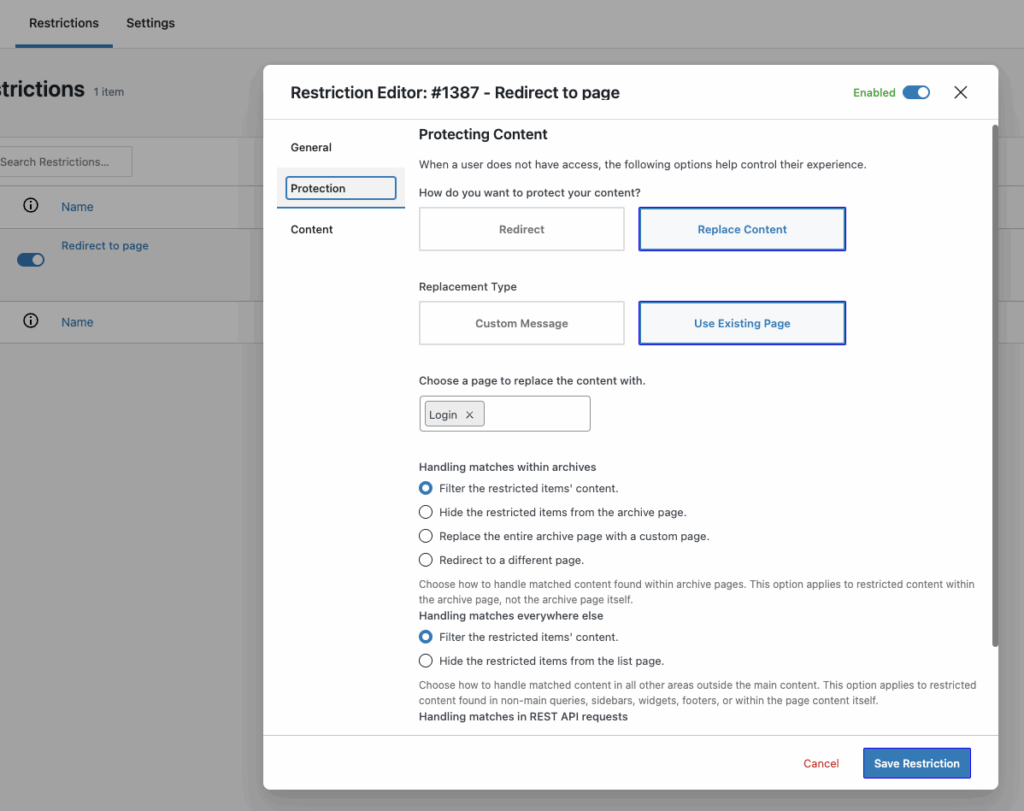
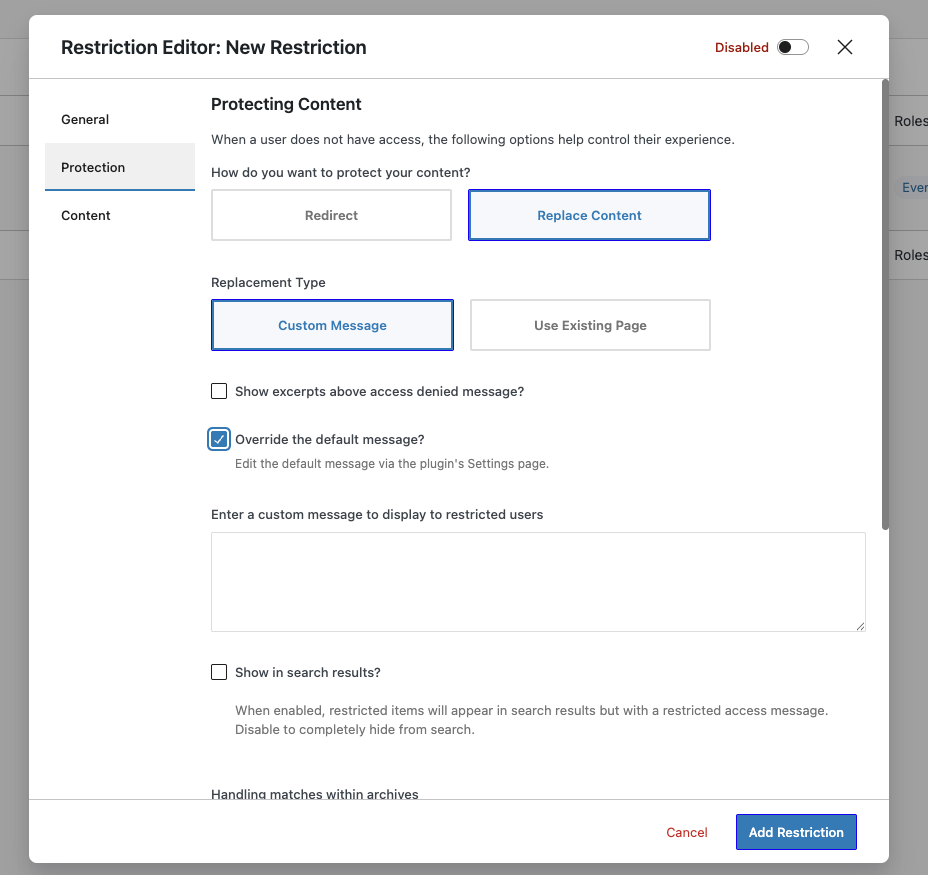
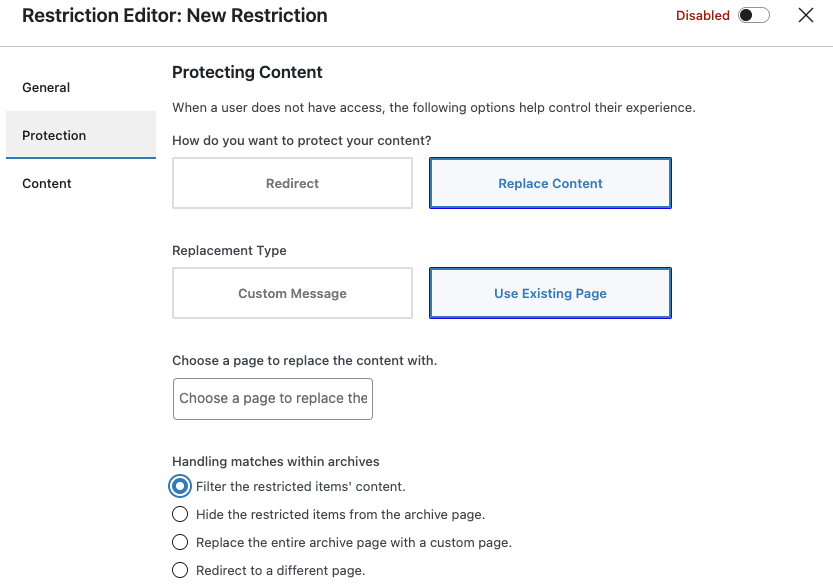
Using the Replace Content option
Utilizing the Replace Content option let’s you protect your content in two ways: 1) By replacing the protected content with a Custom Message that you can type in in the text box and 2) By replacing the protected content with another Existing Page of your choice. It could be an existing landing page telling the visitor to sign up for your services before the person can gain access.
Final step in managing user access to your content is to define what content to protect. In order to do this, navigate to the Content tab in the modal and set up one or more rules to protect your content.
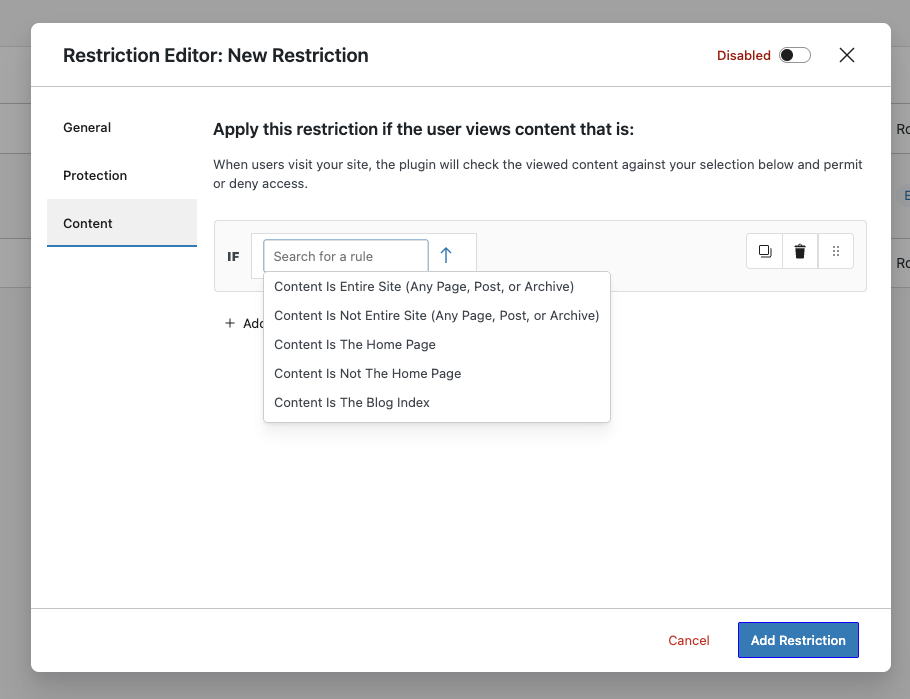
A commonly used rule is ‘Content is a selected page’ – after having selected this rule you will then be able to specify which exact page you would like to restrict access to. But you can also add more rules and of course choose other rules. As a starting point, if you are on a Mainflow subscription plan with front-end facing features and pages, these will by default be restricted from the public and only accessible by you and the users you add to your Mainflow application. The rule used is ‘Content is entire site’. You can modify this to fit your needs when getting set up.
The Portal menu item
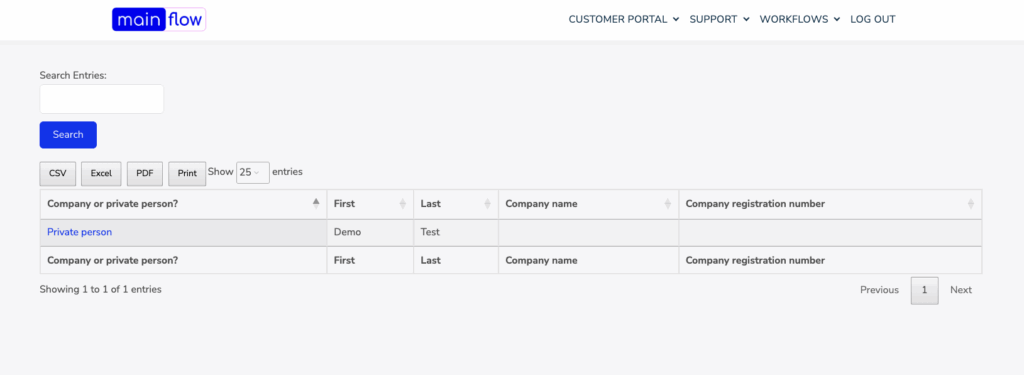
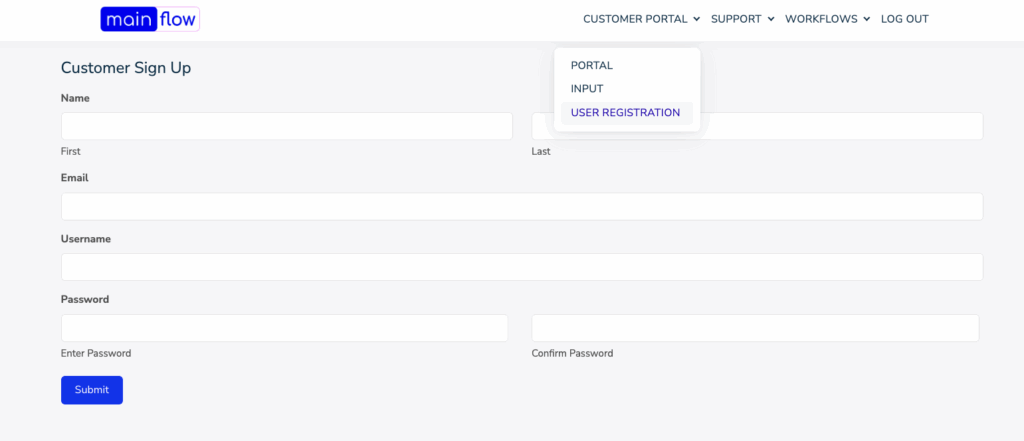
Clicking the Portal menu item on the left side menu will take you to the front-end facing parts of your Mainflow application. This is where you and your colleagues and customers can log in and use various features of the Mainflow application, depending on your subscription plan. The below example is based on the Full Suite subscription plan where you have access to all applications and hence also all front-end facing parts of Mainflow. This means that you can let your colleagues and customers enter and use the Customer Portal and the Support Area and not least the associated features in these areas. In the Customer Portal area you’ll see 3 menu items: the Portal itself, a Input item and a User Registration menu item. These sections work together to form the Customer Portal feature: The Portal feature let’s users log in and update and edit information that they have handed over to your. By nature, this can only happen when a user have handed in information in the first place and created an account (or you have added them as users). For this, the Input and User Registration features is available for your end users.
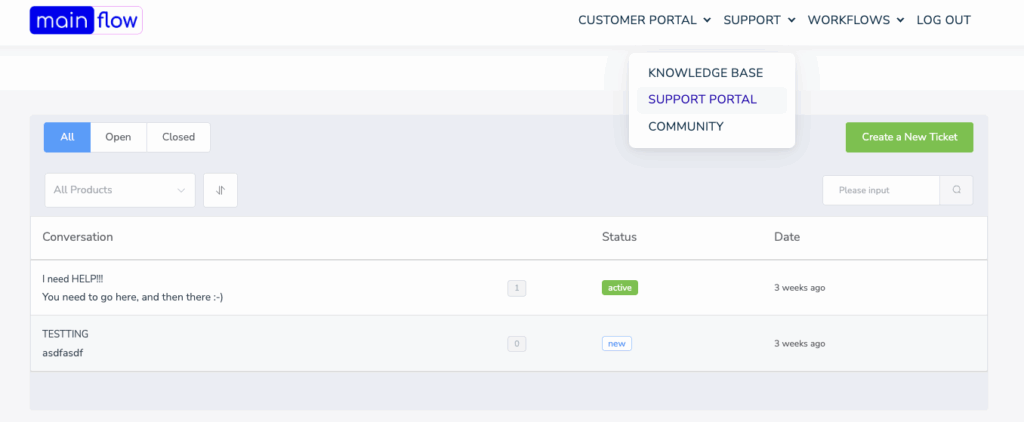
In the Support section you’ll see 3 features: Knowledge Base, Support Portal and Community. These can all be accessed by your customers, business partners or colleagues, depending on your situation.
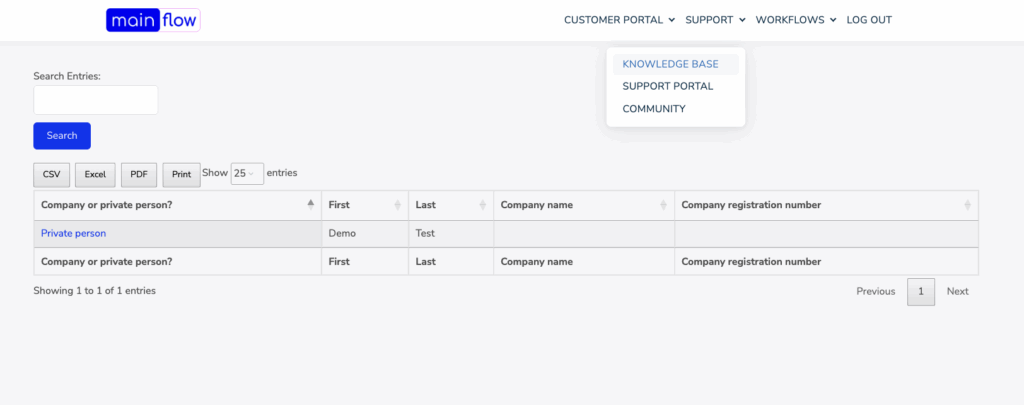
In the Support section you’ll see 3 features: Knowledge Base, Support Portal and Community. These can all be accessed by your customers, business partners or colleagues, depending on your situation. The Knowledge Base can be set up and edited inside the Mainflow Dashboard and is out of the box deployed to your customers or end-users in the front-end, for easy access to your help articles and content.
In the Support section you’ll see 3 features: Knowledge Base, Support Portal and Community. These can all be accessed by your customers, business partners or colleagues, depending on your situation. The Support Portal is also set up out of the box and can (after having created a user account) be accessed by your customers. In the Support Portal your customers can open support tickets fro you and your colleagues (agents) to respond to from inside the Mainflow Dashboard.
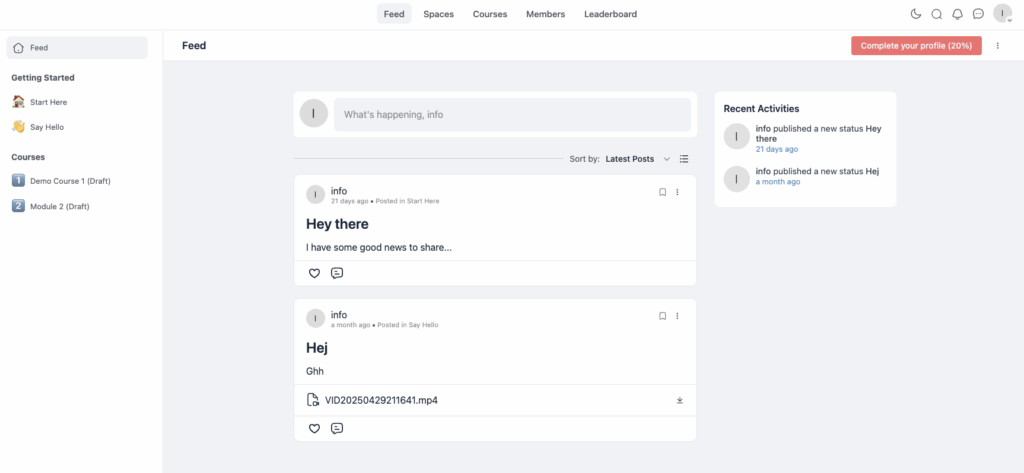
In the Community feature you can have everyone needed join any or all Groups and Spaces, for easy knowledge sharing and collaboration between you, your business partners, your customers and anyone else you or your associates collaborate with. Access can be granted and restricted to any or all Groups and Spaces and for any or all users selectively. All Groups and Spaces can be configured and customized from within the Mainflow Dashboard, to fit your specific needs.