Mainflow lets you configure your documentation homepage, single doc page, & more with its advanced ready design features and ready theme layouts. Follow this step-by-step guideline below to find out how to configure the Documentation Homepage with mainflow.
Step 1: Configure Mainflow Documentation Homepage #
Before you get started, first you have to make sure you have installed and activated mainflow.
Next, you have to open your mainflow Dashboard and navigate to mainflow→ Layout → Documentation Page. From there, you can toggle on or off any of these features according to your needs.

There you will get Live Search, Search Result Image, Enable Masonry, Order Docs Post/Category Alphabetically, Number of Subcategories/Columns/Posts, Enable Post Count, Enable Explore More Button and more. If you wish to use any other Button label, simply write in the text inside the ‘Button Text’ field.

Step 2: Customize the Design of Documentation Homepage #
To customize the design of your knowledgebase documentation homepage, navigate to the mainflow Settings → Design → Customize in mainflow.

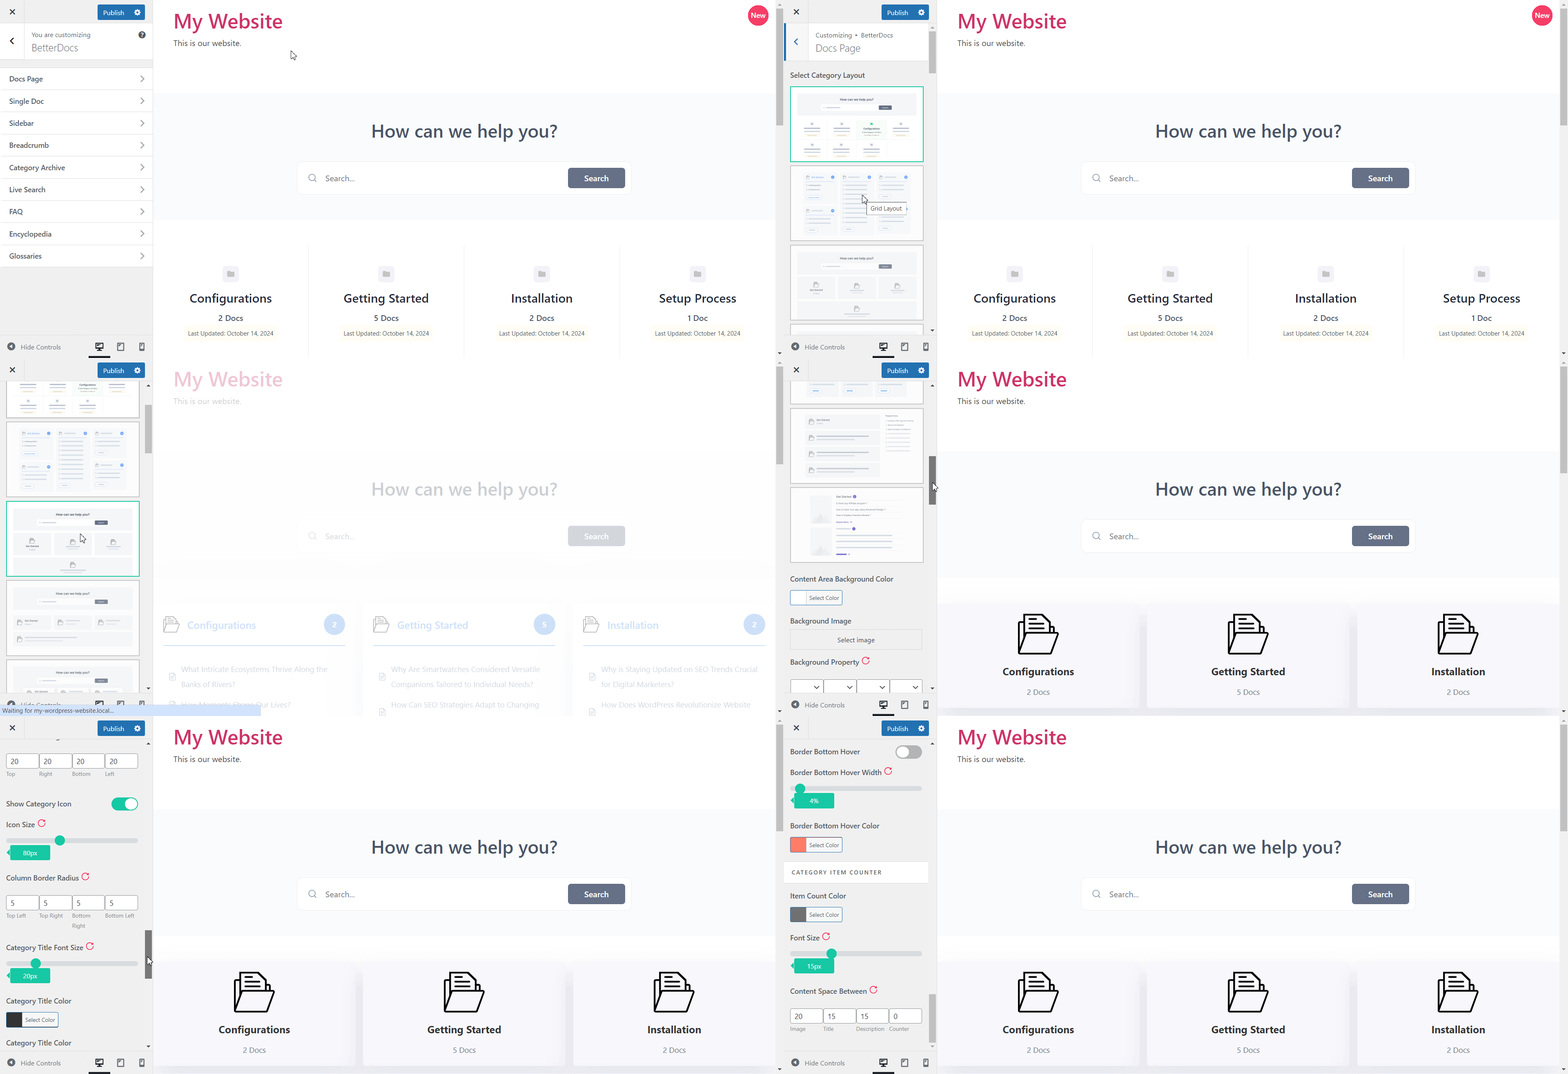
After clicking on the ‘Customize in mainflow’ button, you will be redirected to your WordPress Customizing panel. Here, you have to choose the mainflow→ Doc Page. You can choose free ready layouts along with other styling options.

Step 3: Final Outcome #
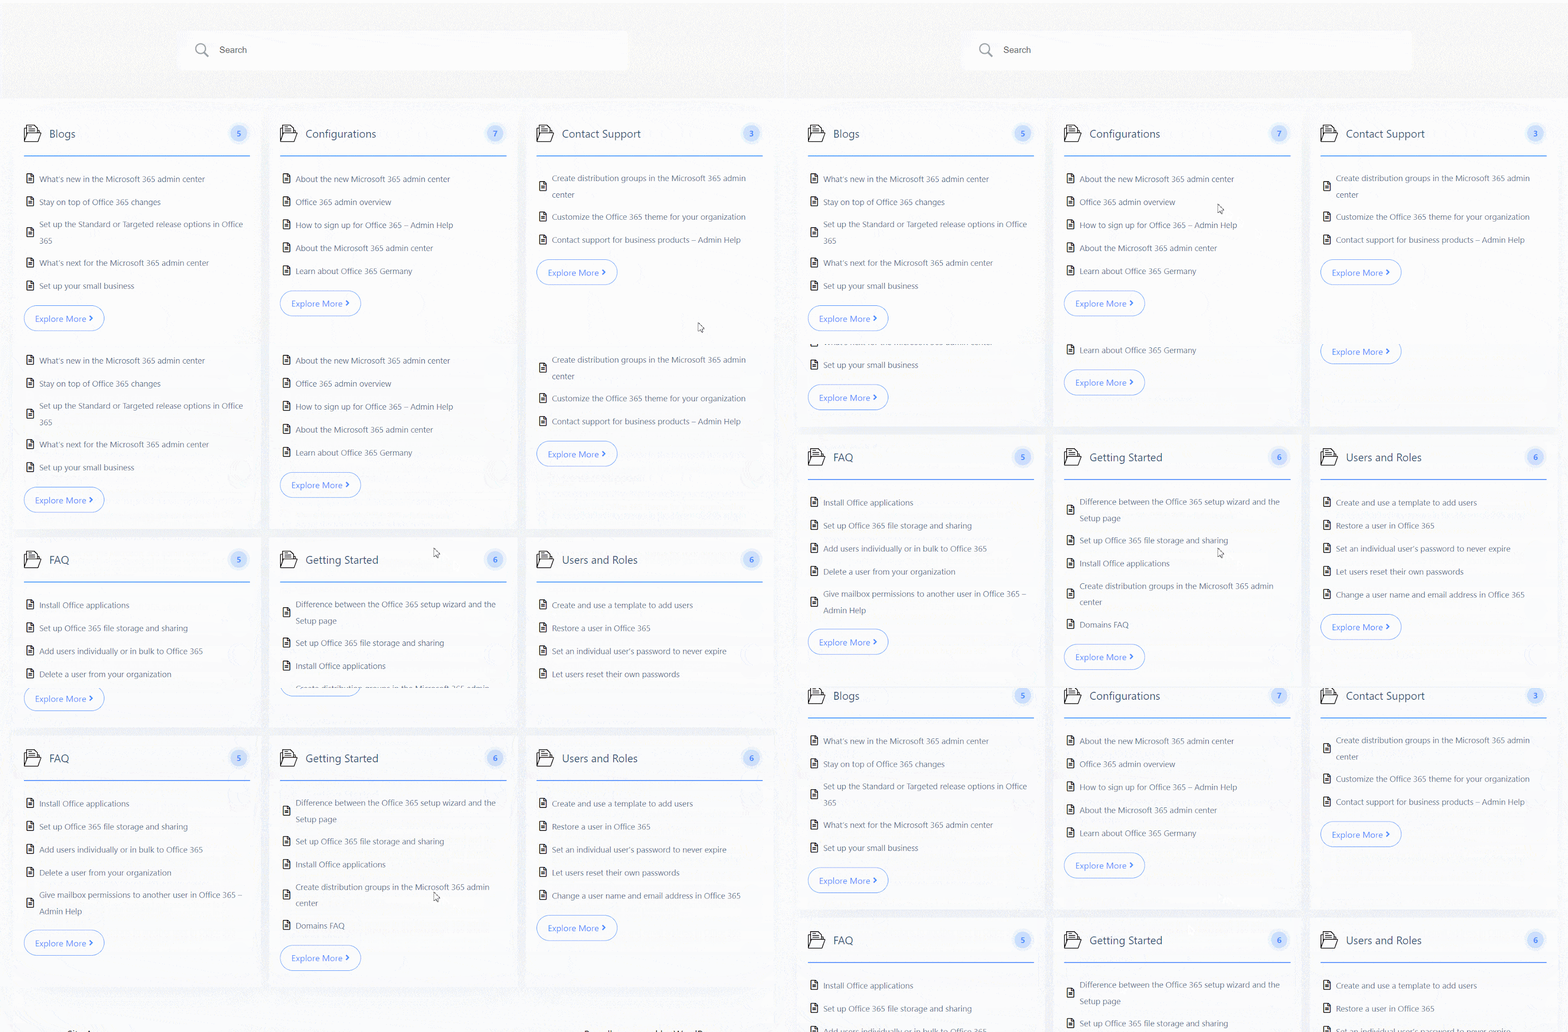
By simply following all the above steps, you will be able to create and design your documentation homepage with mainflow on your website.

That’s how you can simply configure and design the Documentation Homepage with mainflow without coding.
Getting Stuck? Feel free to contact our dedicated support team for further assistance.


