Customise Consent Preferences

We use cookies to help you navigate efficiently and perform certain functions. You will find detailed information about all cookies under each consent category below.

The cookies that are categorised as "Necessary" are stored on your browser as they are essential for enabling the basic functionalities of the site. ... 

Always Active

Necessary cookies are required to enable the basic features of this site, such as providing secure log-in or adjusting your consent preferences. These cookies do not store any personally identifiable data.

No cookies to display.

Functional cookies help perform certain functionalities like sharing the content of the website on social media platforms, collecting feedback, and other third-party features.

No cookies to display.

Analytical cookies are used to understand how visitors interact with the website. These cookies help provide information on metrics such as the number of visitors, bounce rate, traffic source, etc.

No cookies to display.

Performance cookies are used to understand and analyse the key performance indexes of the website which helps in delivering a better user experience for the visitors.

No cookies to display.

Advertisement cookies are used to provide visitors with customised advertisements based on the pages you visited previously and to analyse the effectiveness of the ad campaigns.

No cookies to display.

How can we help you?

View Categories

How to Create an Inline Form with Mainflow

Creating an inline subscription form is one of the most demanded features of a form builder. You can create an inline subscription form with Mainflow easily.

  • In this guide, we’ll be creating an inline form with four input fields: Name, Email Address, Radio Button, and Custom Submit Button.
  • At first, you might want to create a new form; you can follow this guide.
  • A pop-up window will appear and you can select a pre-built form to get started with. Let’s get started with a Blank Form so that we can do it from scratch.
  • Now from the Container field, drag and drop a Four Column Container field into the Editor.
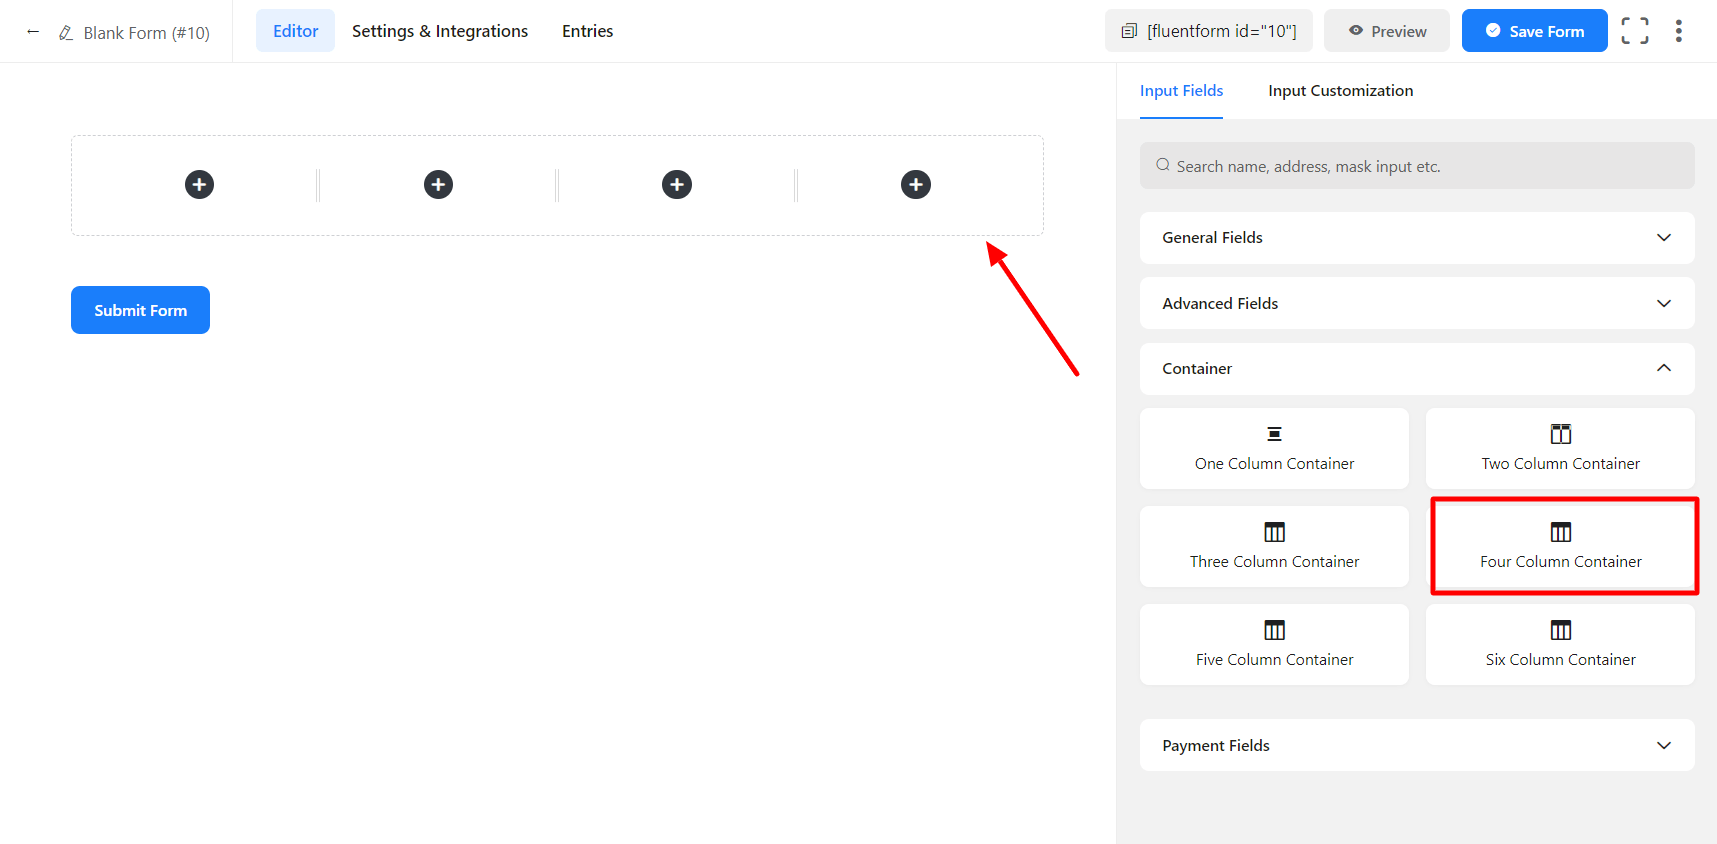
  • In the four-column containers, drag & drop the Name, Email, Radio Button, and Custom Submit Button fields.
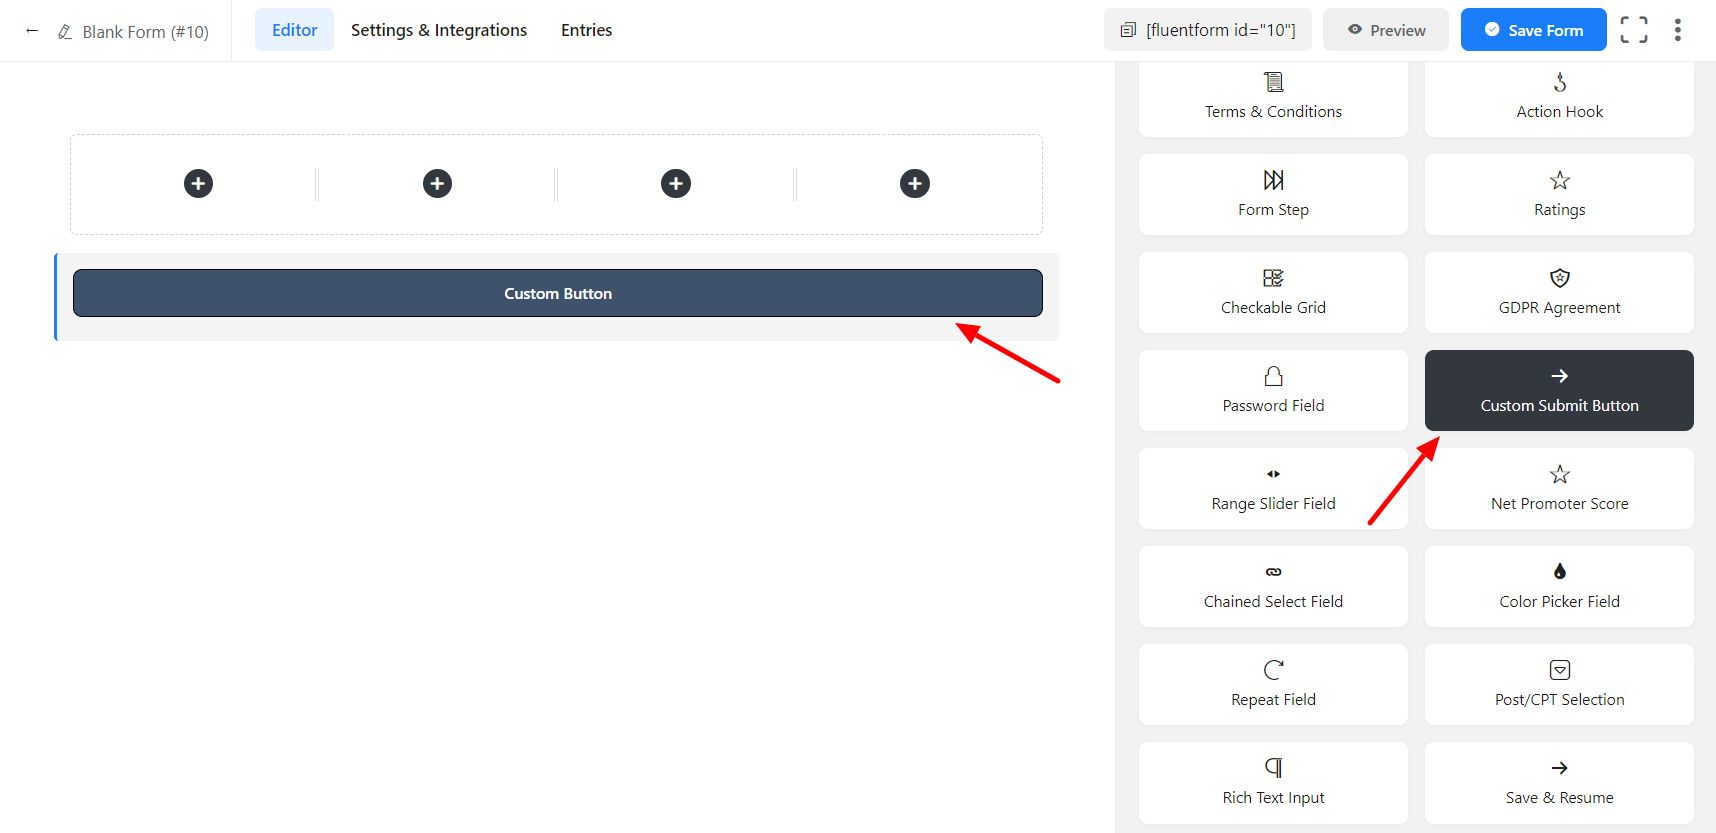
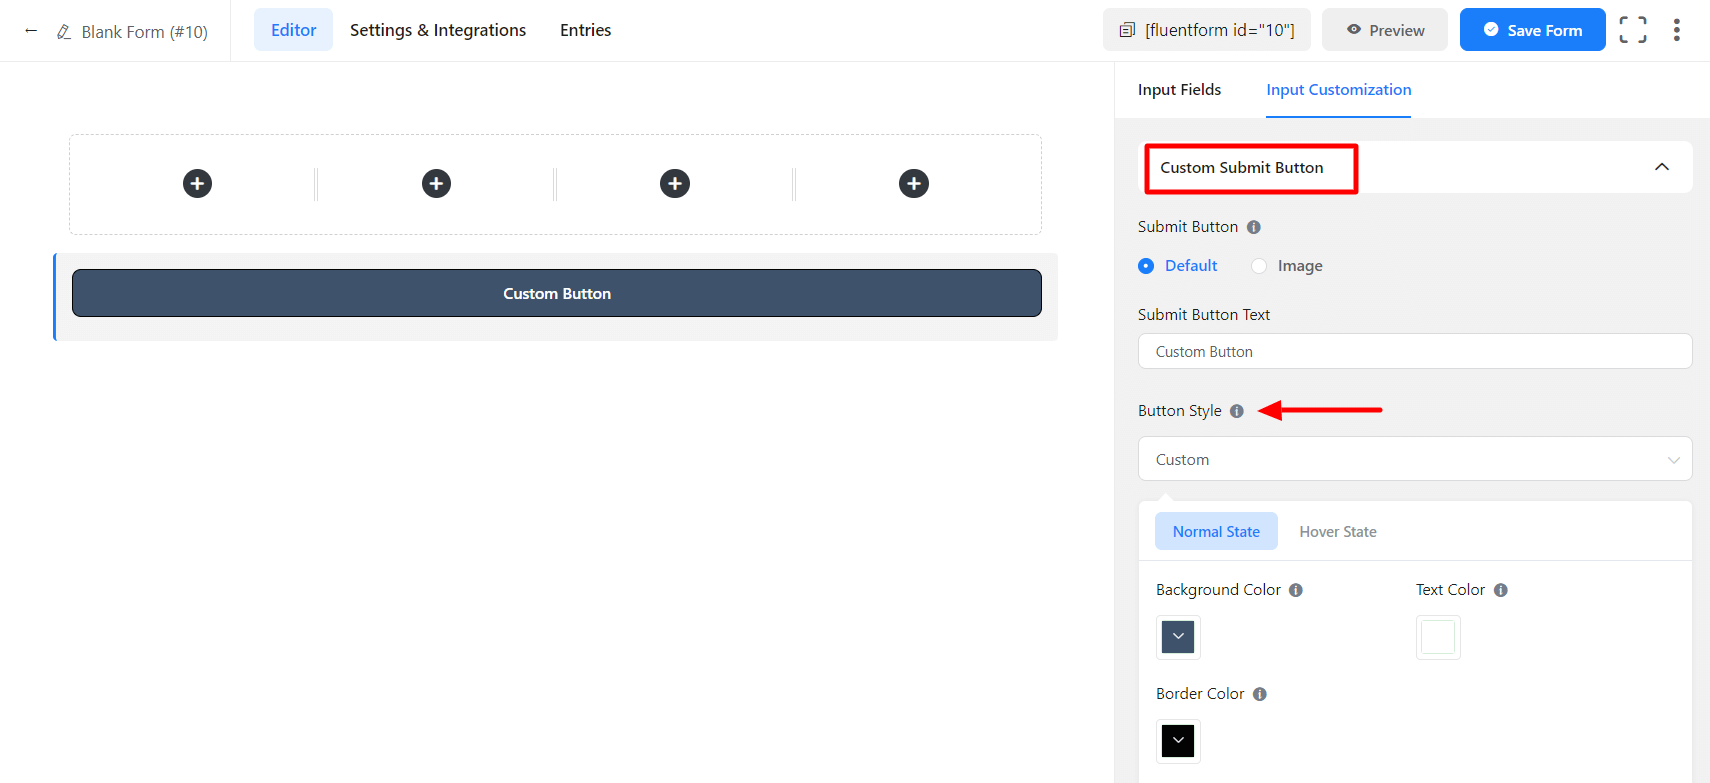
  • The default Submit button below each form will disappear when you add the Custom Submit Button to the fourth container. You can customize the appearance of the submit button to resemble the form by following the steps shown in the screenshot below –
  • If you’d like to change the appearance of the form to fit the website design, you can follow our CSS guide on how to design the form. Also, have a look at how to style a mainflow form.

Get an easy start
with MAINFLOW now

Everything you need to confidently grow and run your business. Create your free account now!

Free 30-day trial​
Cancel anytime​
Subscribe
CONTACT US

support@mainflow.io