Besides Primary, WordPress, Email, WooCommerce, LMS, Goals or Benchmarks, and Conditional actions, Mainflow also offers a few other actions to help you automate things in the WordPress Site, such as mainflow support Action.
This article will provide detailed information about all Support Action in mainflow Automation.
Mainflow Support Action #
To learn how you can use all the Support Actions in your mainflow, follow the steps with screenshots below –
First, go to the Automation section from the mainflow Navbar, and open your desired Automation by clicking on its title. Or, create a new one by clicking the + New Automation.
For example, I opened the Tag Applied automation funnel to explain all the Actions in CRM.

Now, click the Plus Icon, or just hover over it and click the Add Action / Goal option to get all the LMS Actions.

Now, a pop-up page will appear with the Support Action Blocks.
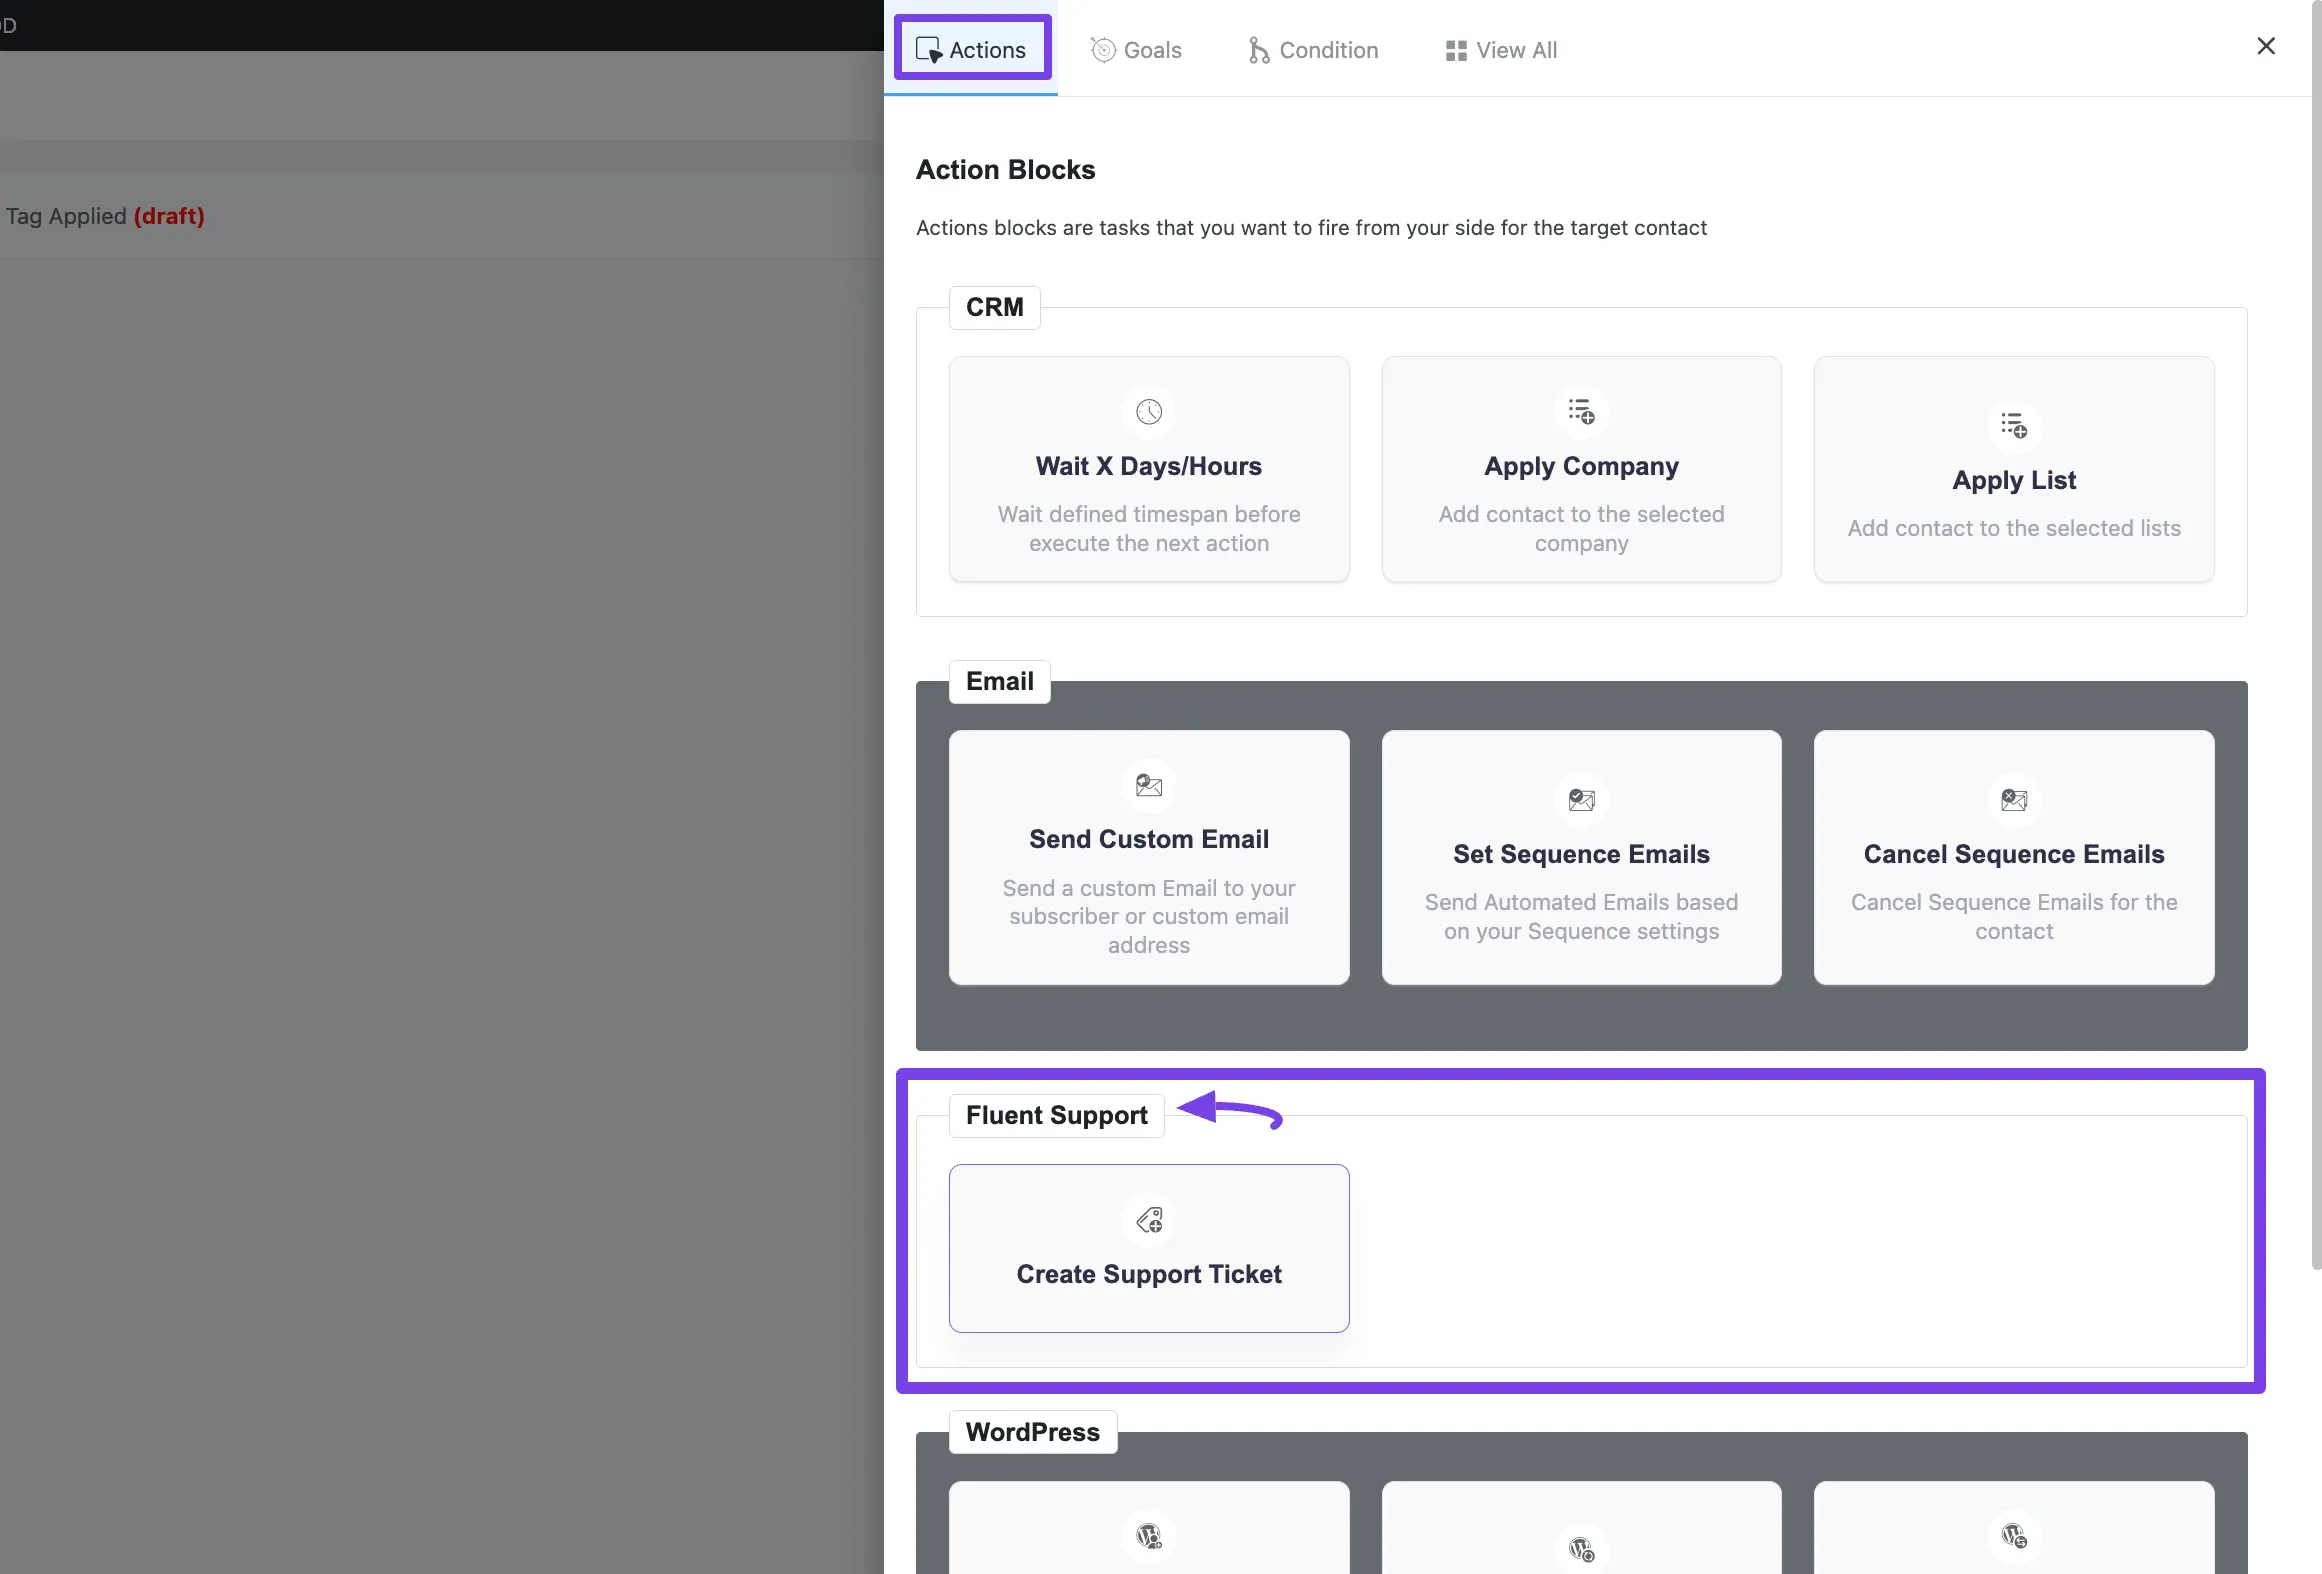
A detailed explanation of the Support Action mentioned above is given below –
Create Support Ticket #
This action lets you Add a support ticket for contact.
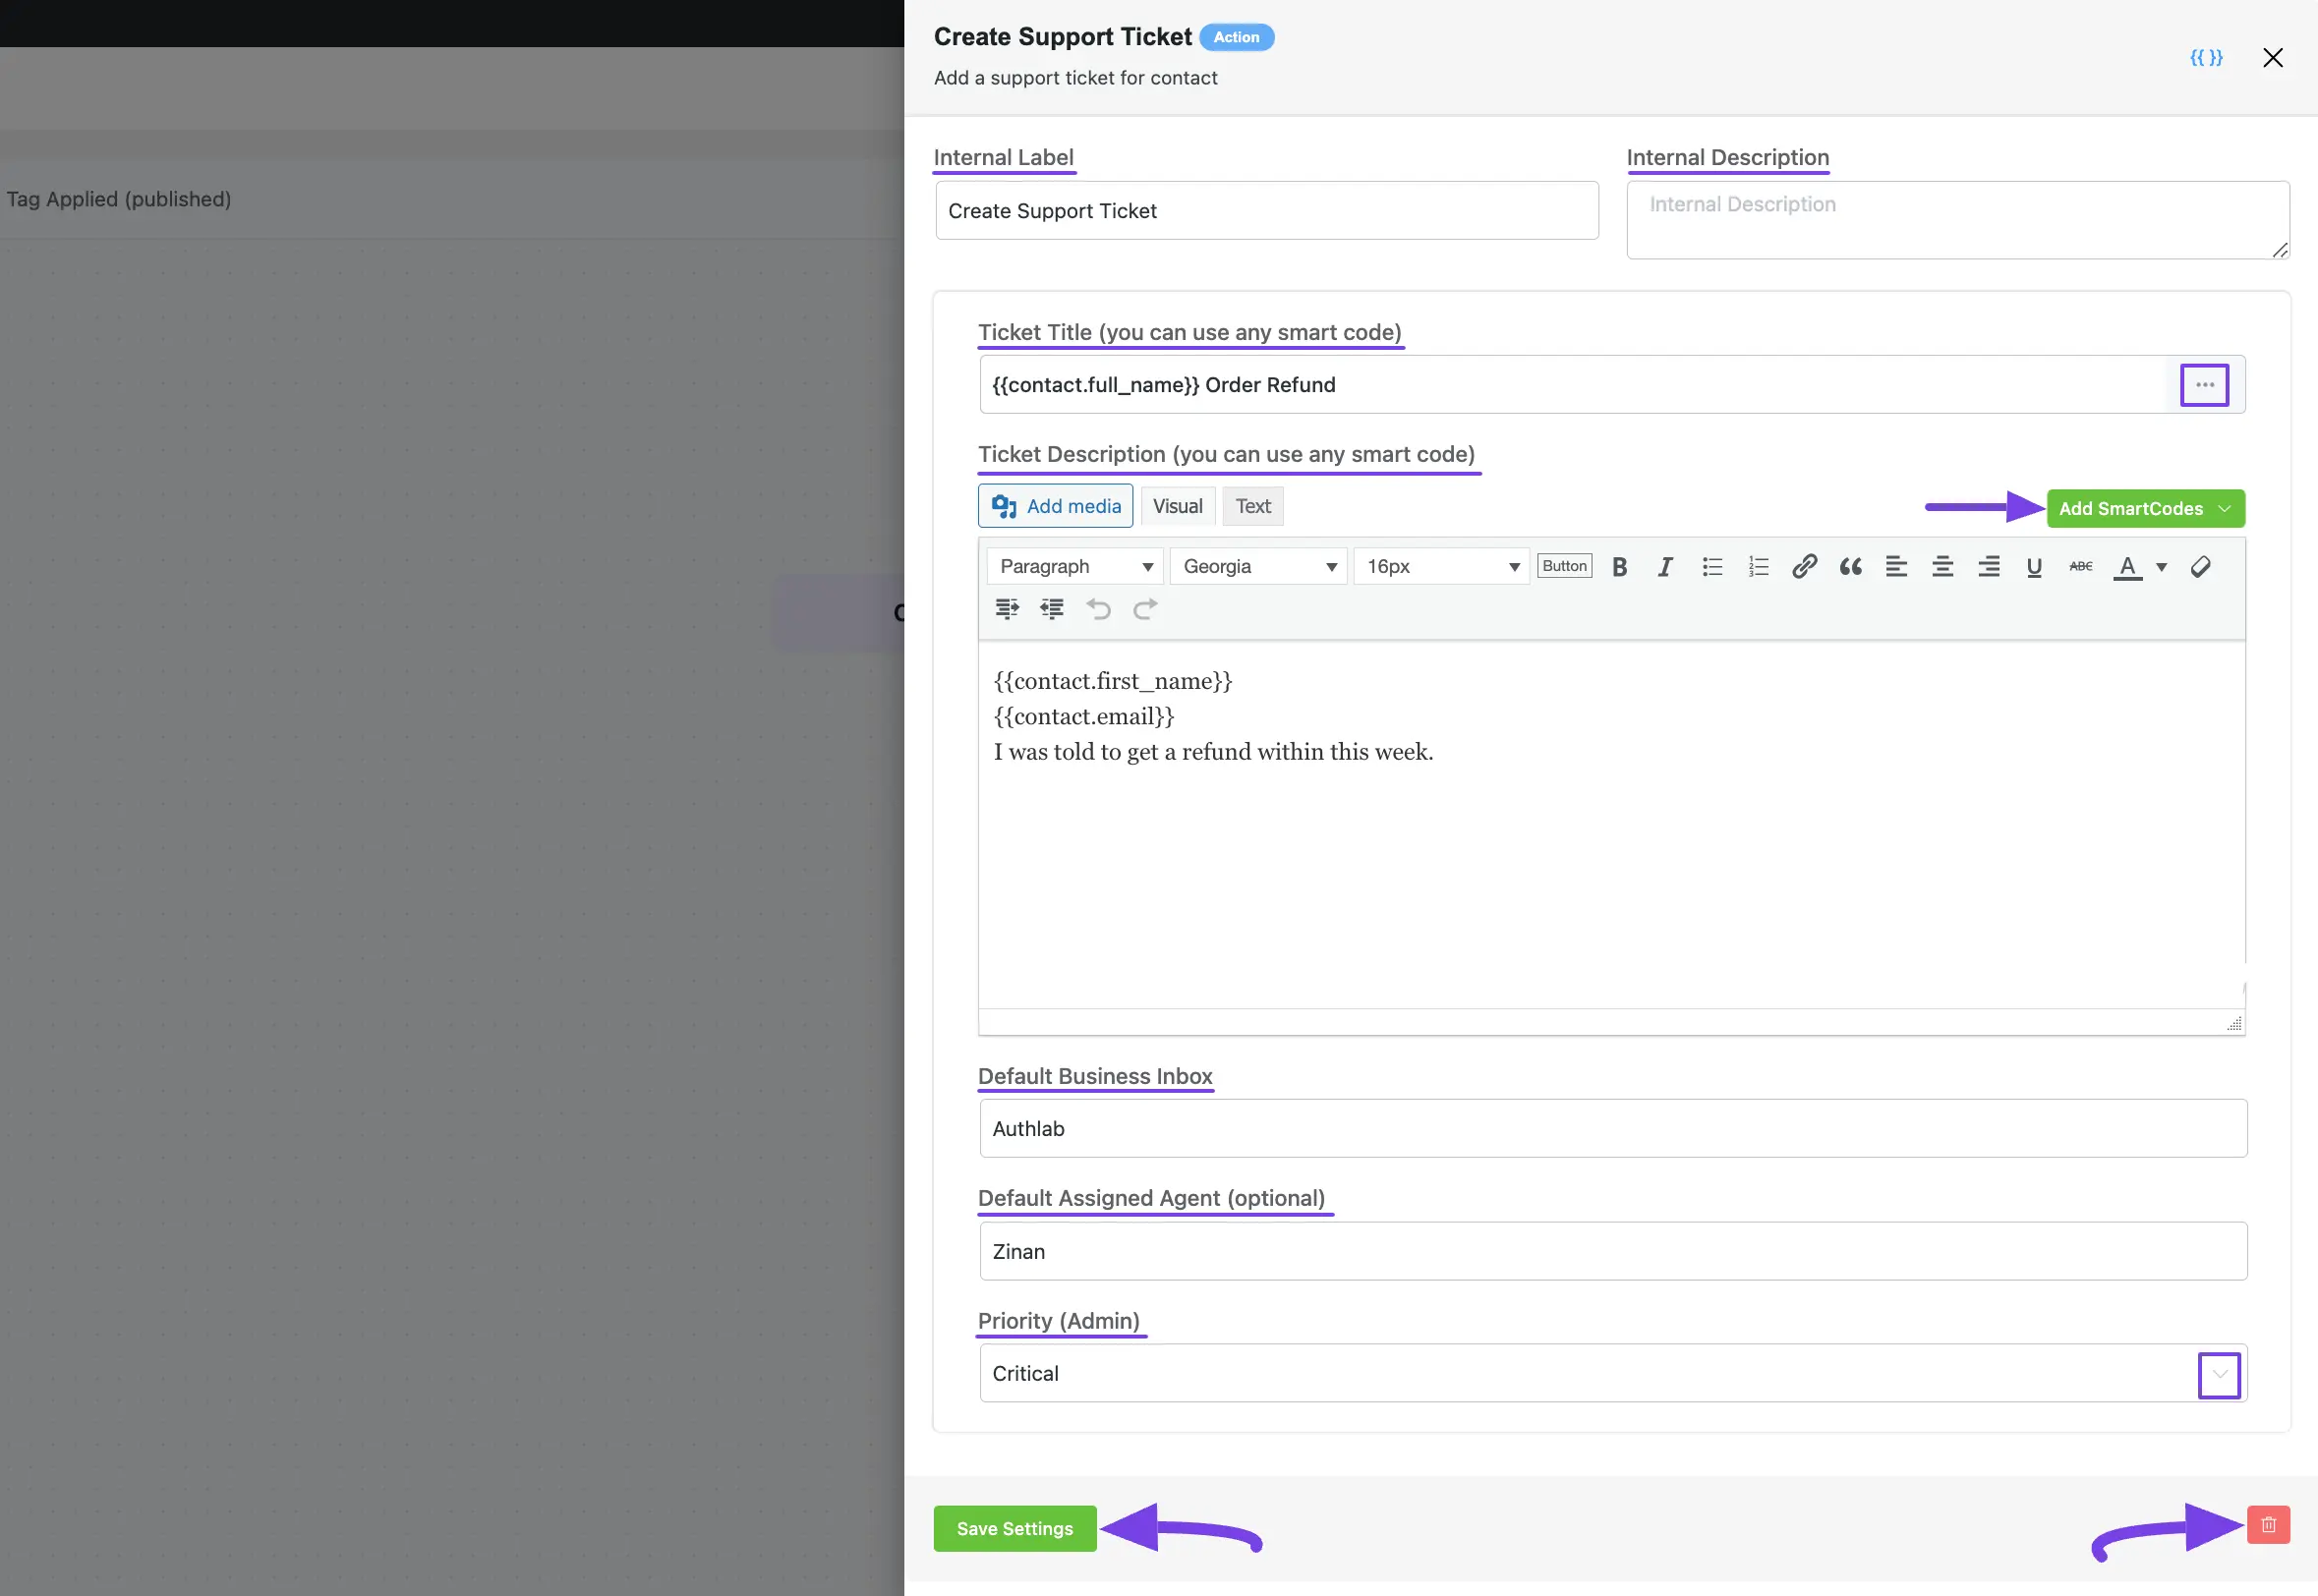
After selecting this Action, a tab will appear on the right-hand side with options to set up your action.
Here, are the Settings of the Create Support Ticket Action
- Interval Label: Here, a Name for the Action will be automatically added so you can easily find it later. You can change it according to your needs.
- Internal Description: Write a description that will be used as a Subtitle in the Block Diagram in the automation editor.
- Ticket Title: Add the Title for the ticket so you can easily find it in Support Tickets section. You can also use smartcodes by clicking the Three-dot-icon.
- Ticket Description: Also, add a Description or Ticket Body (i.e., content you want to add in the ticket). Here, also you can use the smartcodes by clicking the Add SmartCodes dropdown arrow.
- Default Business Inbox: Using this option, you can set the default business inbox where the ticket will be created. To learn more about the Business Inbox field, read this documentation of mainflow Support.
- Default Assigned Agent: This allows to assign support agent for the tickets that will be created in Fluent Support.
- Priority (Admin): With this option, you can set the priority level for your tickets and it will only visible to the Support Admin.
Once you are done, click the Save Settings button to save all your changes.
You can also Delete the action by clicking the Trash Icon if needed.
If you have any further questions, concerns, or suggestions, please do not hesitate to contact our support team. Thank you.


