Welcome to the Mainflow Dashboard! This is where you can manage your email marketing campaigns, automation workflows, and contact lists. In this guide, we’ll walk you through the different sections of the dashboard and show you how to get started with Mainflow.
Dashboard Overview
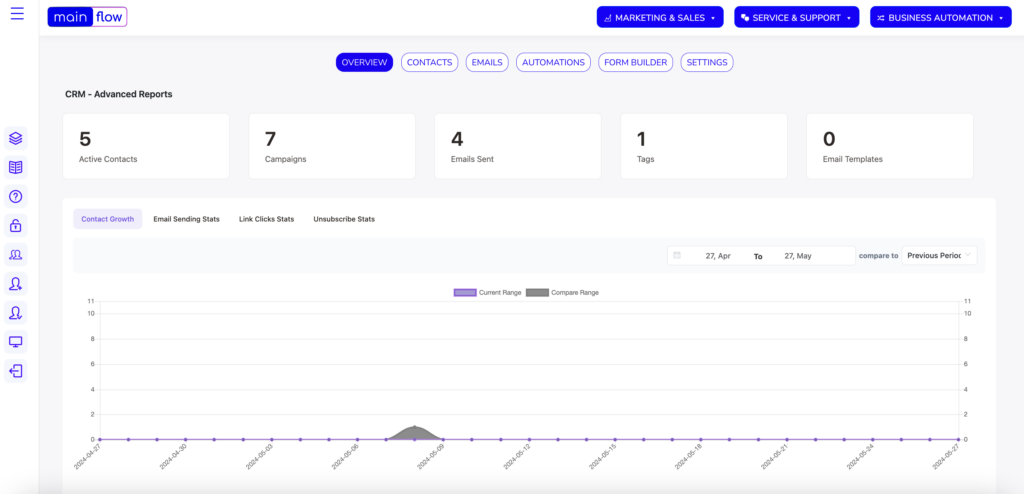
The Mainflow dashboard is divided into several sections:
- Overview: This section provides a quick overview of your email marketing performance, including your open rates, click-through rates, and more.
- Campaigns: This is where you can create and manage your email marketing campaigns. You can create new campaigns, view your existing campaigns, and track your campaign performance.
- Automations: This section allows you to create and manage automation workflows. You can create new workflows, view your existing workflows, and track your workflow performance.
- Lists: This is where you can manage your contact lists. You can create new lists, import contacts, and view your existing lists.
- Forms: This section allows you to create and manage opt-in forms. You can create new forms, customize your existing forms, and track your form performance.
- Settings: This is where you can configure your Mainflow settings. You can set up your email sending settings, configure your integrations, and more.
Getting Started
To get started with Mainflow, you’ll need to:
- Create a new campaign or automation workflow
- Add contacts to your lists
- Create opt-in forms to grow your email list
- Configure your email sending settings
Once you’ve completed these steps, you’ll be ready to start sending emails and automating your email marketing campaigns with Mainflow!