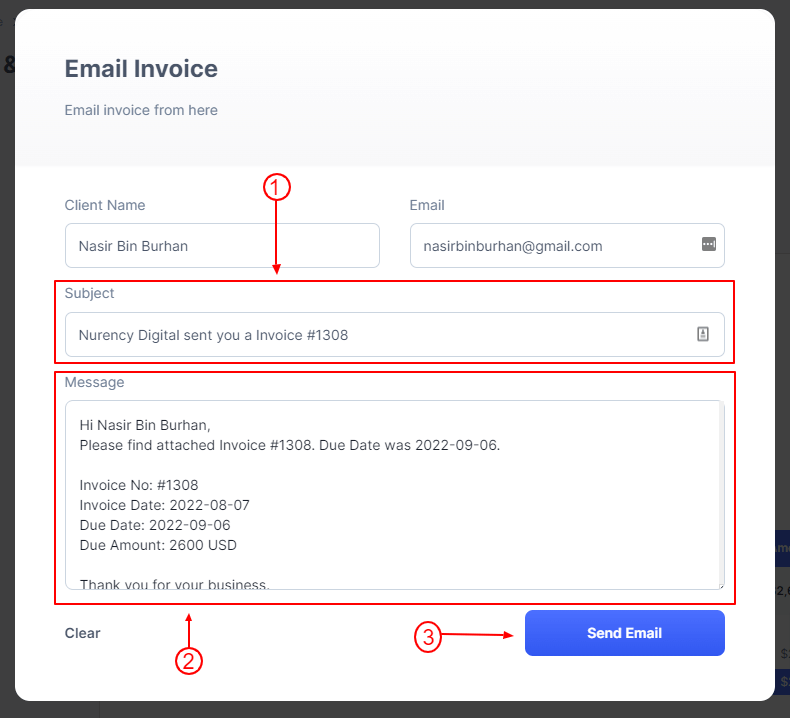
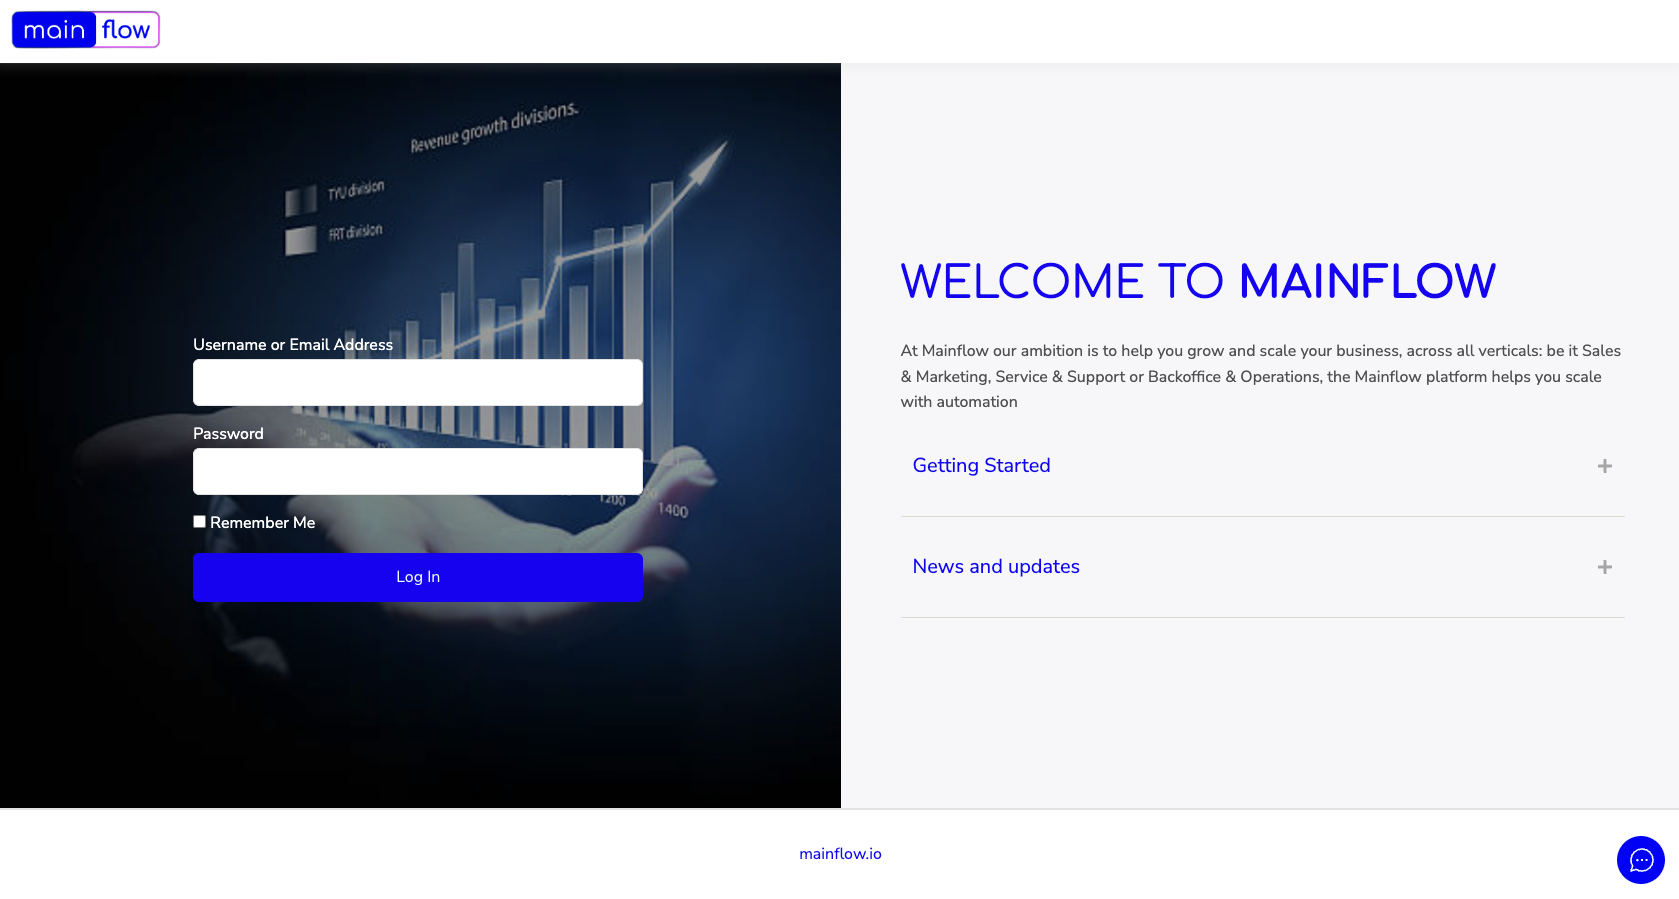
To create an Invoice just go to:
- Click on Sales Pipelines > Invoice
- Click on Create New Invoice or Let’s Start Creating button
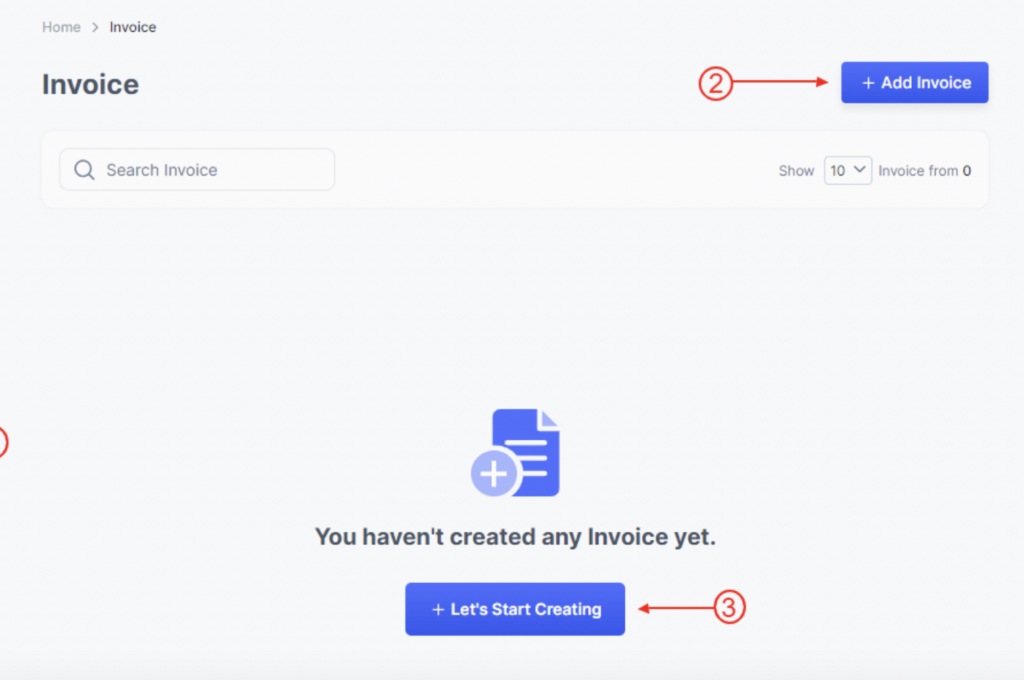
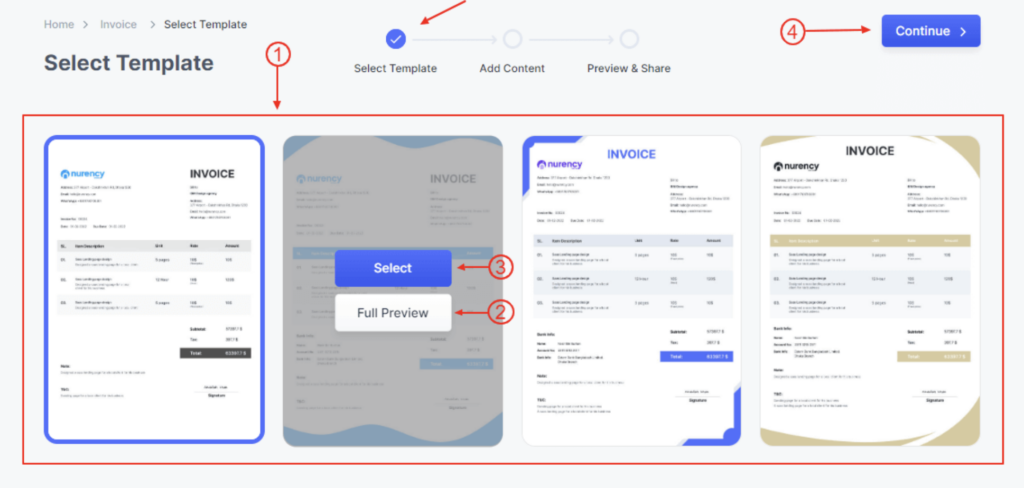
Then it will move to the Select Template tab
- List of Invoice Templates you will see here.
- In the Full Preview button, you can see the Demo.
- You can select a template by clicking the Select button.
- Then click on the Continue button to go next step.
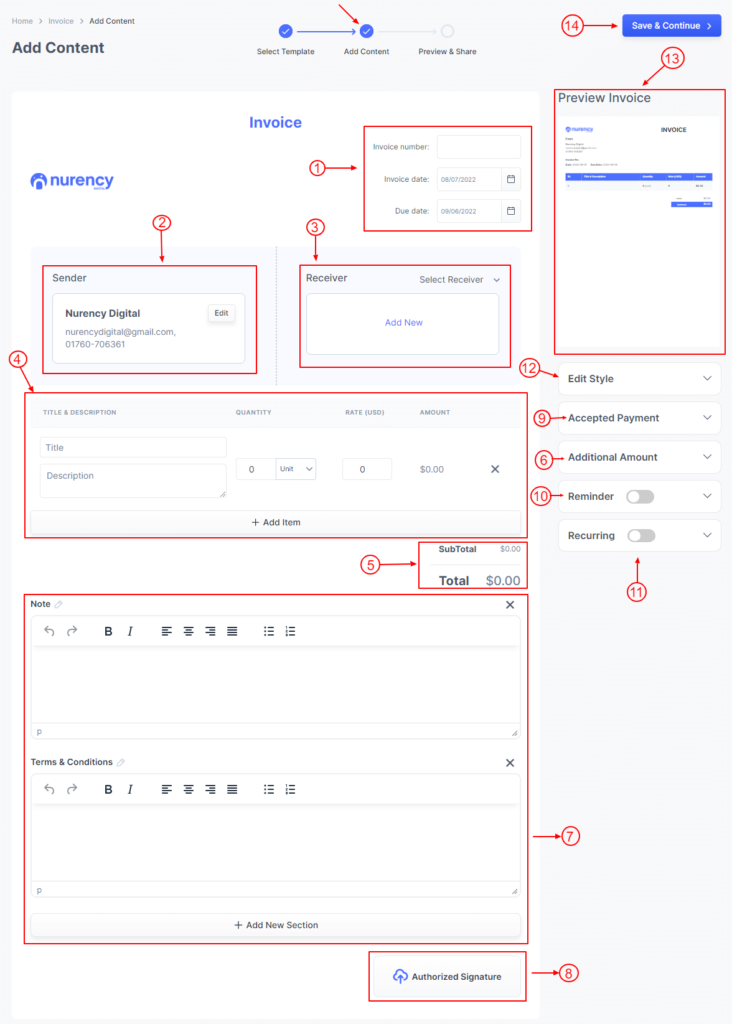
Then it will move to the Add Content tab. Here you need to fill up all the necessary information.
- Choose the Invoice date, Due date from here.
- Choose Business from here. From where you want to send your invoice.
- Choose Receiver/Client from here where you want to send your invoice.
- Add your necessary Invoice Items by filling Title, Description, Quantity, Quantity Type, Rate/Price etc.
- Here you will see Subtotal, add your Tax info here if needed.
- Add your short Note if needed.
- Add your Terms and Condition if needed.
- Add a Signature here uploading a signature image from your computer.
- You can change Invoice Primary Color from here.
- Here you will see this Invoice Live Preview.
- Then click on the Save & Continue button to go next step.
Then it will move to the Preview & Share tab.
- Here you will see Live Preview.
- Here you can Edit, Download and Print Invoice.
- Here you can Share and Send Invoice.
- Click on Send Email button to send email.
Then it will appear a mail sending form, here you can also change your necessary information.
- This is the Email Subject.
- This is the Email Description.
- Click on Send Email button to send Invoice to your Client.
