As we have seen that forms and mainflow work greatly together to manage Subscriptions and Contacts from opt-in-forms basic configuration and fluent form advanced configuration. But the case was that both of the plugins were installed on the same website.
In this tutorial, we will be learning how to collect leads from different websites or domains and centralize them within your mainflow dashboard. We will be collecting leads or data from only one remote mainflow Form Website. The same way can be followed to collect leads from as many remote or different Fluent Forms as you want.
For this purpose, we will utilize the feature of forms webhook integration and mainflow Incoming Webhooks.
Background #

As you can see in the above diagram we have installed mainflow on website1.com and mainflow Forms on website2.com. Please follow the below guide carefully to connect your mainflow with remote Fluent Forms.
Mainflow #
Create Incoming Webhook #
From your mainflow dashboard, navigate to the mainflow global settings and select Incoming Webhooks. From there, click the Create WebHook button as below.

Give a name for your webhook and select the lists and tags you want to assign to contacts through the webhook integration. Based on your preference, you can also set the mainflow contacts status to either Pending or Subscribed. The pending status will send a double-opt-in confirmation Email.

*Note: It is recommended to set up opt-in confirmation before sending marketing emails to your contacts. So if you haven’t acquired subscription confirmation from your contacts, you need to set contact status to Pending so that mainflow can send an opt-in email to your contacts. Customize the Double Opt-In settings if you want.
Click Create to save the webhook. Upon creating the webhook, mainflow will automatically map the contact fields and show you the details. You can also add or change the selected list, tags, or status here.
Data Properties or Field Keys #

Upon successful creation, you will see a success message on the top right corner and you will also see a newly generated URL that will be used to send data to mainflow and a section that will provide a list of Fields with Keys to be used to Map the Data. You can check contact in smartcode to see the available Keys (leave {{}} part while using in webhook).
Close the pop-up to get you your webhook request URL. To copy the URL, simply click the copy button. If you want to change the webhook configuration or delete it, you can also do it here by editing the webhook.

Sending Data #
Now it’s time to send the data from Forms to mainflow using Webhook.
Enable Forms Webhook #
At first, enable the webhook module in Forms. Go to mainflow Forms > Integrations and enable the WebHooks module.

Create Webhook #
Please check how to create a form with mainflow to create a new Forms and after enabling the WebHook module as the above step now go to the settings of the form you created and you will see the WebHook option in the left sidebar where click on the +Add New button to create a new webhook in the Forms as below.

Mapping Data #
Now you will see a few options to Map and Configure the settings. Please check the below table to see the minimum recommended required settings to send the data to mainflow.
| Option | Value |
| 1. Name | Provide a name for the webhook as an identifier. |
| 2. Request URL | The mainflow WebHook URL we created earlier. |
| 3. Request Method | Set it to POST |
| 4. Request Format | Set it to JSON |
| 5. Request Header | Set it to No Headers |
| 6. Request Body | Selected Fields because we need to map the Keys and Values as we saw earlier. |
| 7. Request Fields | The minimum required field to send the data is the Email Address and the key is email |
FluentCRM required webhook parameters
General Fields #
The general fields are the contact properties referred to SmartCode earlier.
Additional Fields #

The additional fields can be the custom contact fields that you configure as you want and those are also able to be mapped in the webhook.
Conditional Logic #

Another powerful feature of the Forms is the conditional logic in forms. You can use this feature here and in the above screenshot, we put a condition that we will send the Webhook data only from the Country containing Bangladesh. Otherwise, we will not send any data from Forms to mainflow. Configure this feature as per your requirements or leave it process all the data.
Once you’re done configuring the webhook feed, click Create WebHook Feed.
Form Submission #
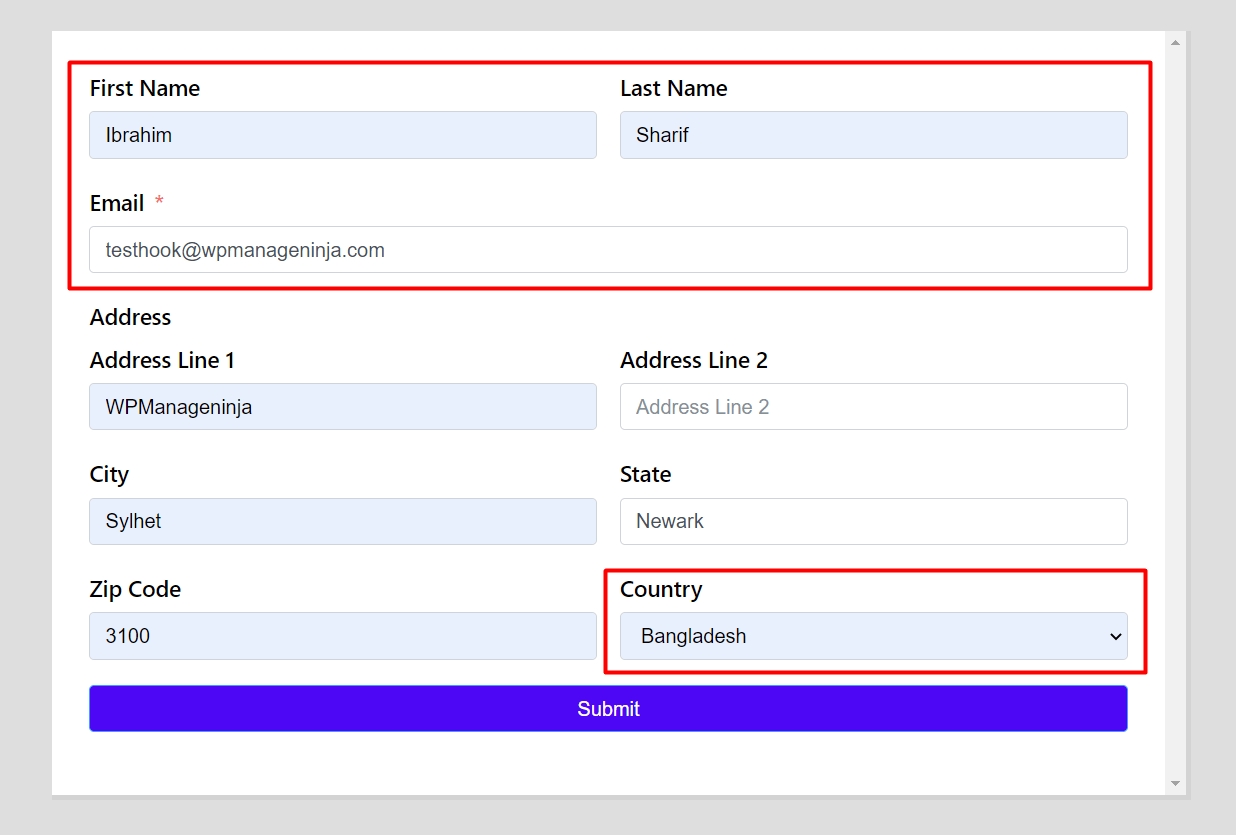
Let’s test the form with a test data submission. As we put a condition we are selecting the Country as Bangladesh in test.
Form Entry Data #
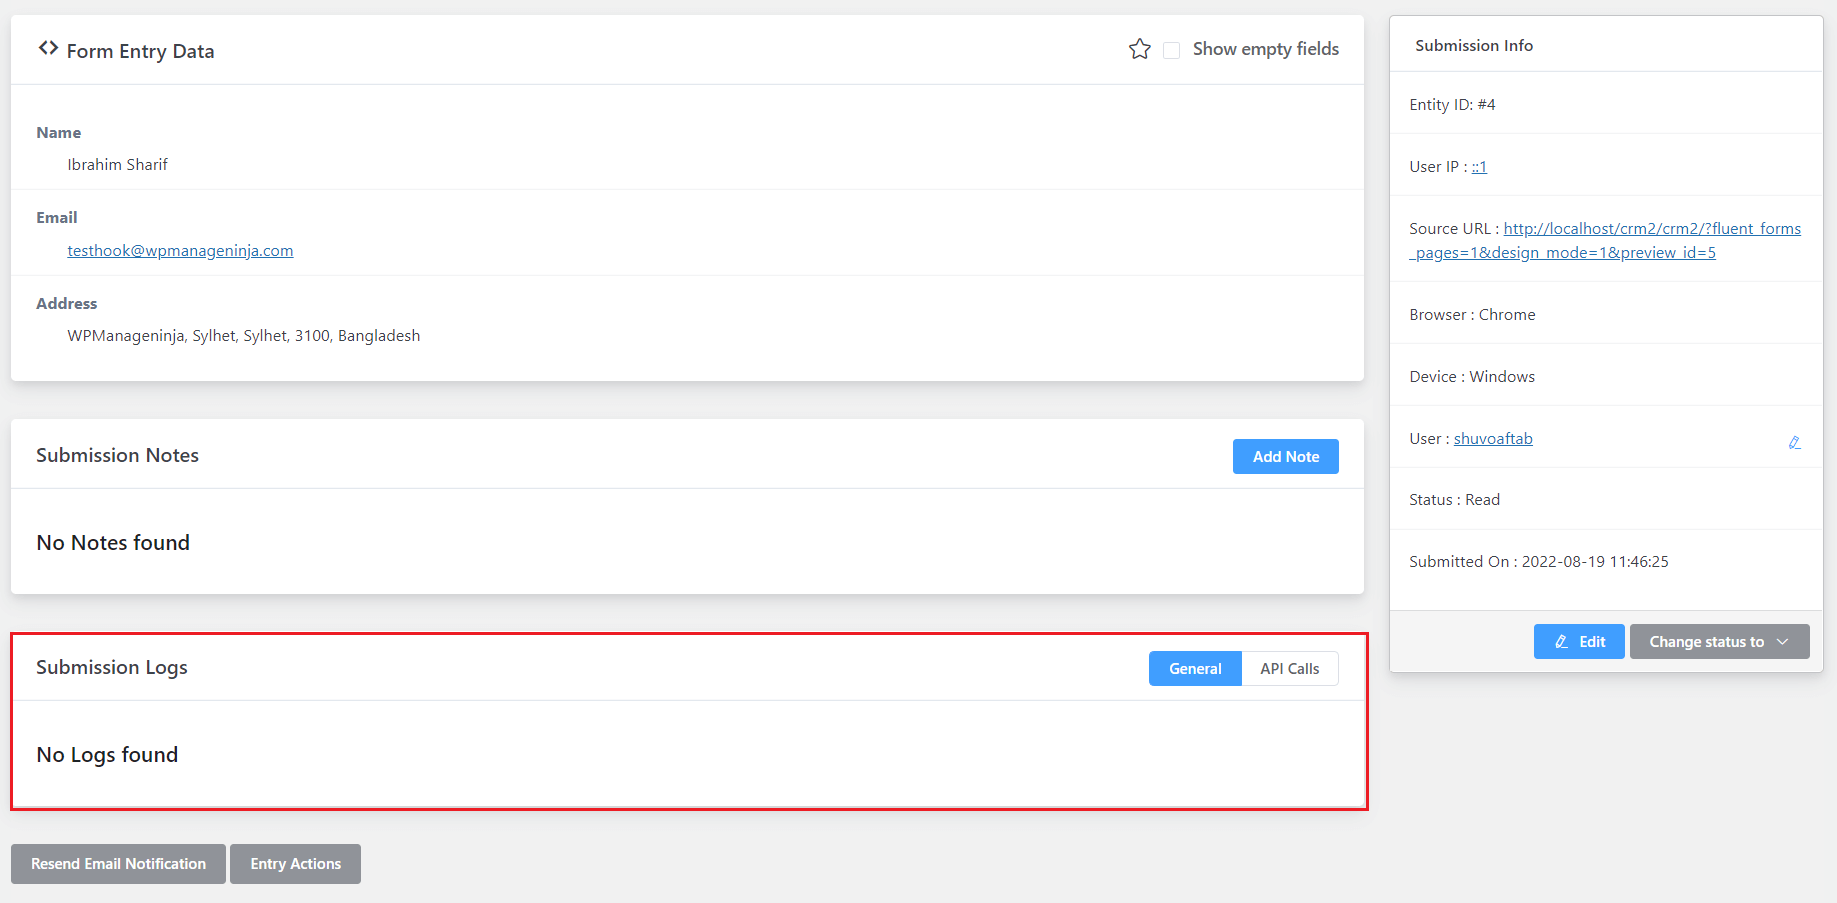
As we have seen in the feed status of basic configuration this might be confusing as the submission log will not show the webhook data processing in the General Section. The WebHook is a part of API Calls.
Feed Inspection #
To see the Webhook data submission please click on the API Calls tab. Here you will find the submission log and can investigate in the future if you find any unwanted behavior or failure.

Contact Data #
Now let’s check the contact data in the mainflow on website1.com as we saw the submission was successful from the Forms on website2.com.
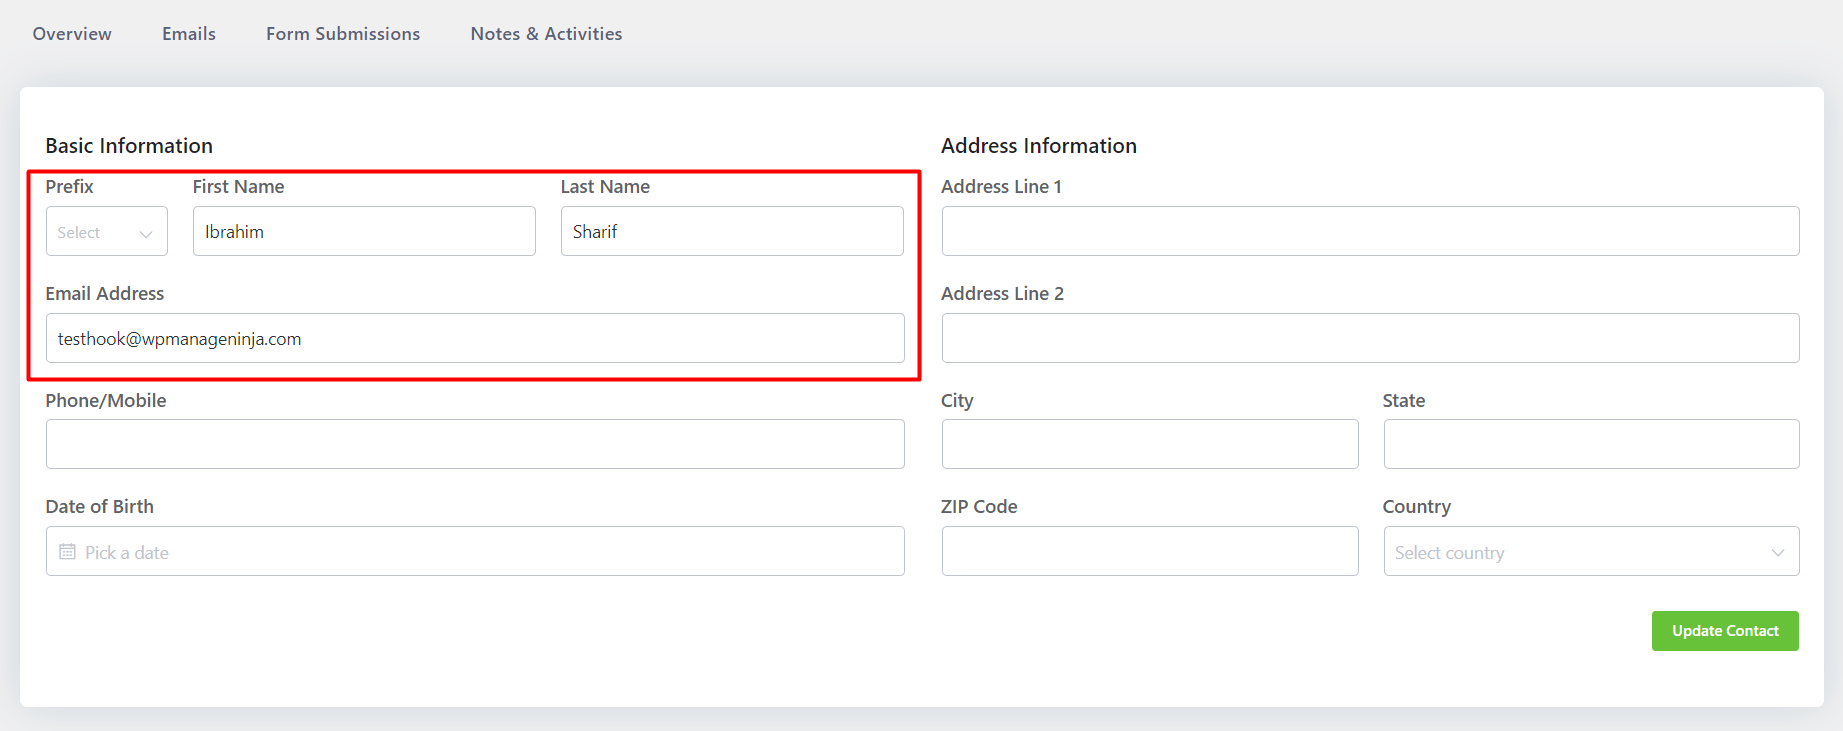
We will see that on First Name, Last Name & Email Address data is available and all other fields are empty. This is because in the mapping section we only mapped these 3 fields.
In this way, you can create as many WebHooks as required and collect leads from various domains using this feature.
.


