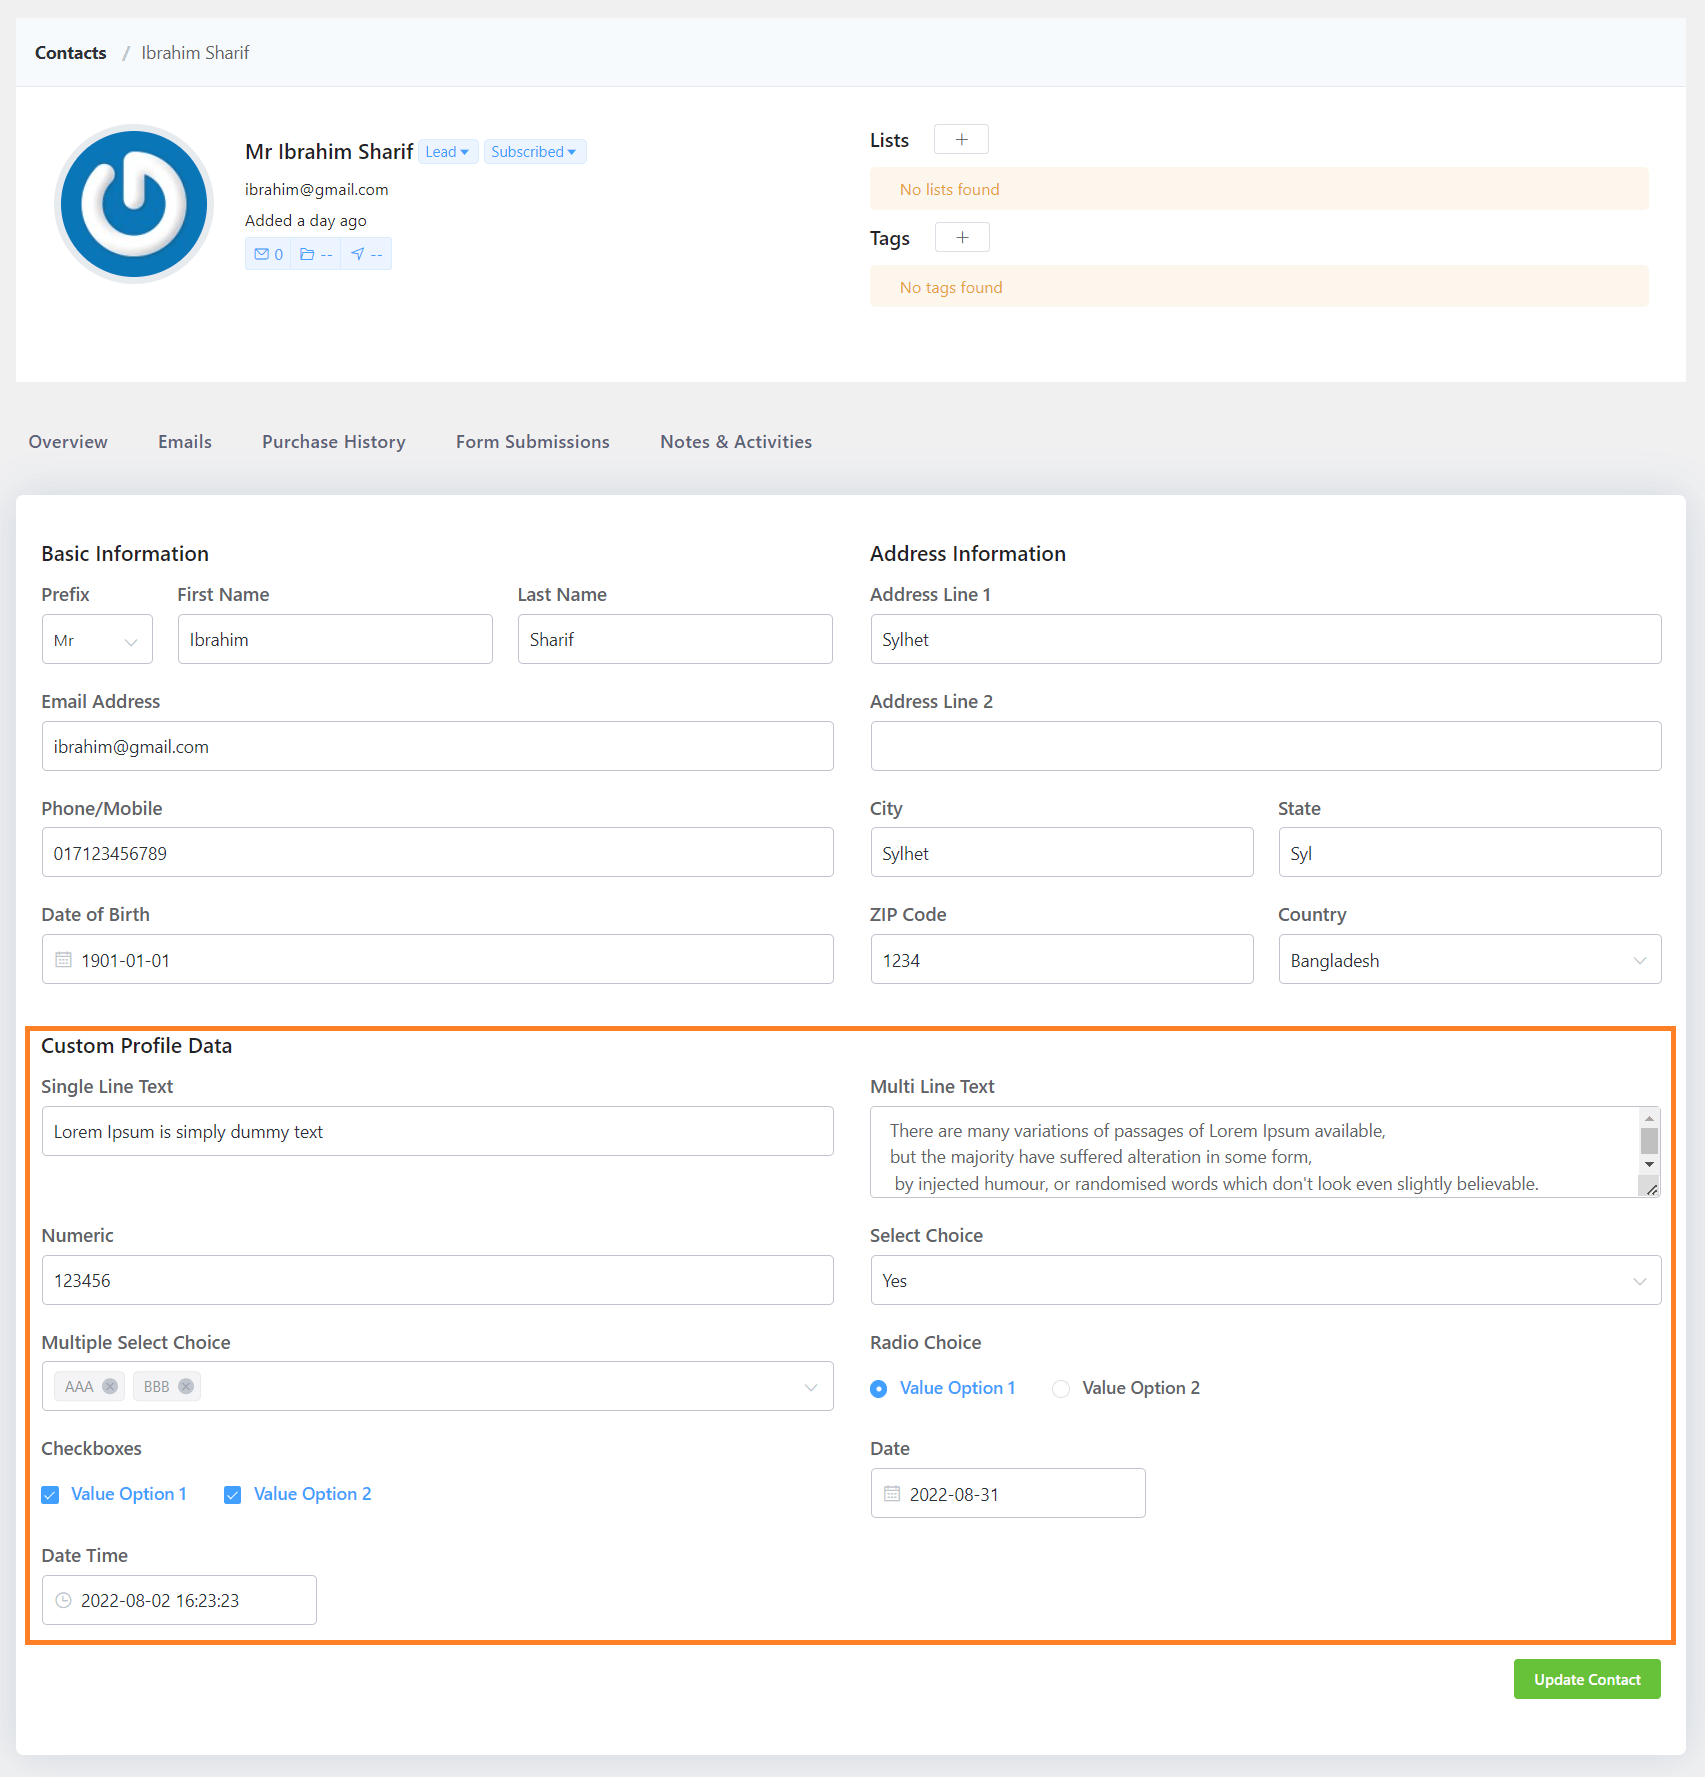
Adding Custom Contact Field #
When you need additional fields to gather information for your business, you can create new Custom Fields. From your mainflow dashboard, click on the Settings in the top right corner of the main navigation bar. Now from the left sidebar menu, navigate to Custom Contact Fields and click on the “Add Field“.

A popup form will appear, and you will see the available Field Types.
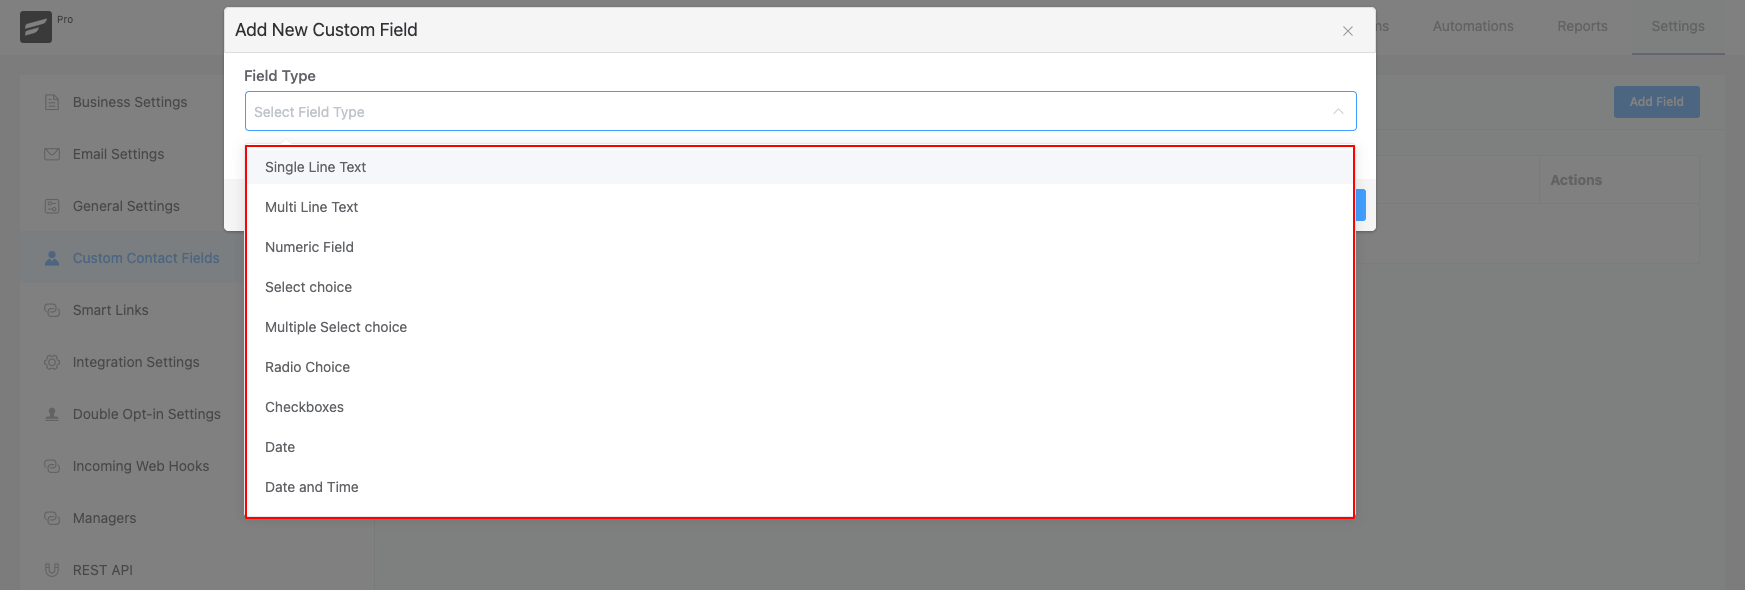
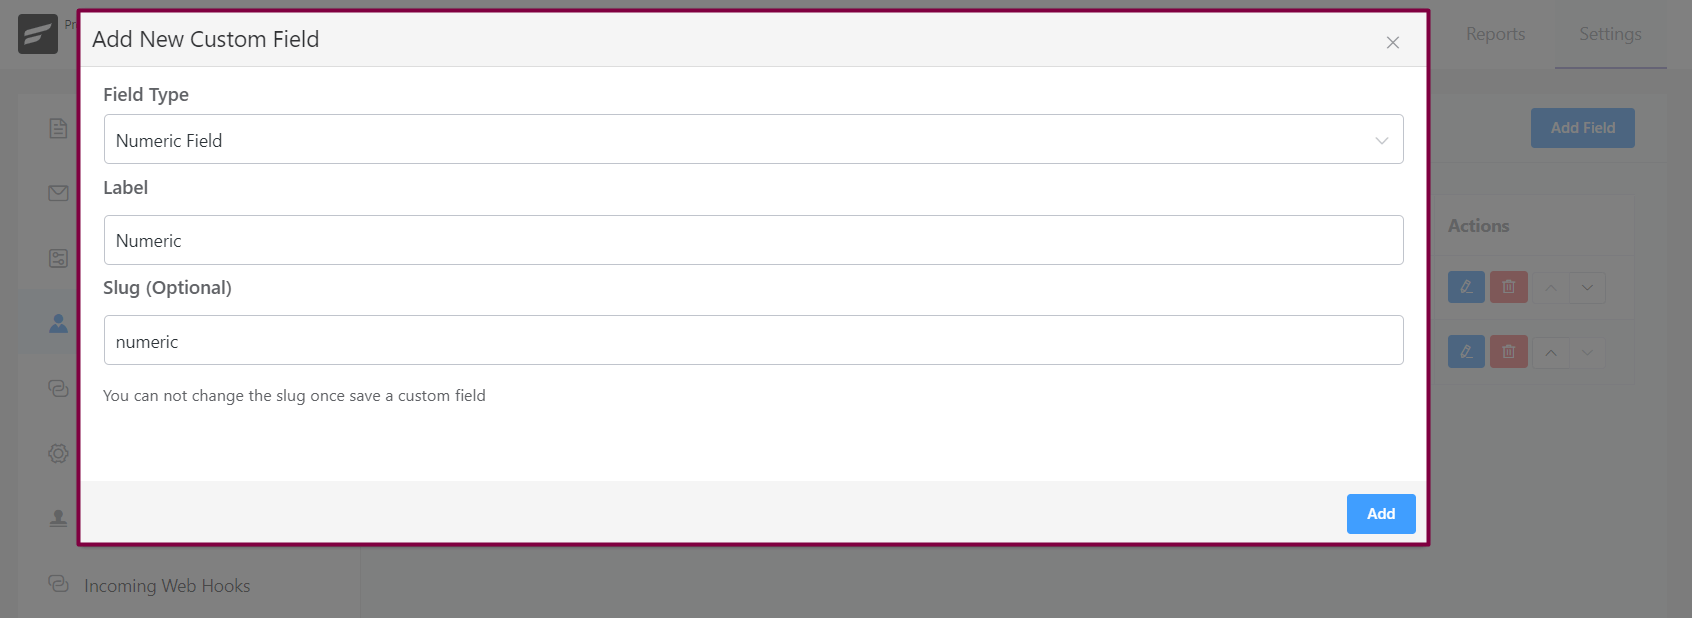
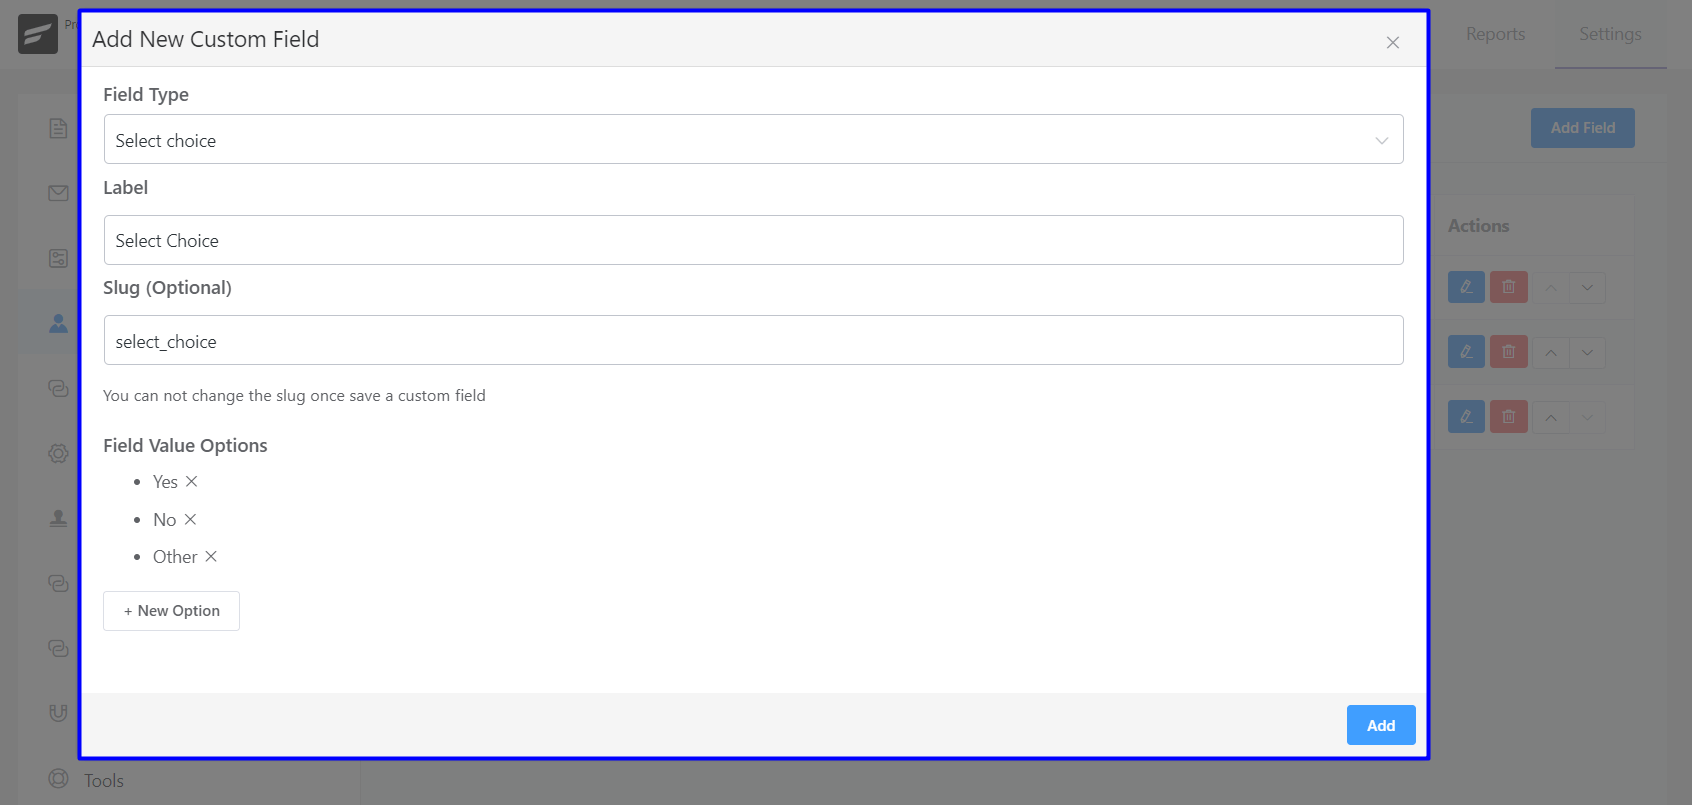
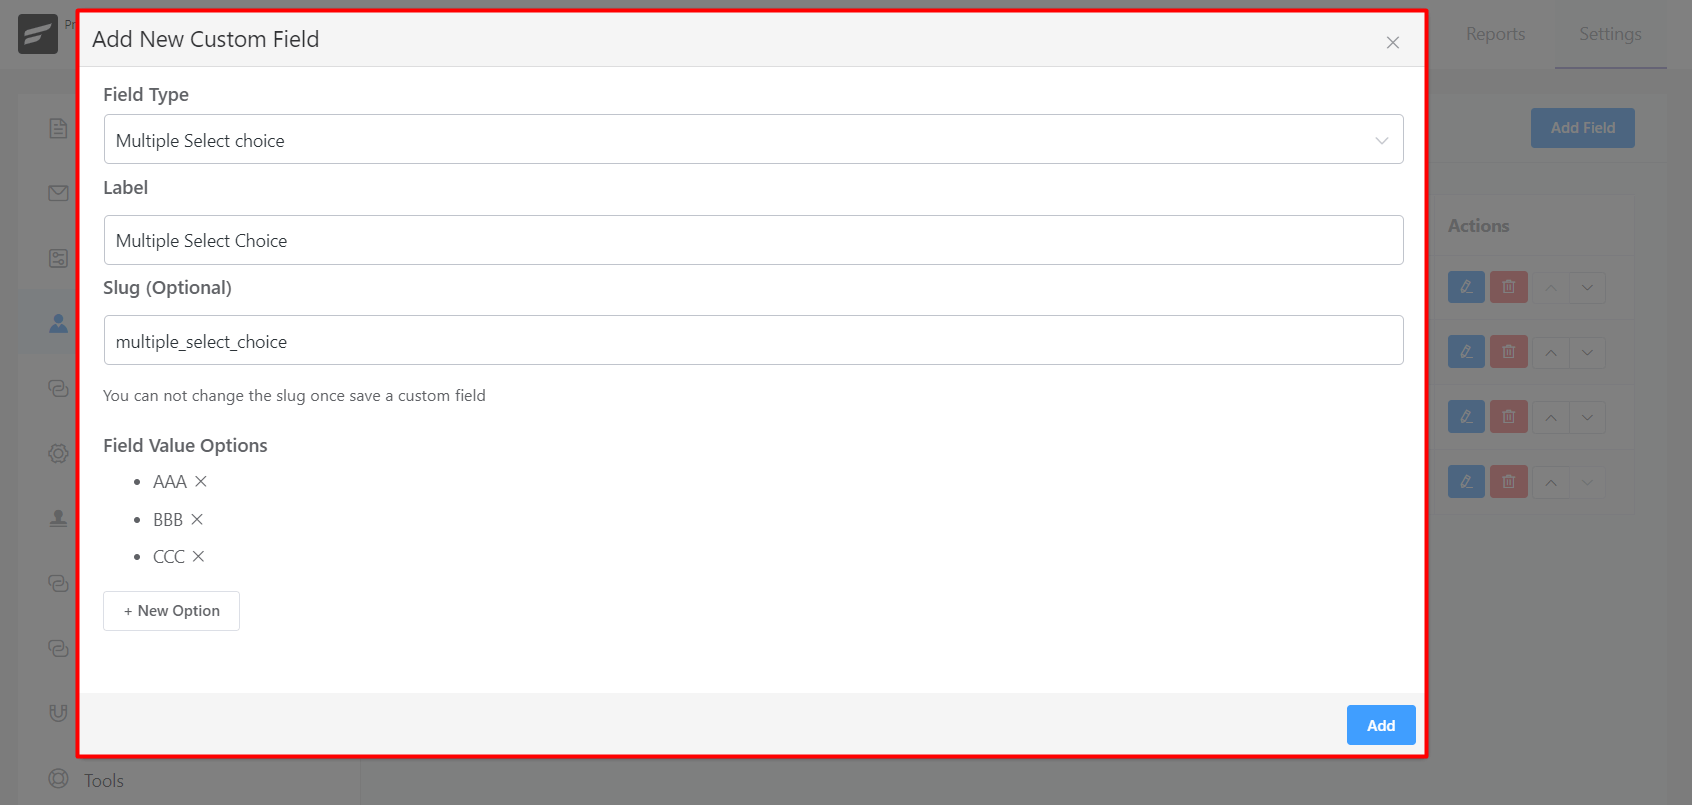
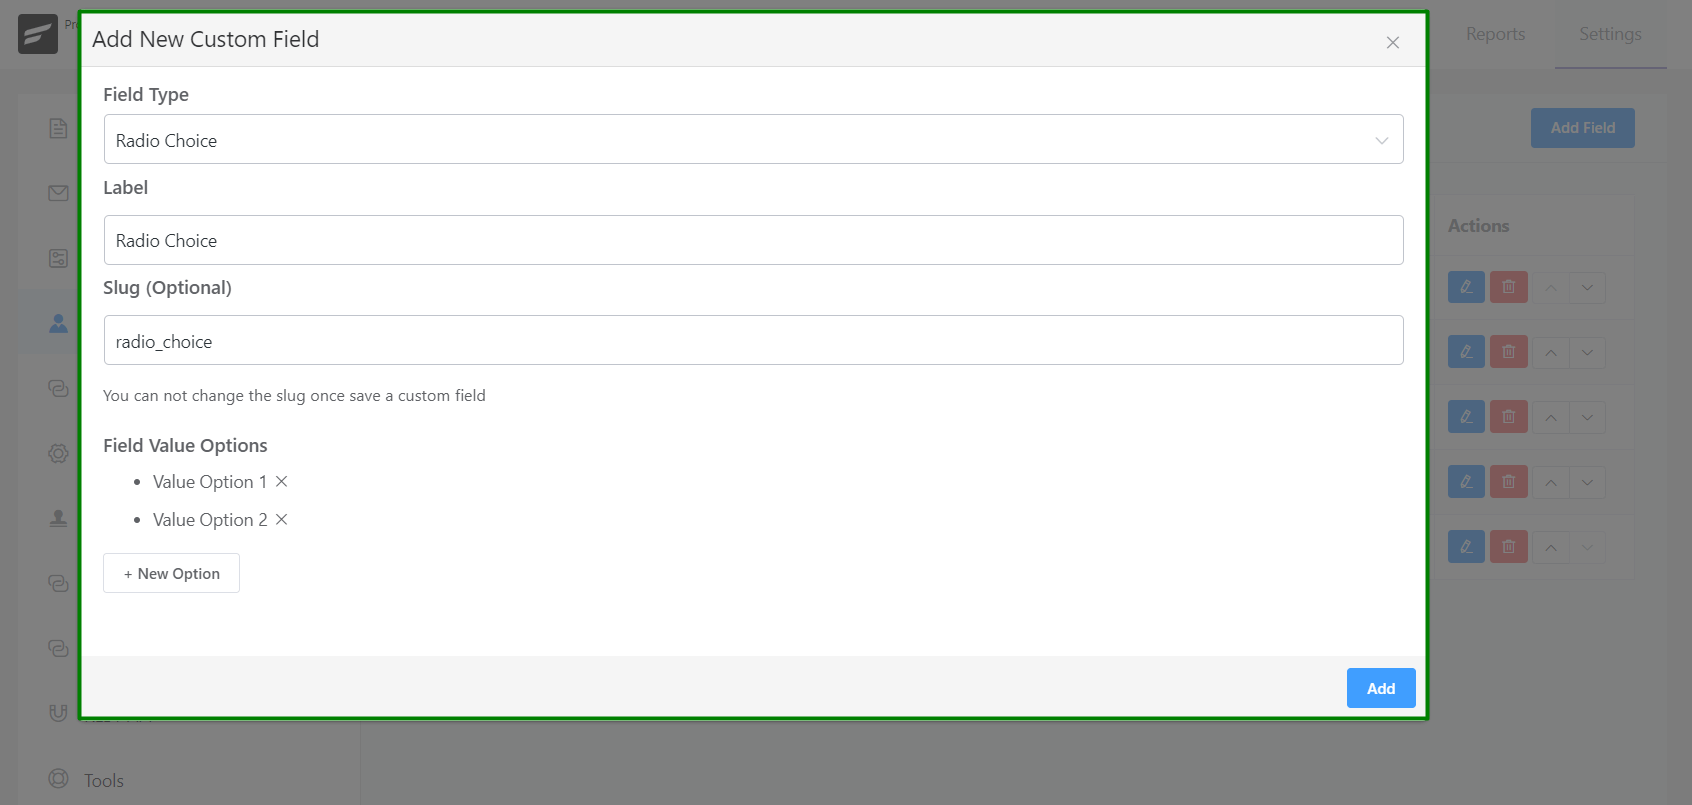
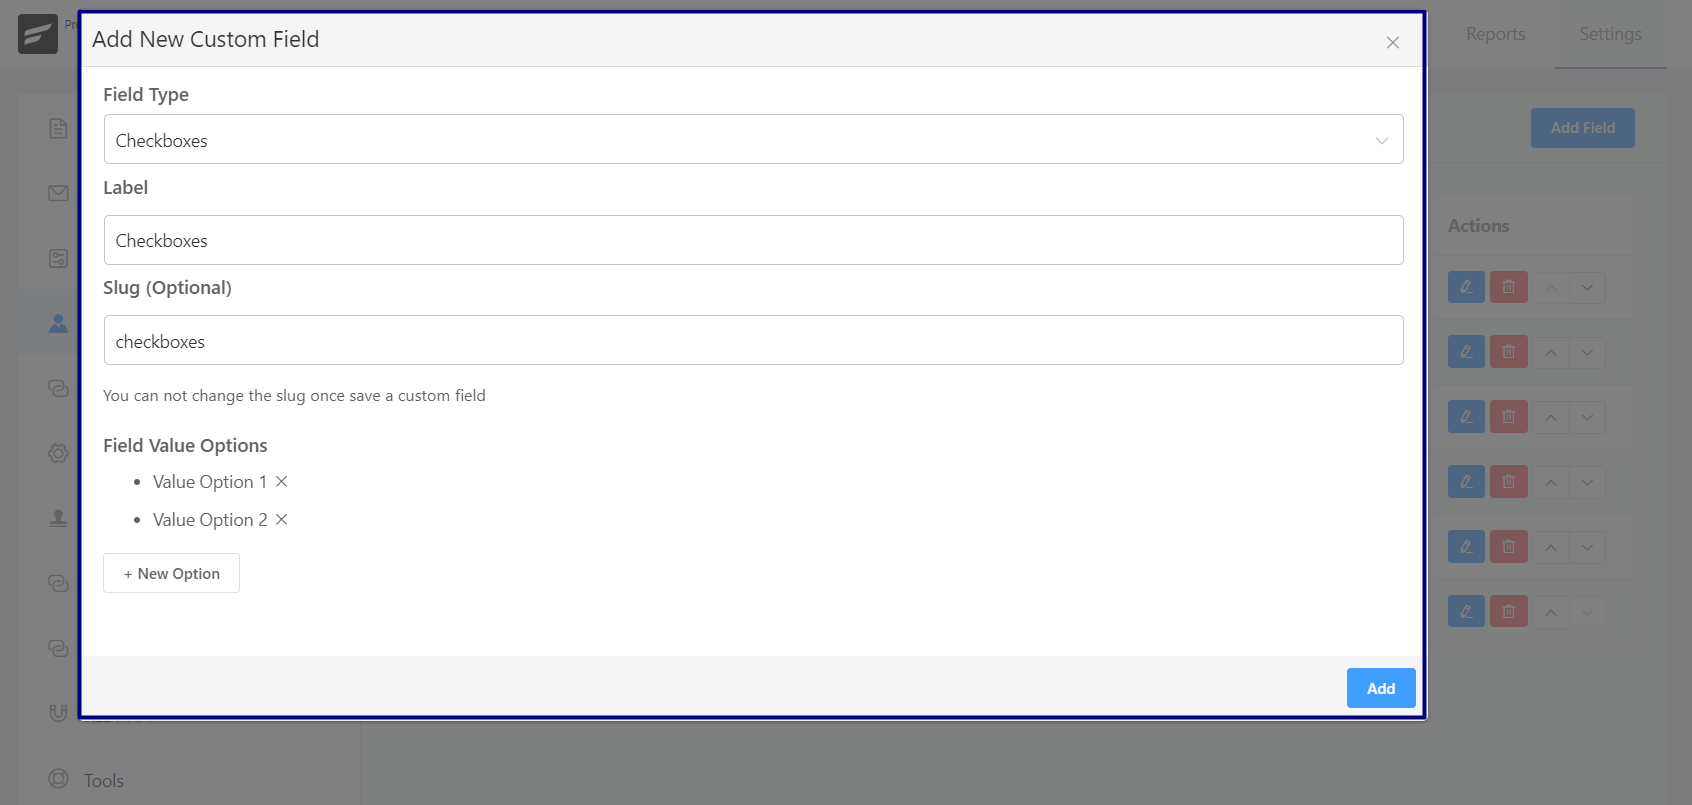
You can choose from the various field types listed in the below screenshot. After choosing the field type, give the field a Label. Based on the field type you might need to enter some more info. For example, if you select the type “Radio Choice” you will also need to enter the options. For Radio Input type of fields such as Radio Choice, Select Choice, Multiple Select Choice, and Checkboxes when you add options, enter the option value and press Enter on the Keyboard when you are done with the input.
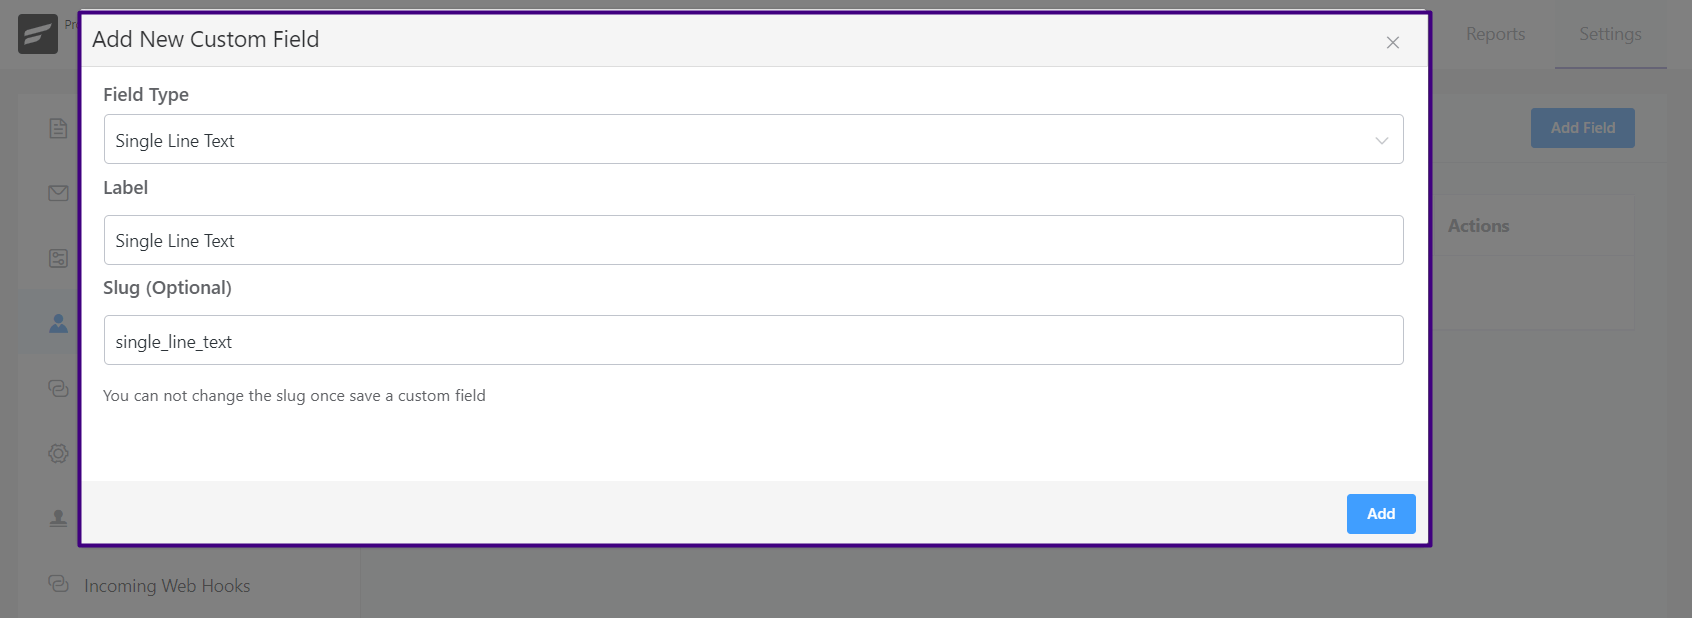
Multi Line Text:
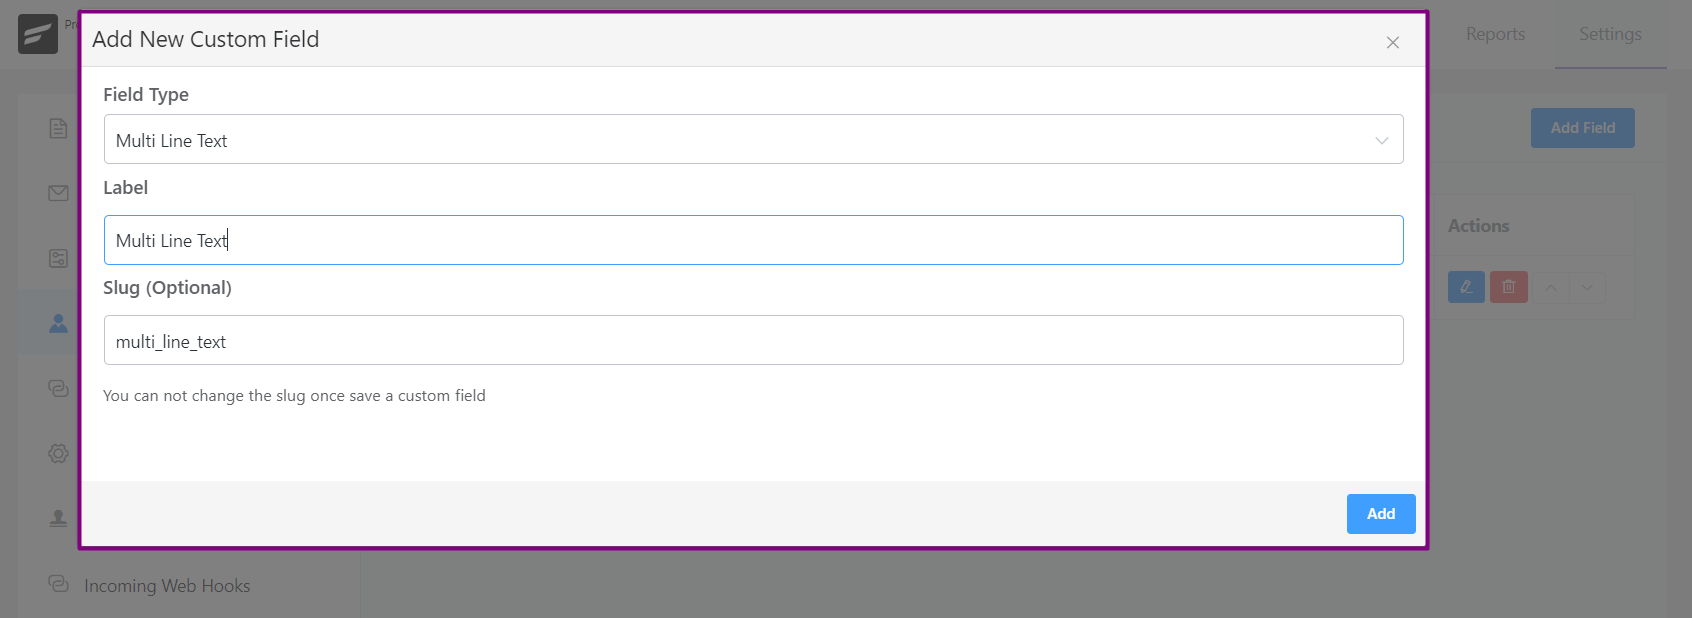
Numeric Field:
Select Choice:
Multiple Select Choice:
Radio Choice:
Checkboxes:
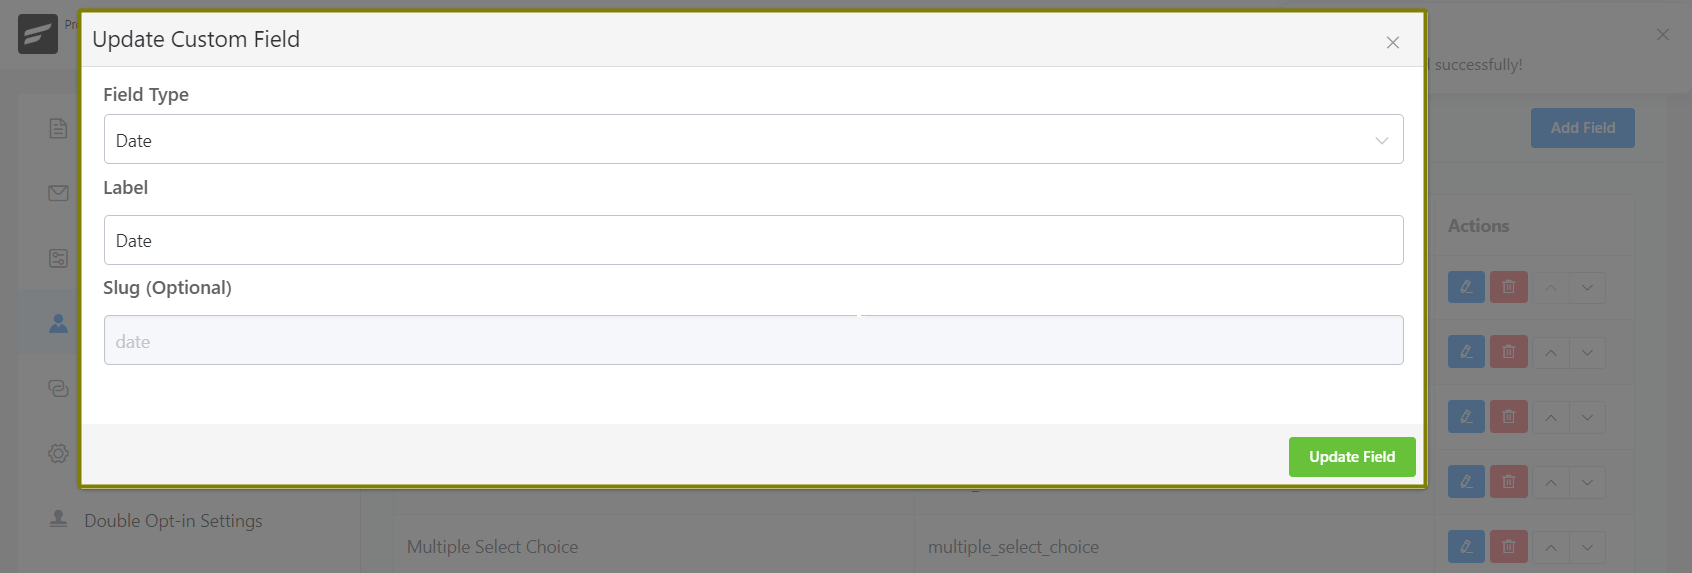
Date:
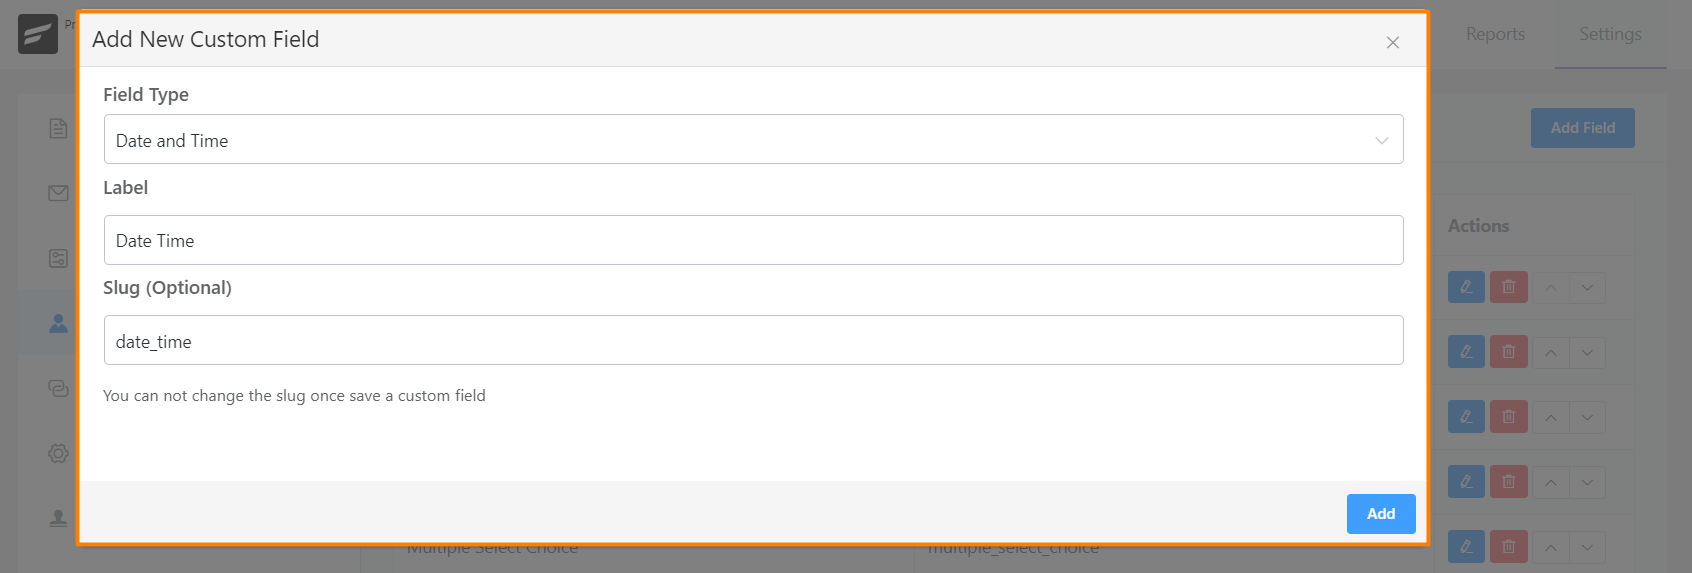
Date Time:
Rearranging Custom Contact Fields #
Now when you add multiple Custom Contact Fields they will be arranged or organized in the Custom Profile Data serially as you added them. But if you want them to be organized according to your own requirements you can do so by using the Up and Down Arrows as in the below screenshot. If you want to Edit or Delete any of the Custom Contact Fields you can do so by clicking on the Edit or Delete buttons.

Preview #
After Adding the Field Type, you can see the added Custom Contact Fields on your Contact Information Under the Custom Profile Section.
