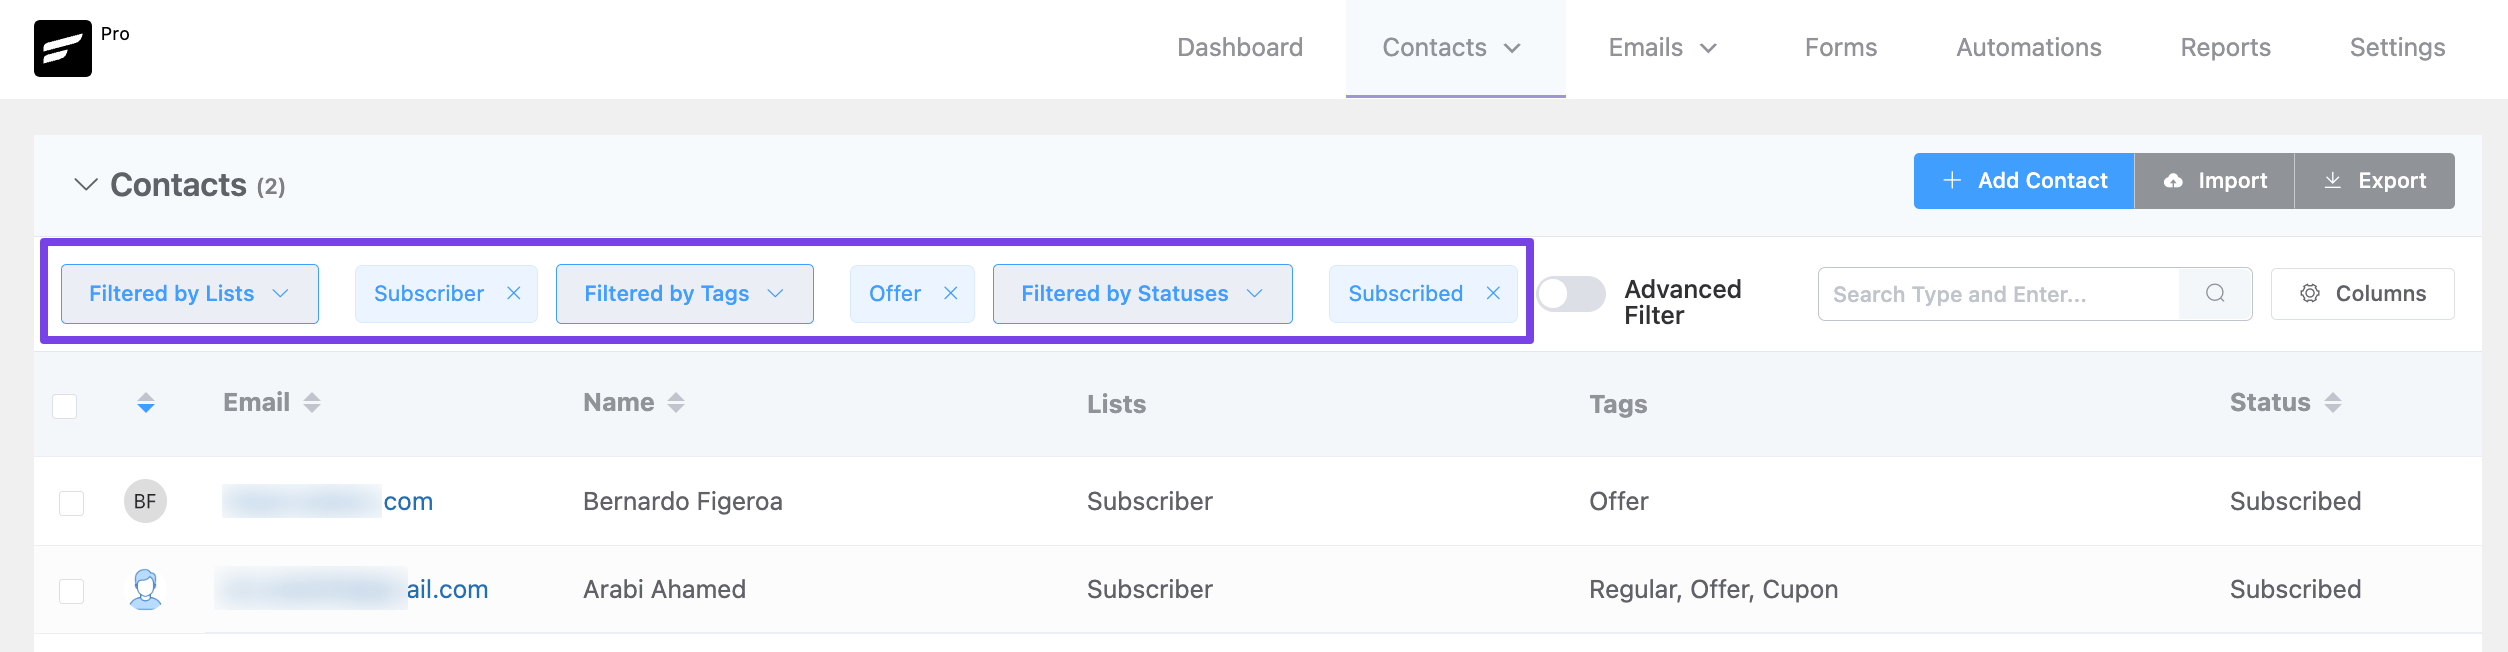
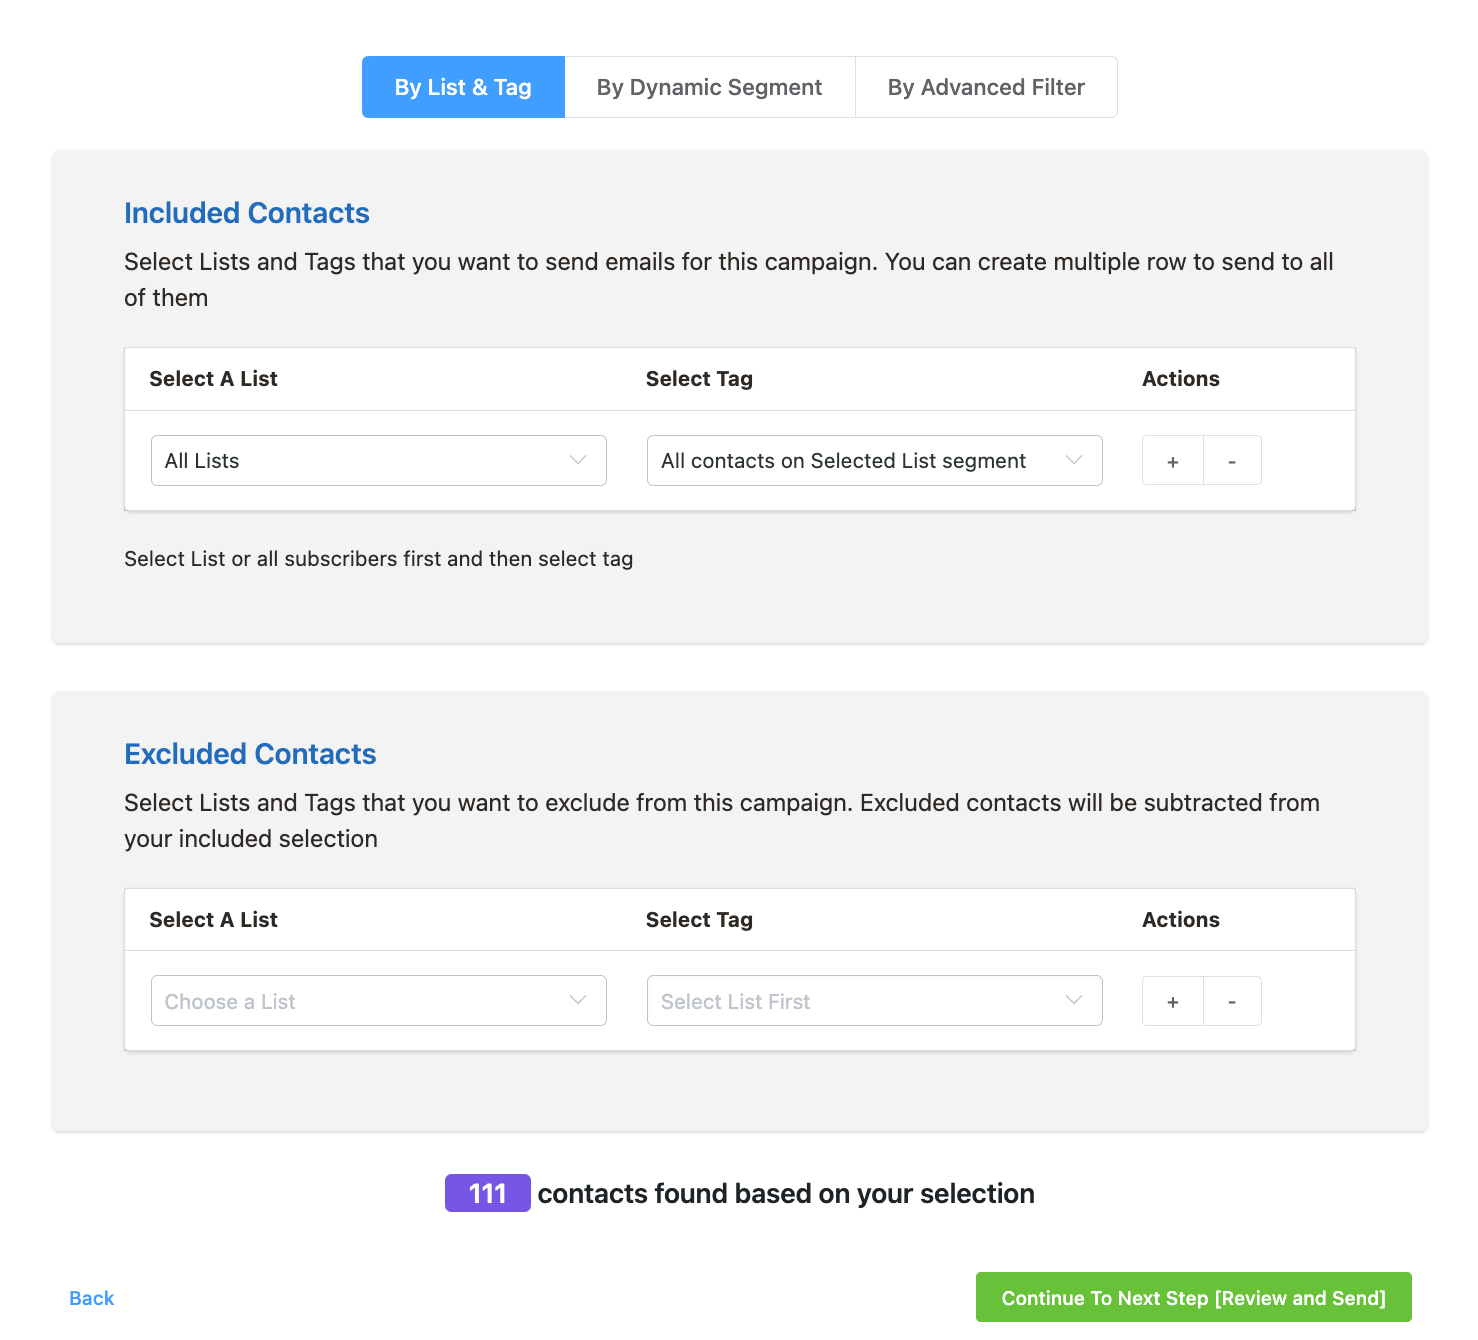
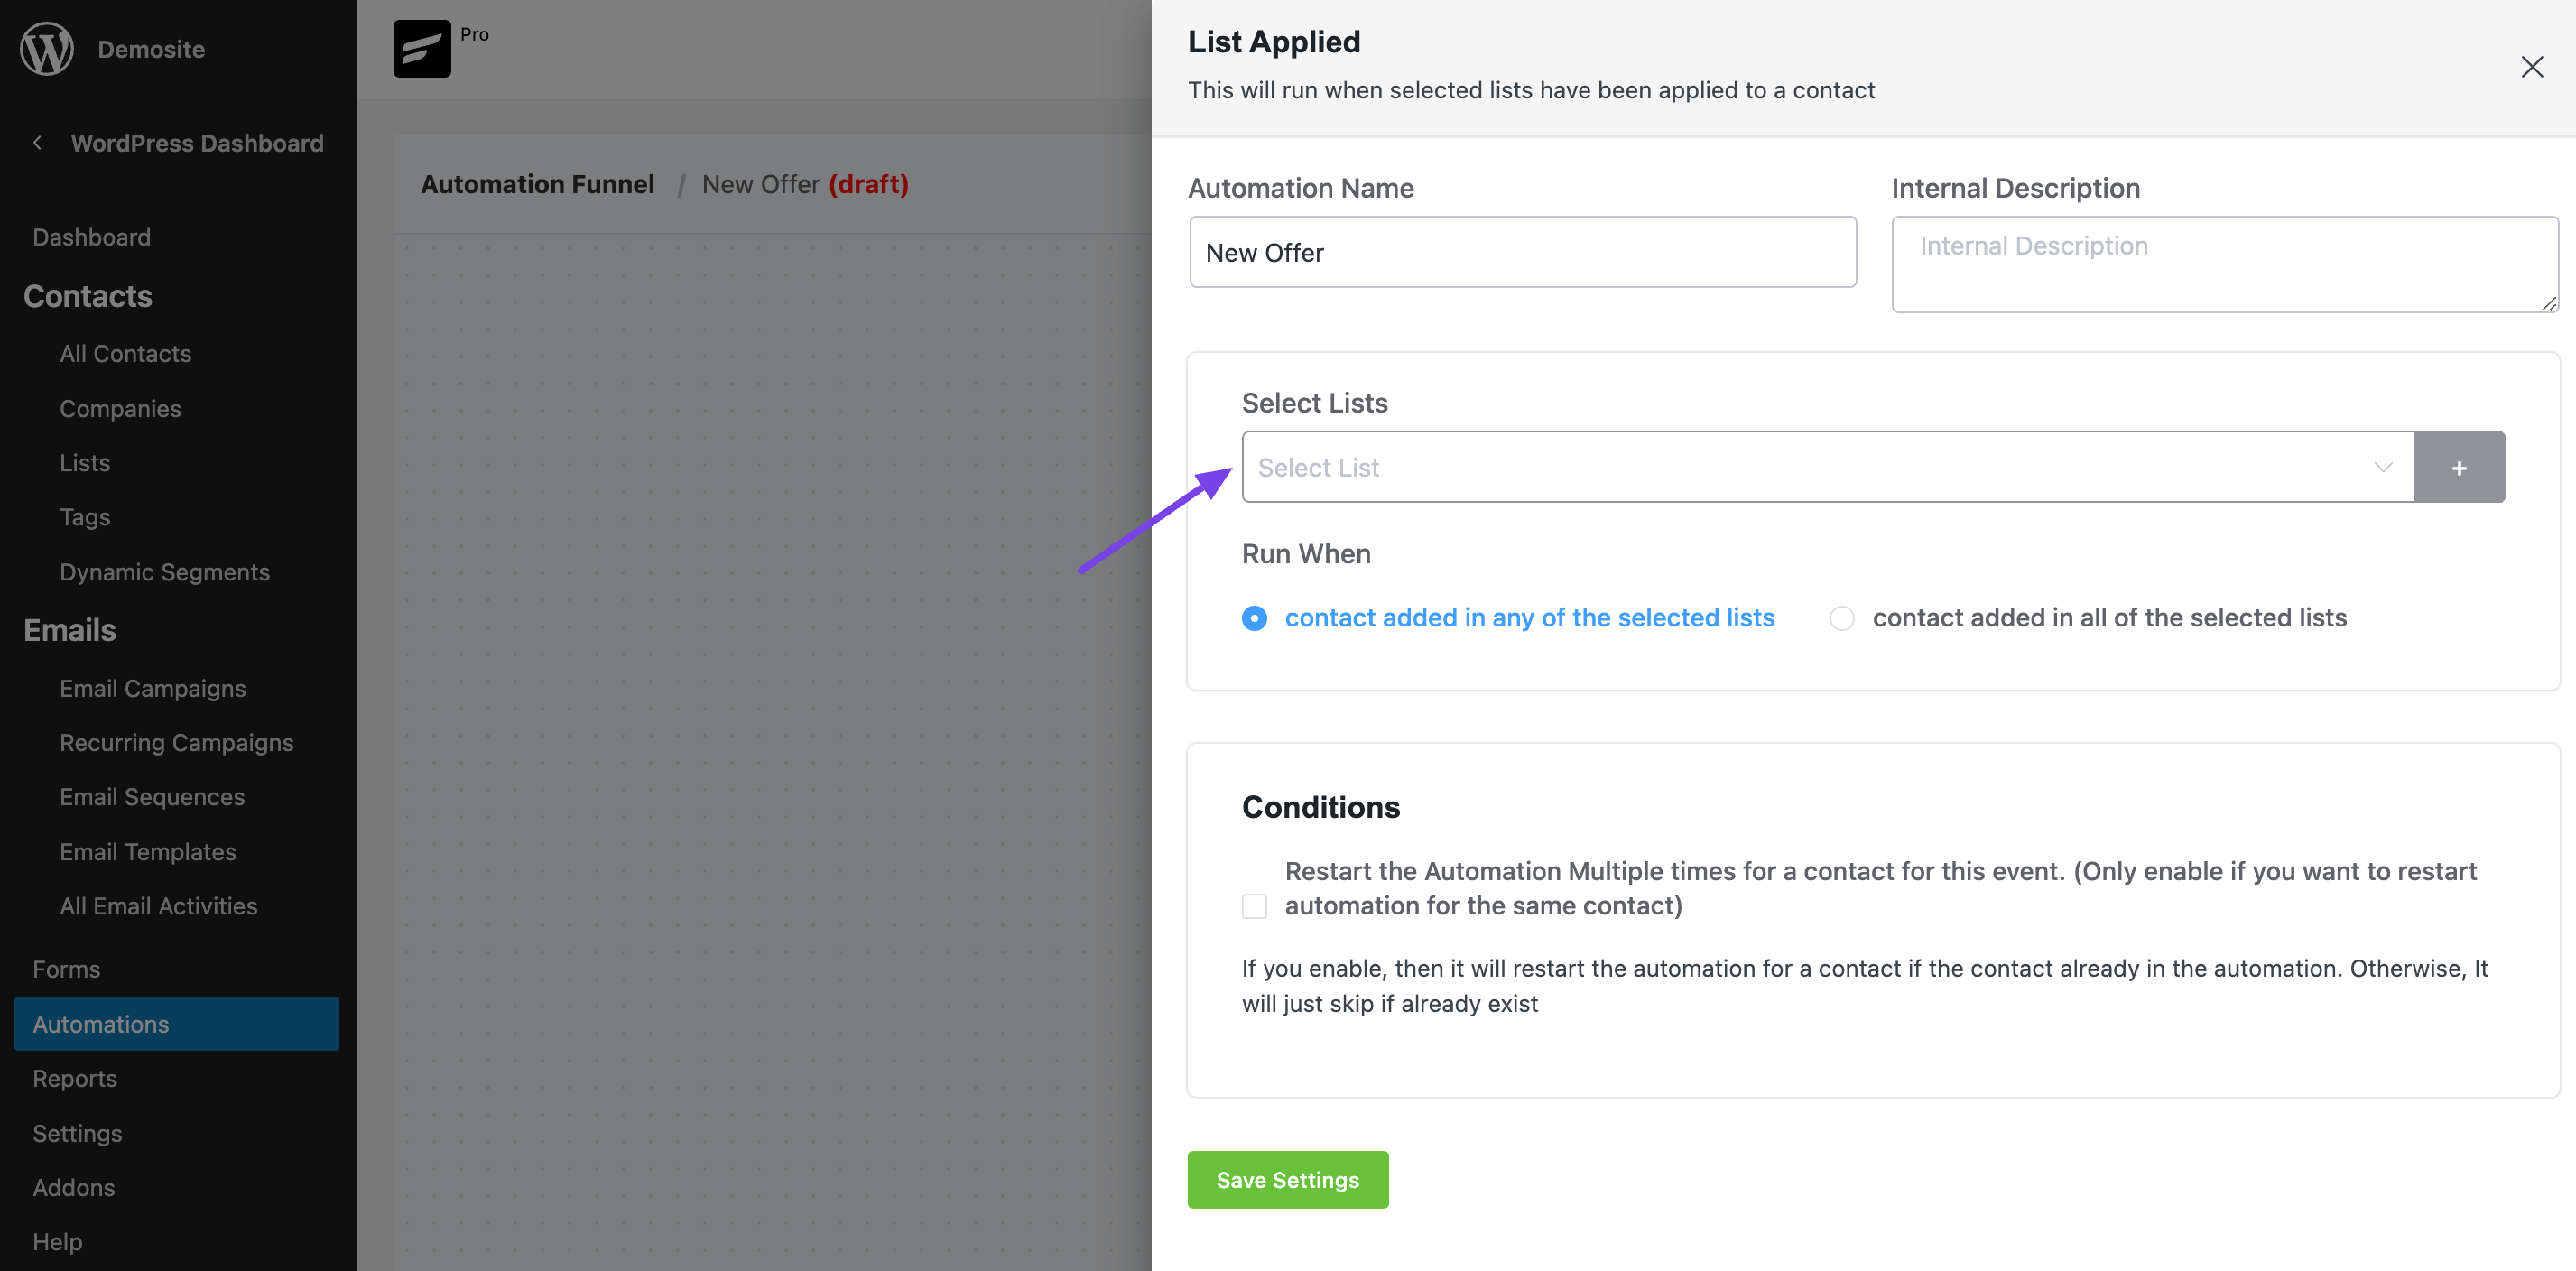
Mainflow is a powerful email marketing & automation application that enables its users to market through emails, run automation based on various triggers, and perform different actions. To do this, mainflow admins may need to segment the contacts to identify the contacts later while filtering them out and performing bulk actions, selecting them in the campaign setup, or also assigning the specific contacts in automation as below screenshots.
In this tutorial, we will be learning about the General & Dynamic Segmentation of mainflow. You can access All the contacts, Lists, Tags, and Dynamic Segments by hovering over the Contacts Menu from the mainflow Dashboard.

General Segments #
You can segment your audience or contacts with multiple lists, tags, and/or dynamic segments. The general segmentation is based on static Lists or Tags. Having segments of the contacts are very useful to categorize audiences for better-targeted email campaigns. In this article, we will take a deeper look into the segmentation of contacts with mainflow.
Lists #
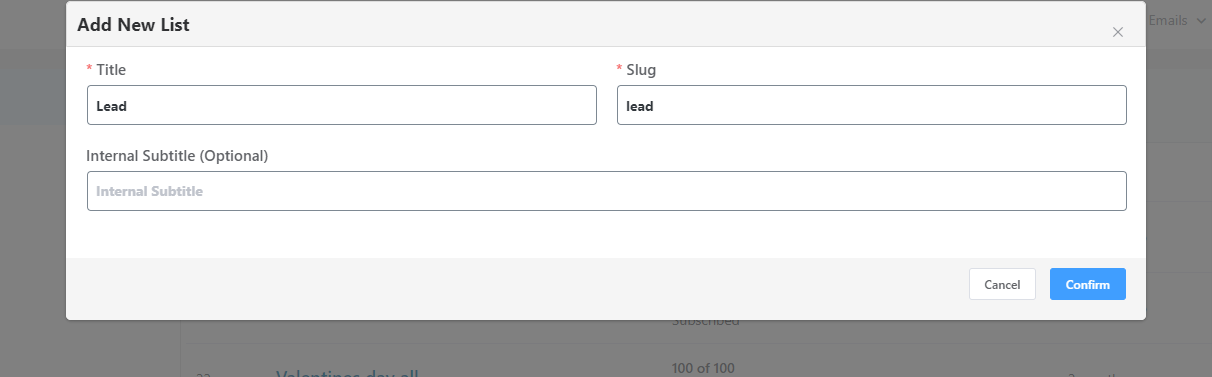
Lists are one of the segmentation processes of your contacts. You can add lists and assign any contacts to your list for better segmentation. You can also create multiple lists based on your use cases. To add a list Go to Contacts ➜ Lists and click on the “Create List” button located in the near top right corner.

A popup will appear where you need to give the list a Title and the list Slug will be added automatically based on the list name. Click Confirm and the list will be created instantly.
Tags #
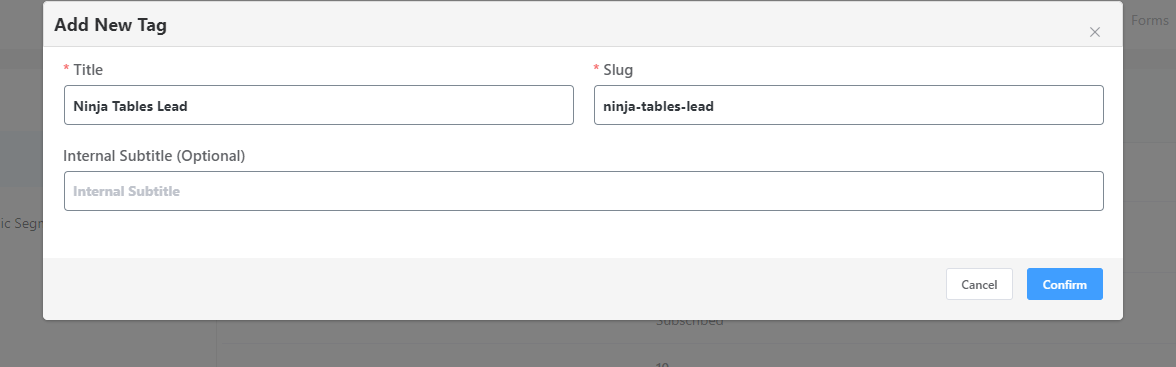
Tags are used to classify your mainflow audience in a more meaningful way. Tags are like Lists but more ways to filter your contacts inside a list. A list can have multiple tags, also multiple tags can be assigned to a particular contact. To create a tag Go to Contacts ➜ Tags click on the “Create Tag” button and a modal window will appear where you will need to give the Title and Slug (Automatically generated if leave it blank) of your Tag.
You can assign a single contact to multiple Lists and Tags.
Dynamic Segments #
Mainflow audience has a lot of data about the contacts, for example their signup date, how they are added where they are from, their signup source, and how they are interacting with your emails, and e-commerce data such as order quantity, revenue from the contact, and products ordered. Create Dynamic Segments using these data and send targeted marketing campaigns. Dynamic Segments is very handy to filter and divide similar contacts for a meaningful purpose.
To create Dynamic Segments go to Contacts ➜ Segments. Now click on “Create Custom Segment” to add a new Dynamic Segment that will provide a few options. There will be a built-in Dynamic Segment available named WordPress Users to identify WordPress Users later. Adding more integrations like Woocommerce will also add more Dynamic Segments such as WooCommerce Customers based on their Users Lists.

Please provide a descriptive title name to the Custom Segment. It is shown on internal pages only. Now you’ll need to set conditions to filter contacts based on the information available inside mainflow. You can use the advanced filter feature to learn deeply about such data filtering to segment the contacts.

If you do not put any conditions, all of your contacts available in the mainflow will be selected for the Dynamic Segment.
Once you are done with the Data Selection and Conditions please click on Create Segment button on the bottom left to preview the contacts based on your filtering. And to finally create and save this Dynamic Segment please click on the Create Custom Segment button from the bottom right corner.
That’s all about segmenting contacts in the mainflow. Especially Dynamic Segments is really a powerful feature that helps select the users dynamically. To utilize this feature and get the most out of it please check the advanced filtering guide to put conditions in Dynamic Segmentation.


