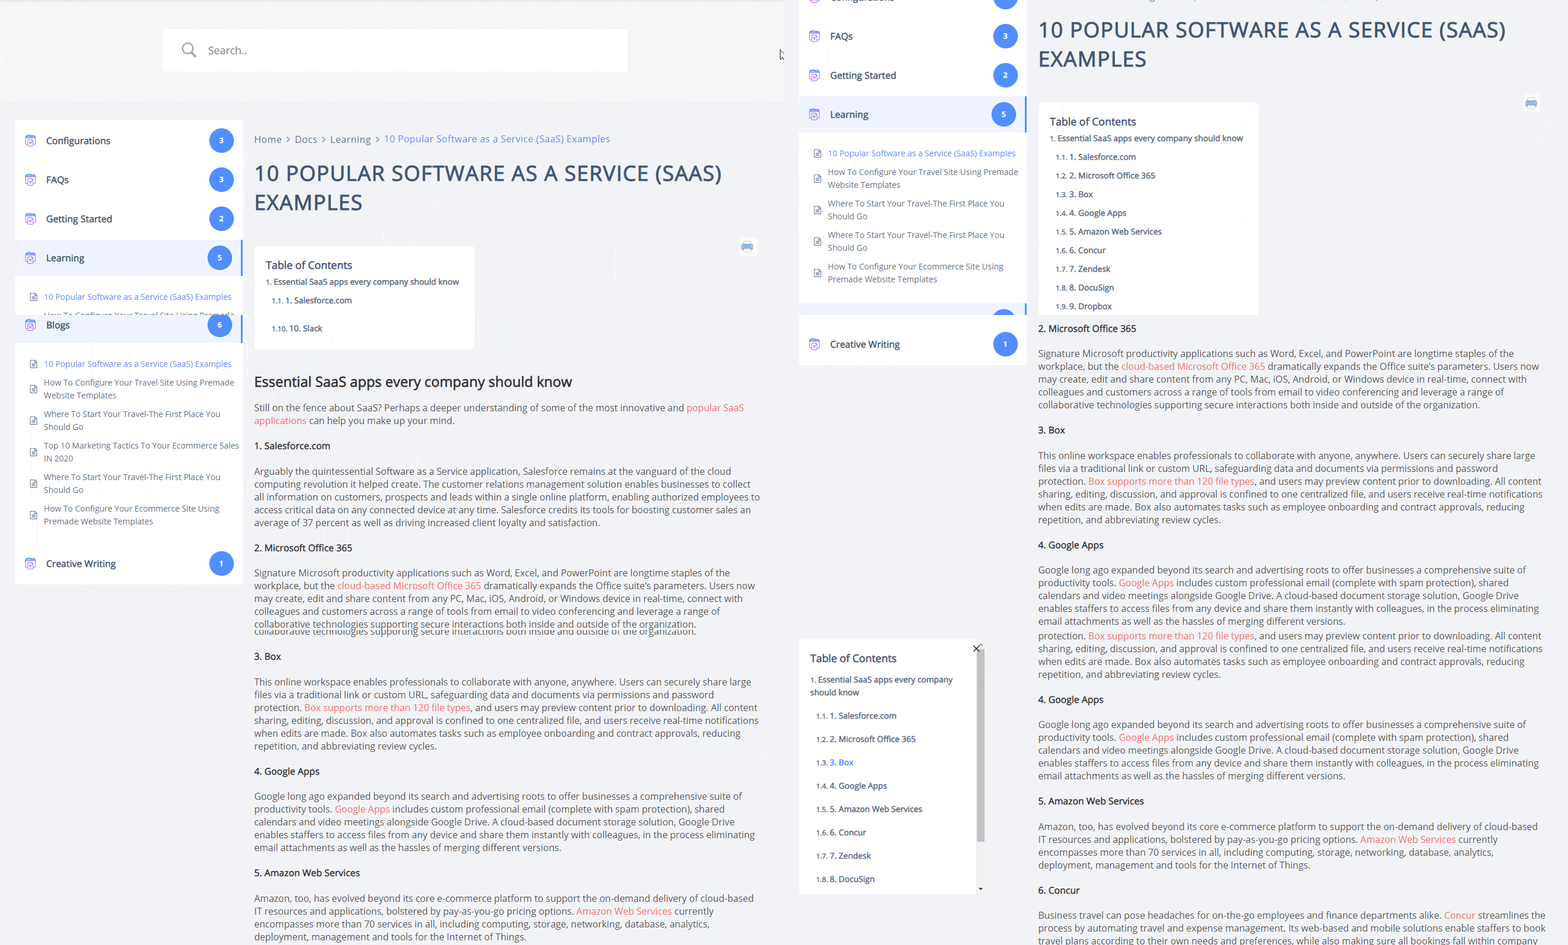
Mainflow lets you create and publish new documentation easily by following some simple step by step guidelines. Let’s follow the instructions below to create and publish new documentation in Mainflow.
Step 1: Install & Activate Mainflow #
Before you start creating new documentation in Mainflow, ensure you have installed and activated Mainflow.
Step 2: Add New Documentation #
Open your Dashboard and navigate to Mainflow → Add New. Create the documentation just like you would any other post or page.

Once you have the Doc ready you need to assign a Category and Tag to it before publishing. From the right sidebar navigate to Document → Categories. From there you can assign an existing Category or create a new one. From the same place, you can assign Tags.

Step 3: Publish New Documentation #
Once you are done writing the Doc with mainflow document, hit the Blue Button labeled ‘Publish’ at the top-right corner of the screen.

Final Outcome #
By simply following all the above steps, you will be able to create and publish your new documentation easily with mainflow on your website.

That’s how you can simply create and publish new documentation with mainflow just within a few steps.
Getting Stuck? Feel free to contact our dedicated support team for further assistance.


