Mainflow offers several Primary Conditionals that allow users to create conditional checks and take alternative actions based on those set conditions. This enhances the automation funnel, enabling various possibilities. With Multi-Path conditional automation, you can create multiple branches, providing flexibility to customize your workflows.
This article will provide detailed information about all Primary Conditional Actions of mainflow Automation.
All Primary Conditionals #
To learn how you can use all the Primary Conditionals in your mainflow, follow the steps with screenshots below –
First, go to the Automation section from the mainflow Navbar, and open your desired Automation by clicking on its title. Or, create a new one by clicking the + New Automation.
For example, I opened the List Applied automation funnel to explain all the Primary Conditionals

Now, click the Plus Icon or hover over it and click the Conditional Action option to view all the Primary Conditionals.

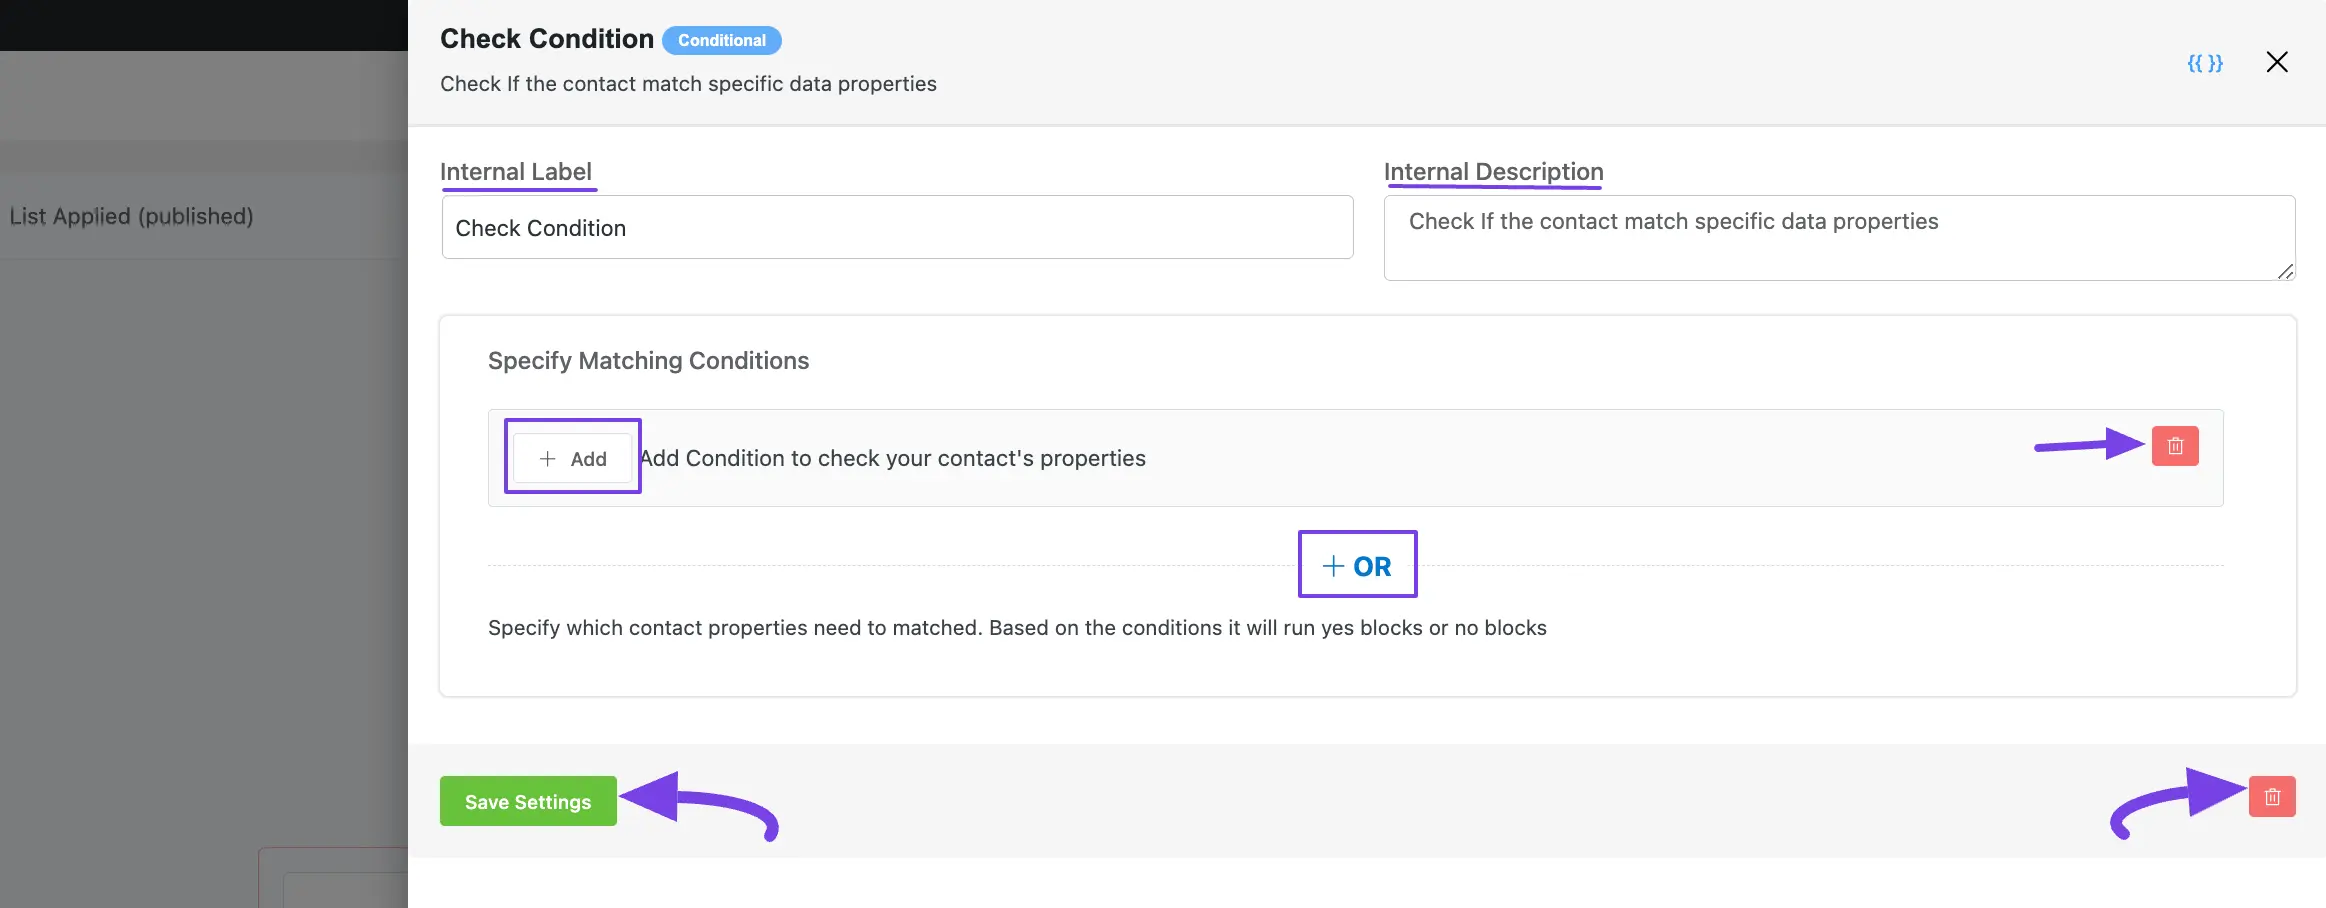
Then, a Check Condition page will appear in the left Sidebar for adding conditions.
The explanation of the following settings is given below:
- Interval Label: Here, a Name for the Action will be automatically added so you can easily find it later. You can change it that suit your needs.
- Internal Description: A description of the action will also be automatically added as a Subtitle. You can also change it suit to your needs.
- + Add Button: To add a new condition/s, always click this + Add button. And, to delete any existing condition, always click the Trash Icon.
- + OR Button: To add condition/s against any existing condition/s, always click the + OR button. Then, the process of adding conditions here is also the same.
Once you are done, click the Save Settings button to save all your changes.
You can also Delete the action by clicking the Trash Icon if needed.
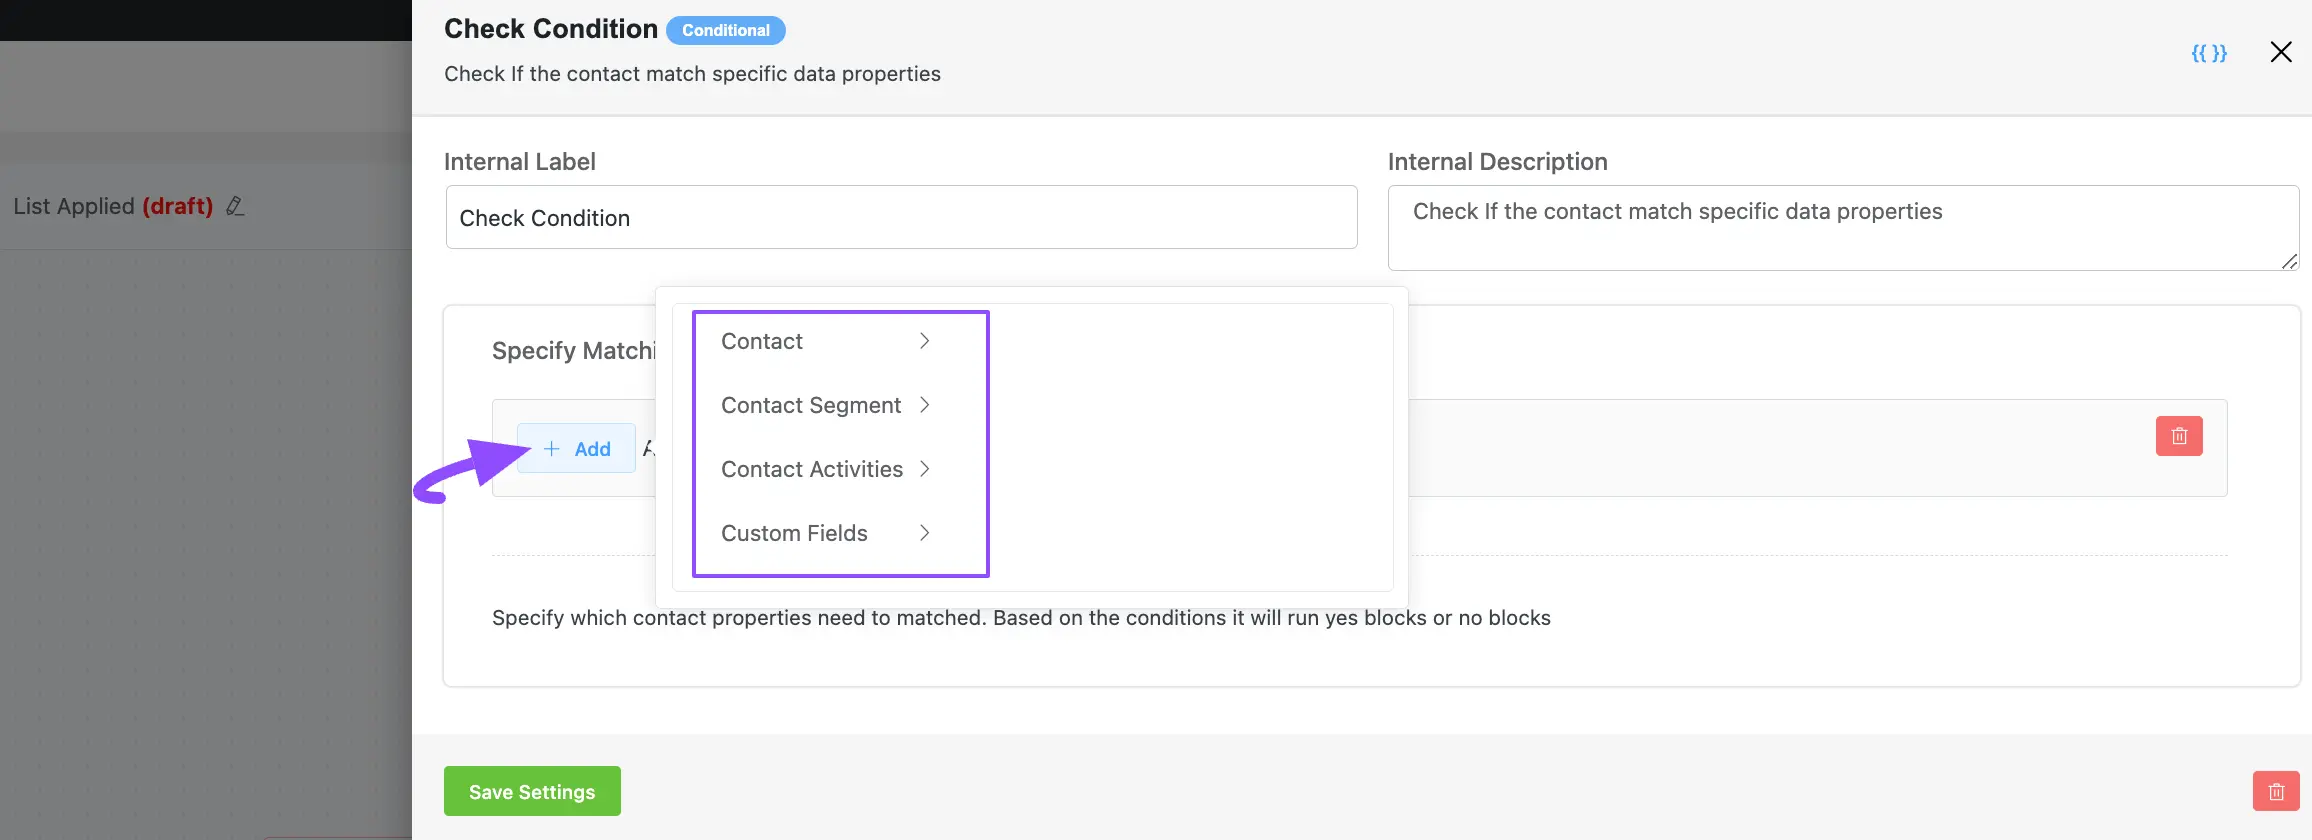
Once you click the + Add button, you will get Four Types of Primary Properties to set the Parameter based on the selected property. These are:
- Contact
- Contact Segment
- Contact Activities
- Custom Fields
A detailed explanation of the Properties mentioned above is given below –
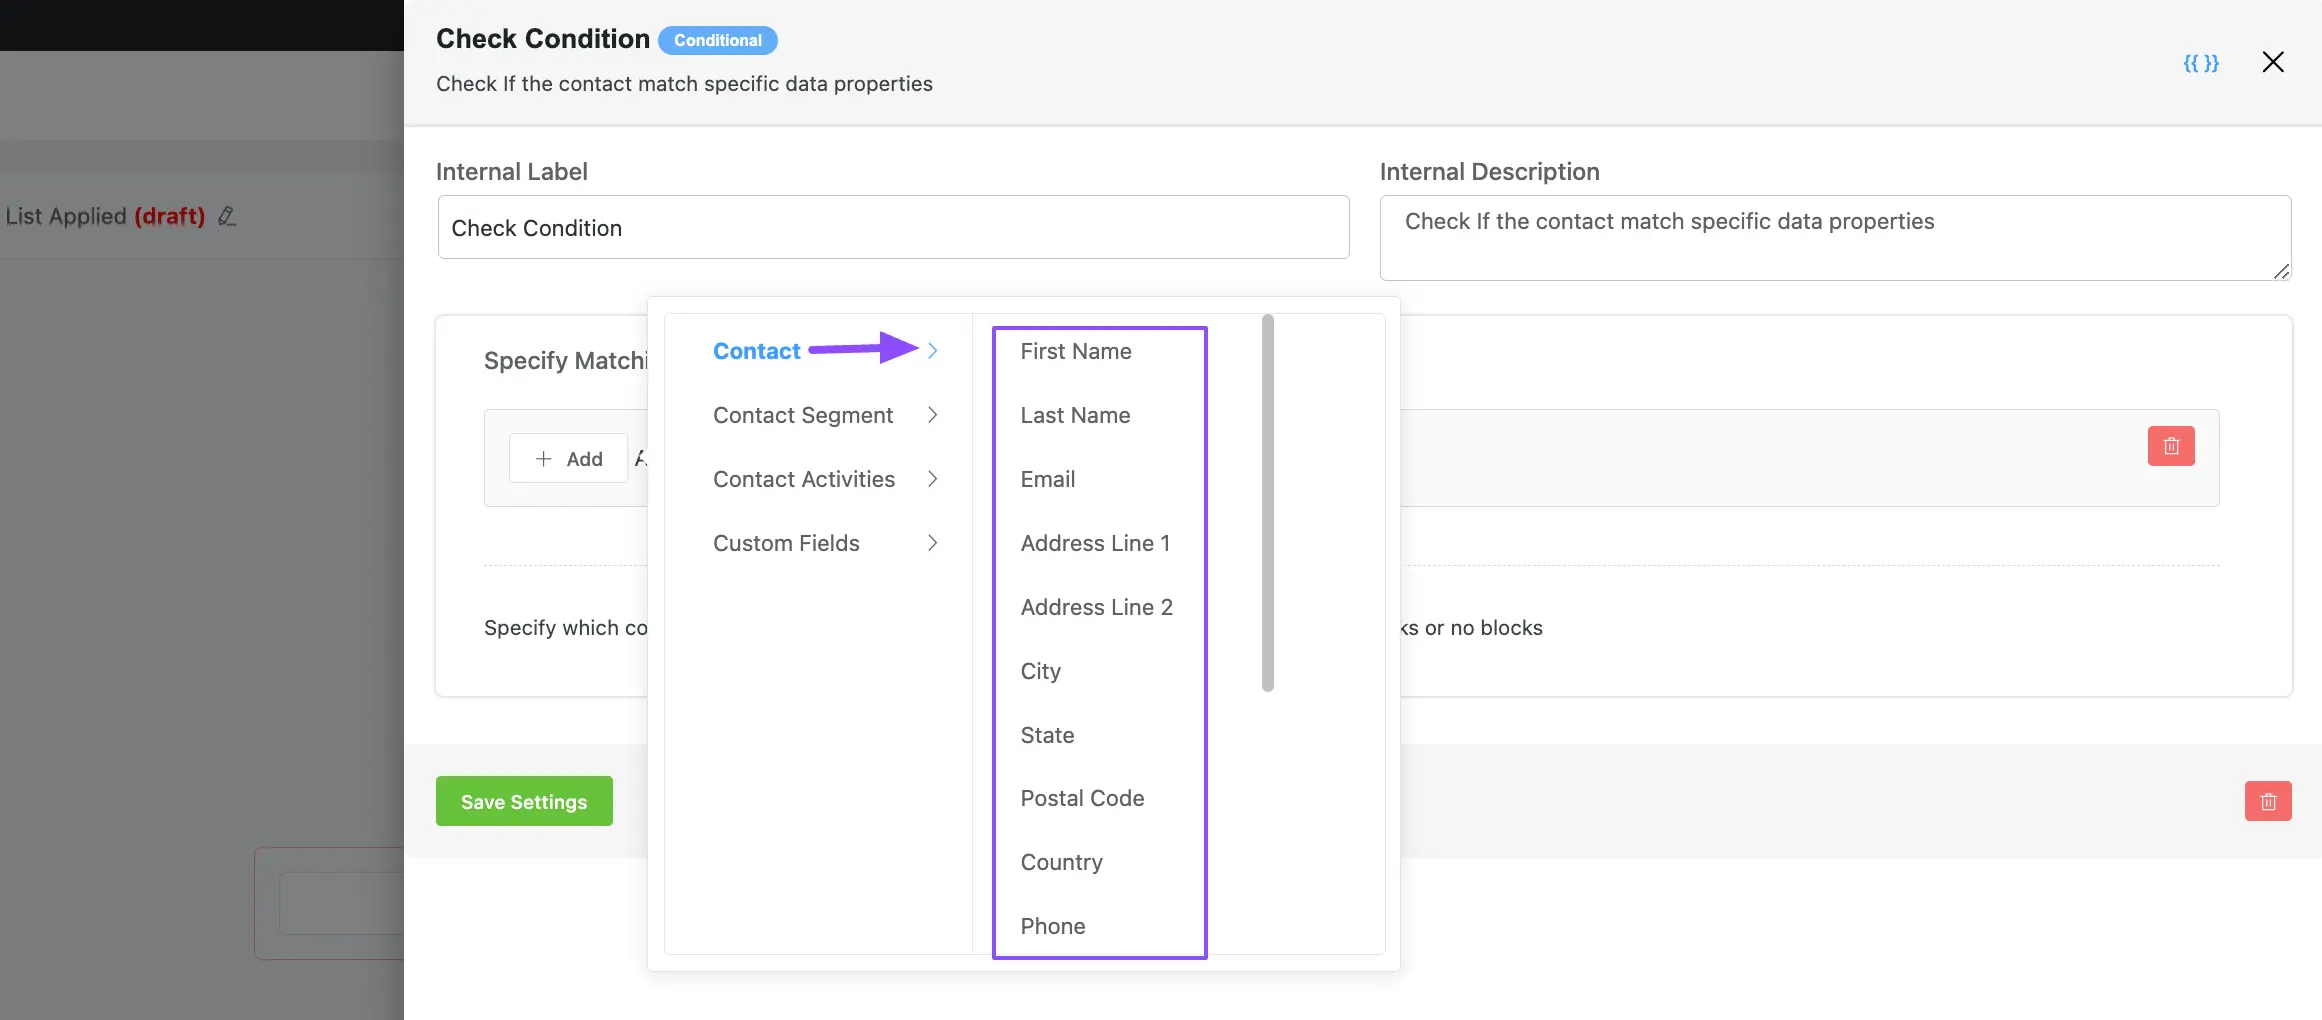
1. Contact #
Here you will get a wide range of Options based on the Contact property to set the desired Parameter for your condition. These are:
- First Name
- Last Name
- Address Line 1
- Address Line 2
- City
- Status
- Postal Code
- Country
- Phone
- WP User ID
- Type
- Name Prefix (Title)
- Date of Birth
- Last Activity
- Created At
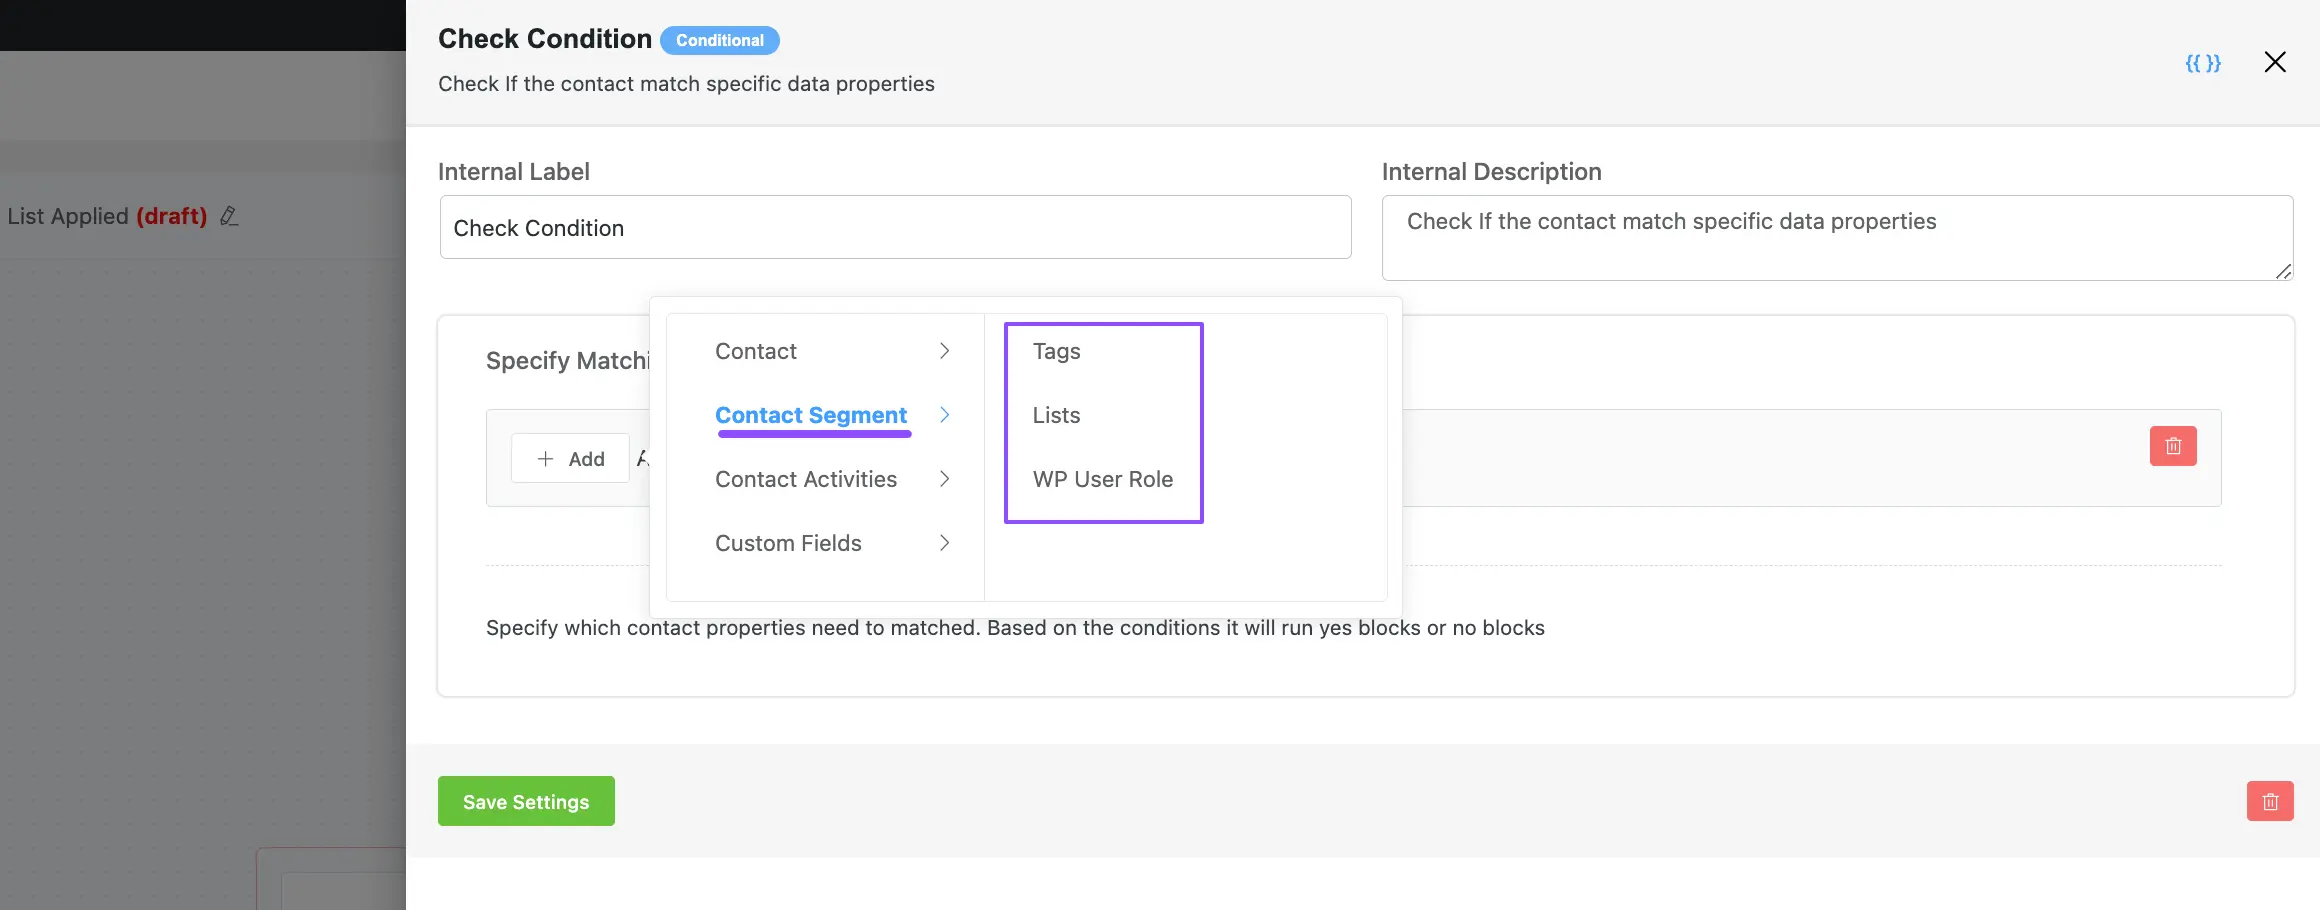
2. Contact Segment #
Here you will get the Options based on the Contact Segment property to set the desired Parameter for your condition. These are
- Tags
- Lists
- WP User Role
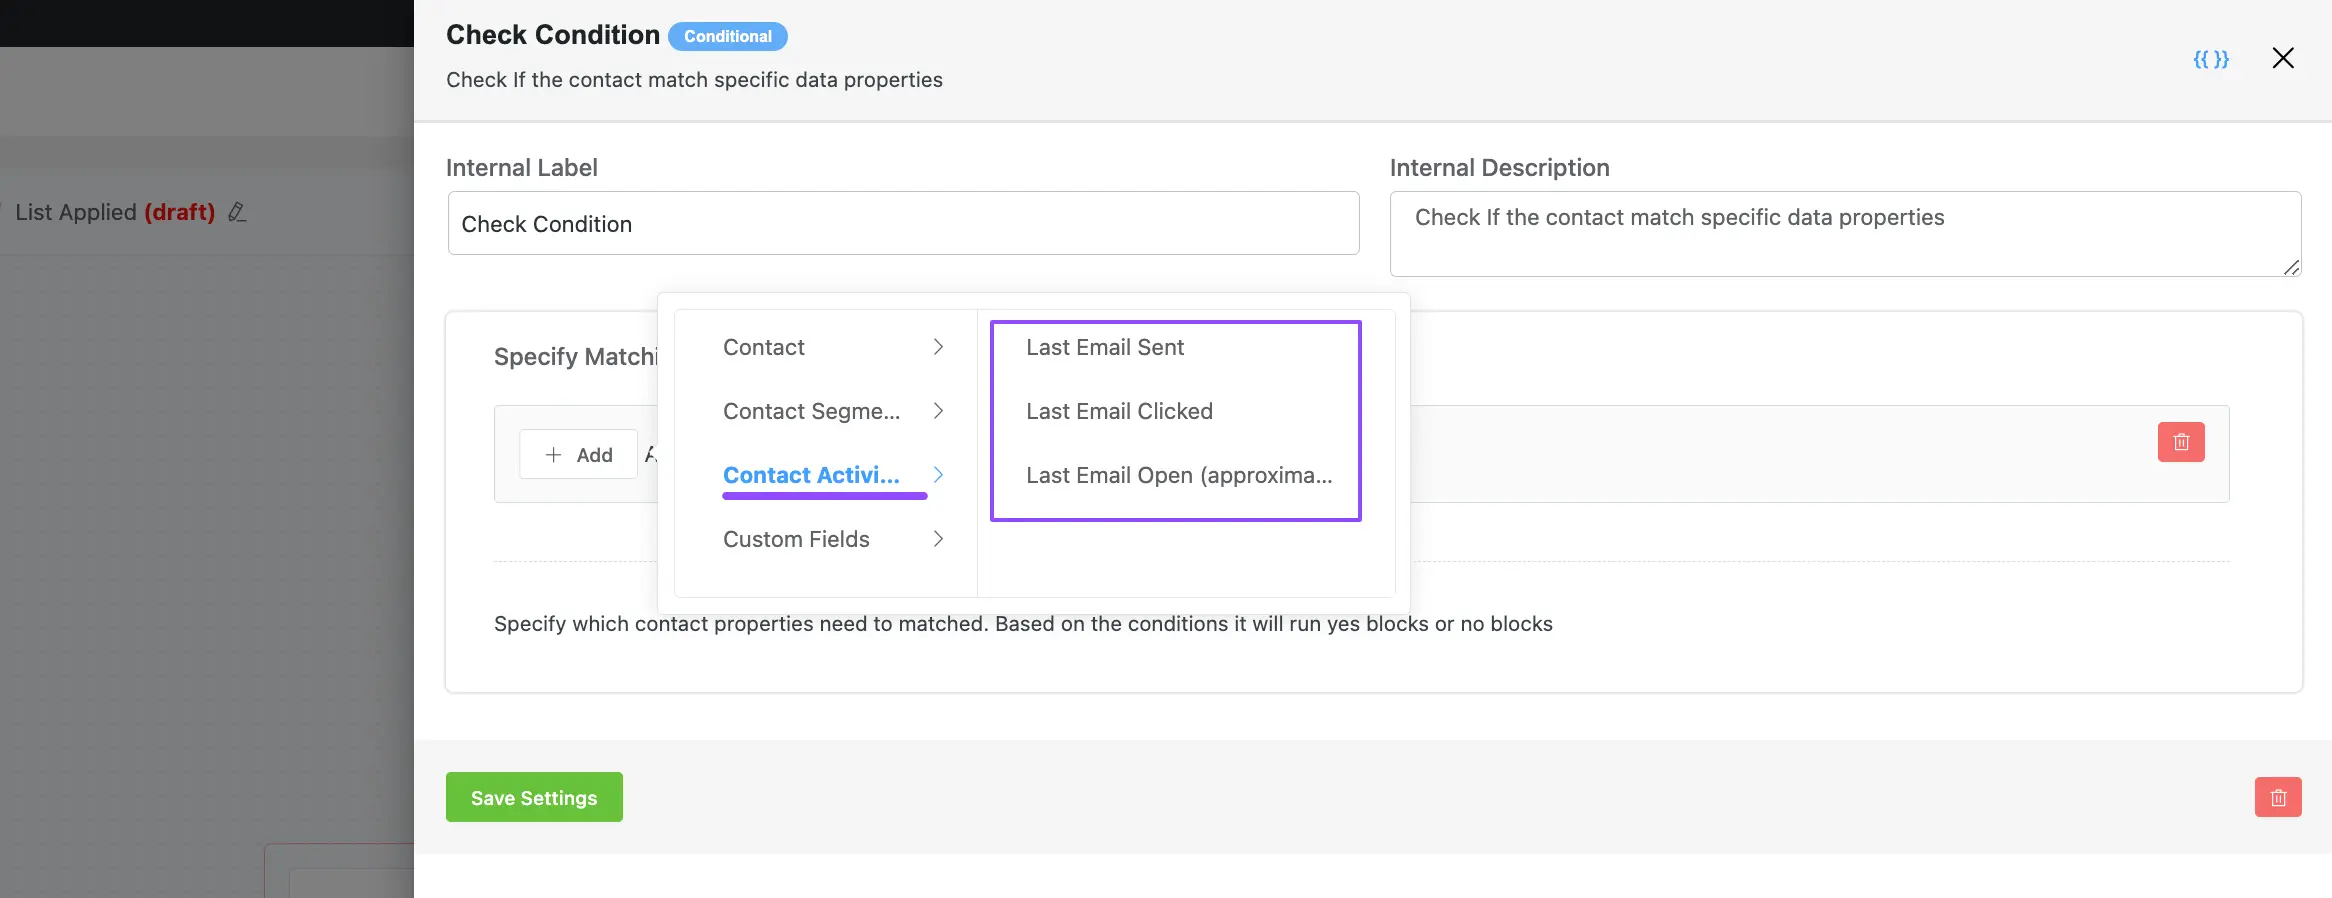
3. Contact Activities #
Here you will get the Options based on the Contact Activities property to set the desired Parameter for your condition. These are
- Last Email Sent
- Last Email Clicked
- Last Email Open (approximately)
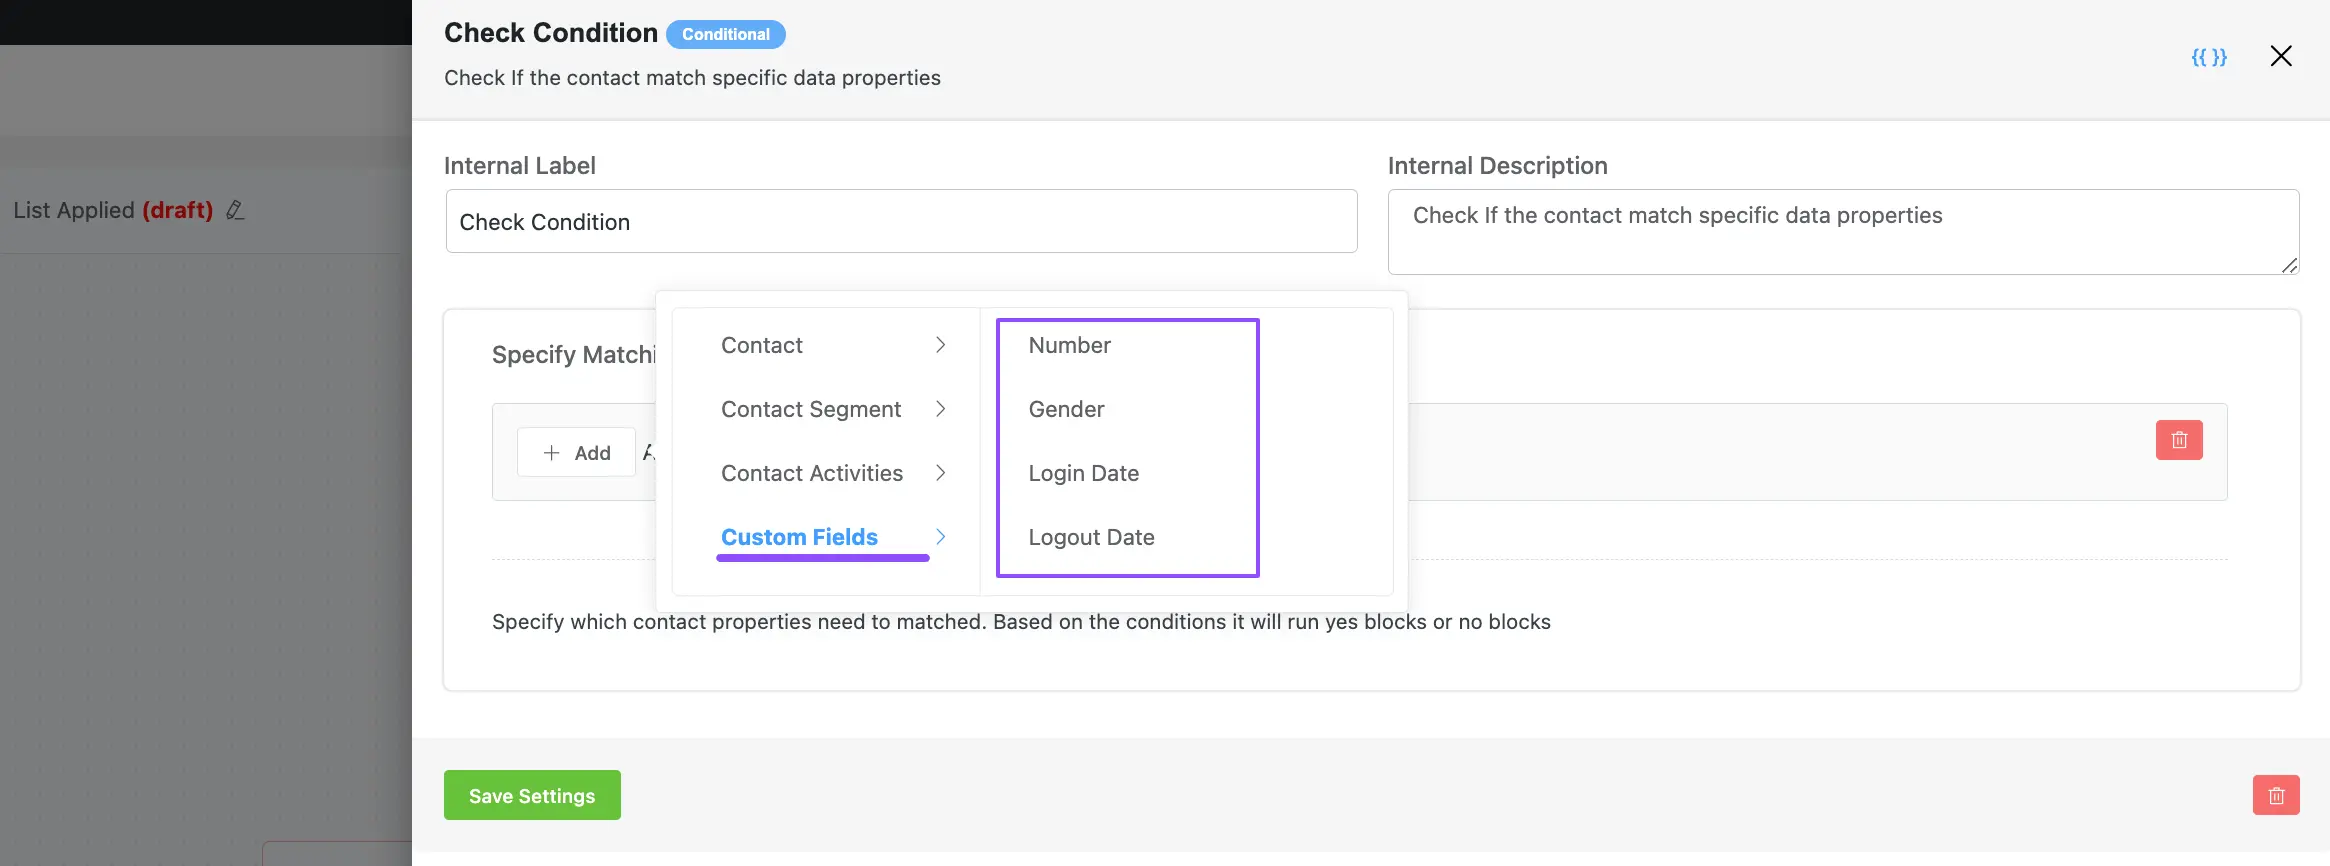
4. Custom Fields #
Here you will get the Options based on all the Custom Fields you have in your mainflow to set the desired Parameter for your condition. These are
Such as I had the following custom fields added to my FluentCRM:
- Number
- Gender
- Login Date
- Logout Date
Setting Condition/s #
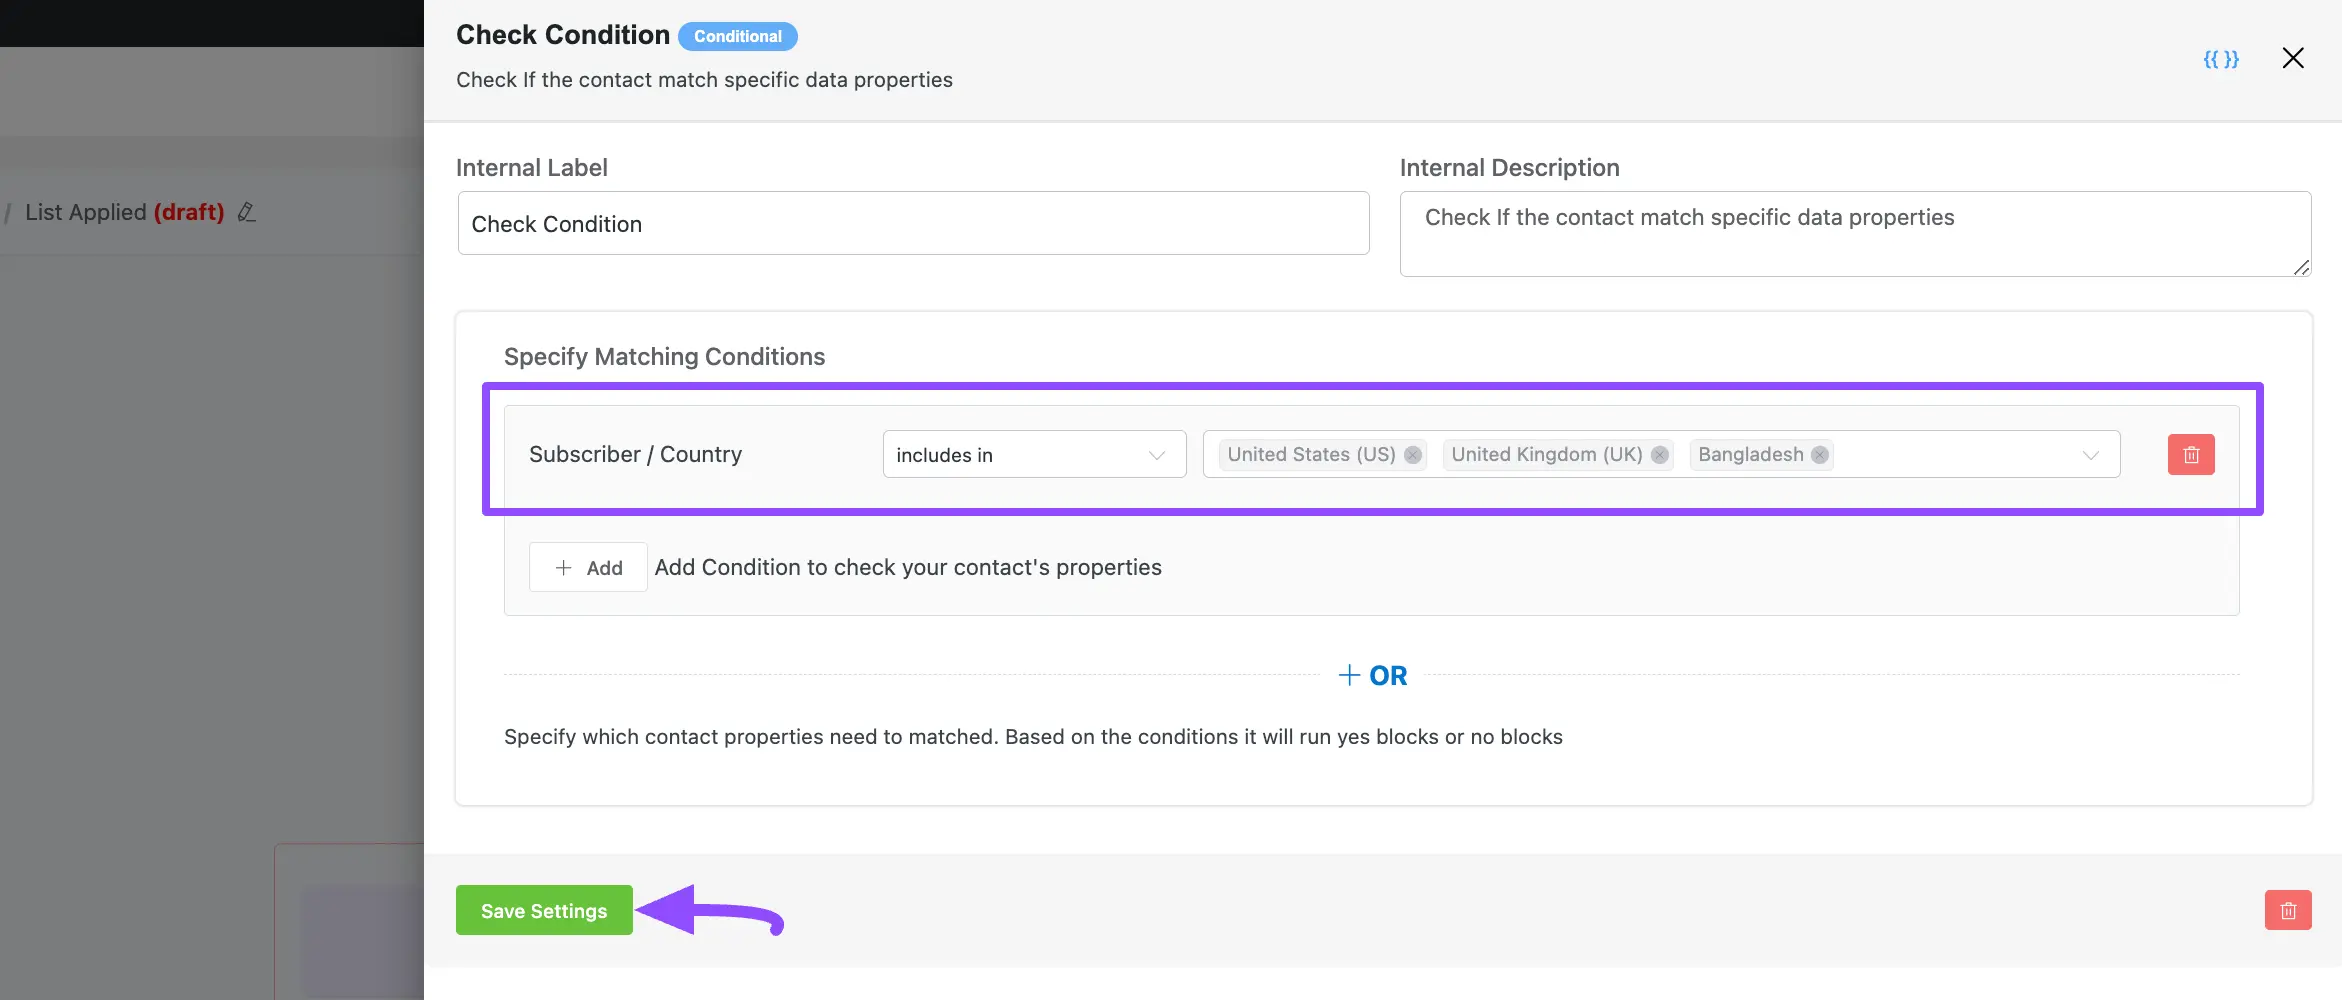
Once you select your desired Parameter (First Field), you will get the Options to select the Operator (Middle Field) and Value/s (Last Field) based on the selected Parameter.
Remember, the selected parameter will trigger the action only if the condition is met.
For example, I chose “Country” from the Contact property as a Parameter, the “includes in” as an Operator, and entered the “US”, “UK”, and “Bangladesh” as the respective Values. As a result, only subscribers from the US, UK, or Bangladesh will trigger the conditional actions.
Do not forget to click the Save Settings button after setting the Condtiion/s.
Setting Conditional Actions #
Once you set the desired condion/s, it is time to set Actions under that condition.
You can see, in the automation funnel, there are two paths for setting actions. These are:
- No: The action you will add under this path will run when the contacts do not meet the condition/s.
- Yes: The action you will add under this path will run when the contacts meet the condition/s.
In a condition, you can add as many actions as you need by clicking the + Add Action button.

Finally, when you are done, enable the Publish toggle to make the full automation funnel functional. Otherwise, it will remain as a draft.
Also, to add more conditions or actions, always click the Plus icon.

If you have any further questions, concerns, or suggestions, please do not hesitate to contact our support team. Thank you.


