The Mainflow platform holds 3 sections: Marketing & Sales, Service & Support and Business Automation. In total, the 3 sections hold 15 powerful apps, all designed to help you grow and scale your business
An introduction to Mainflow
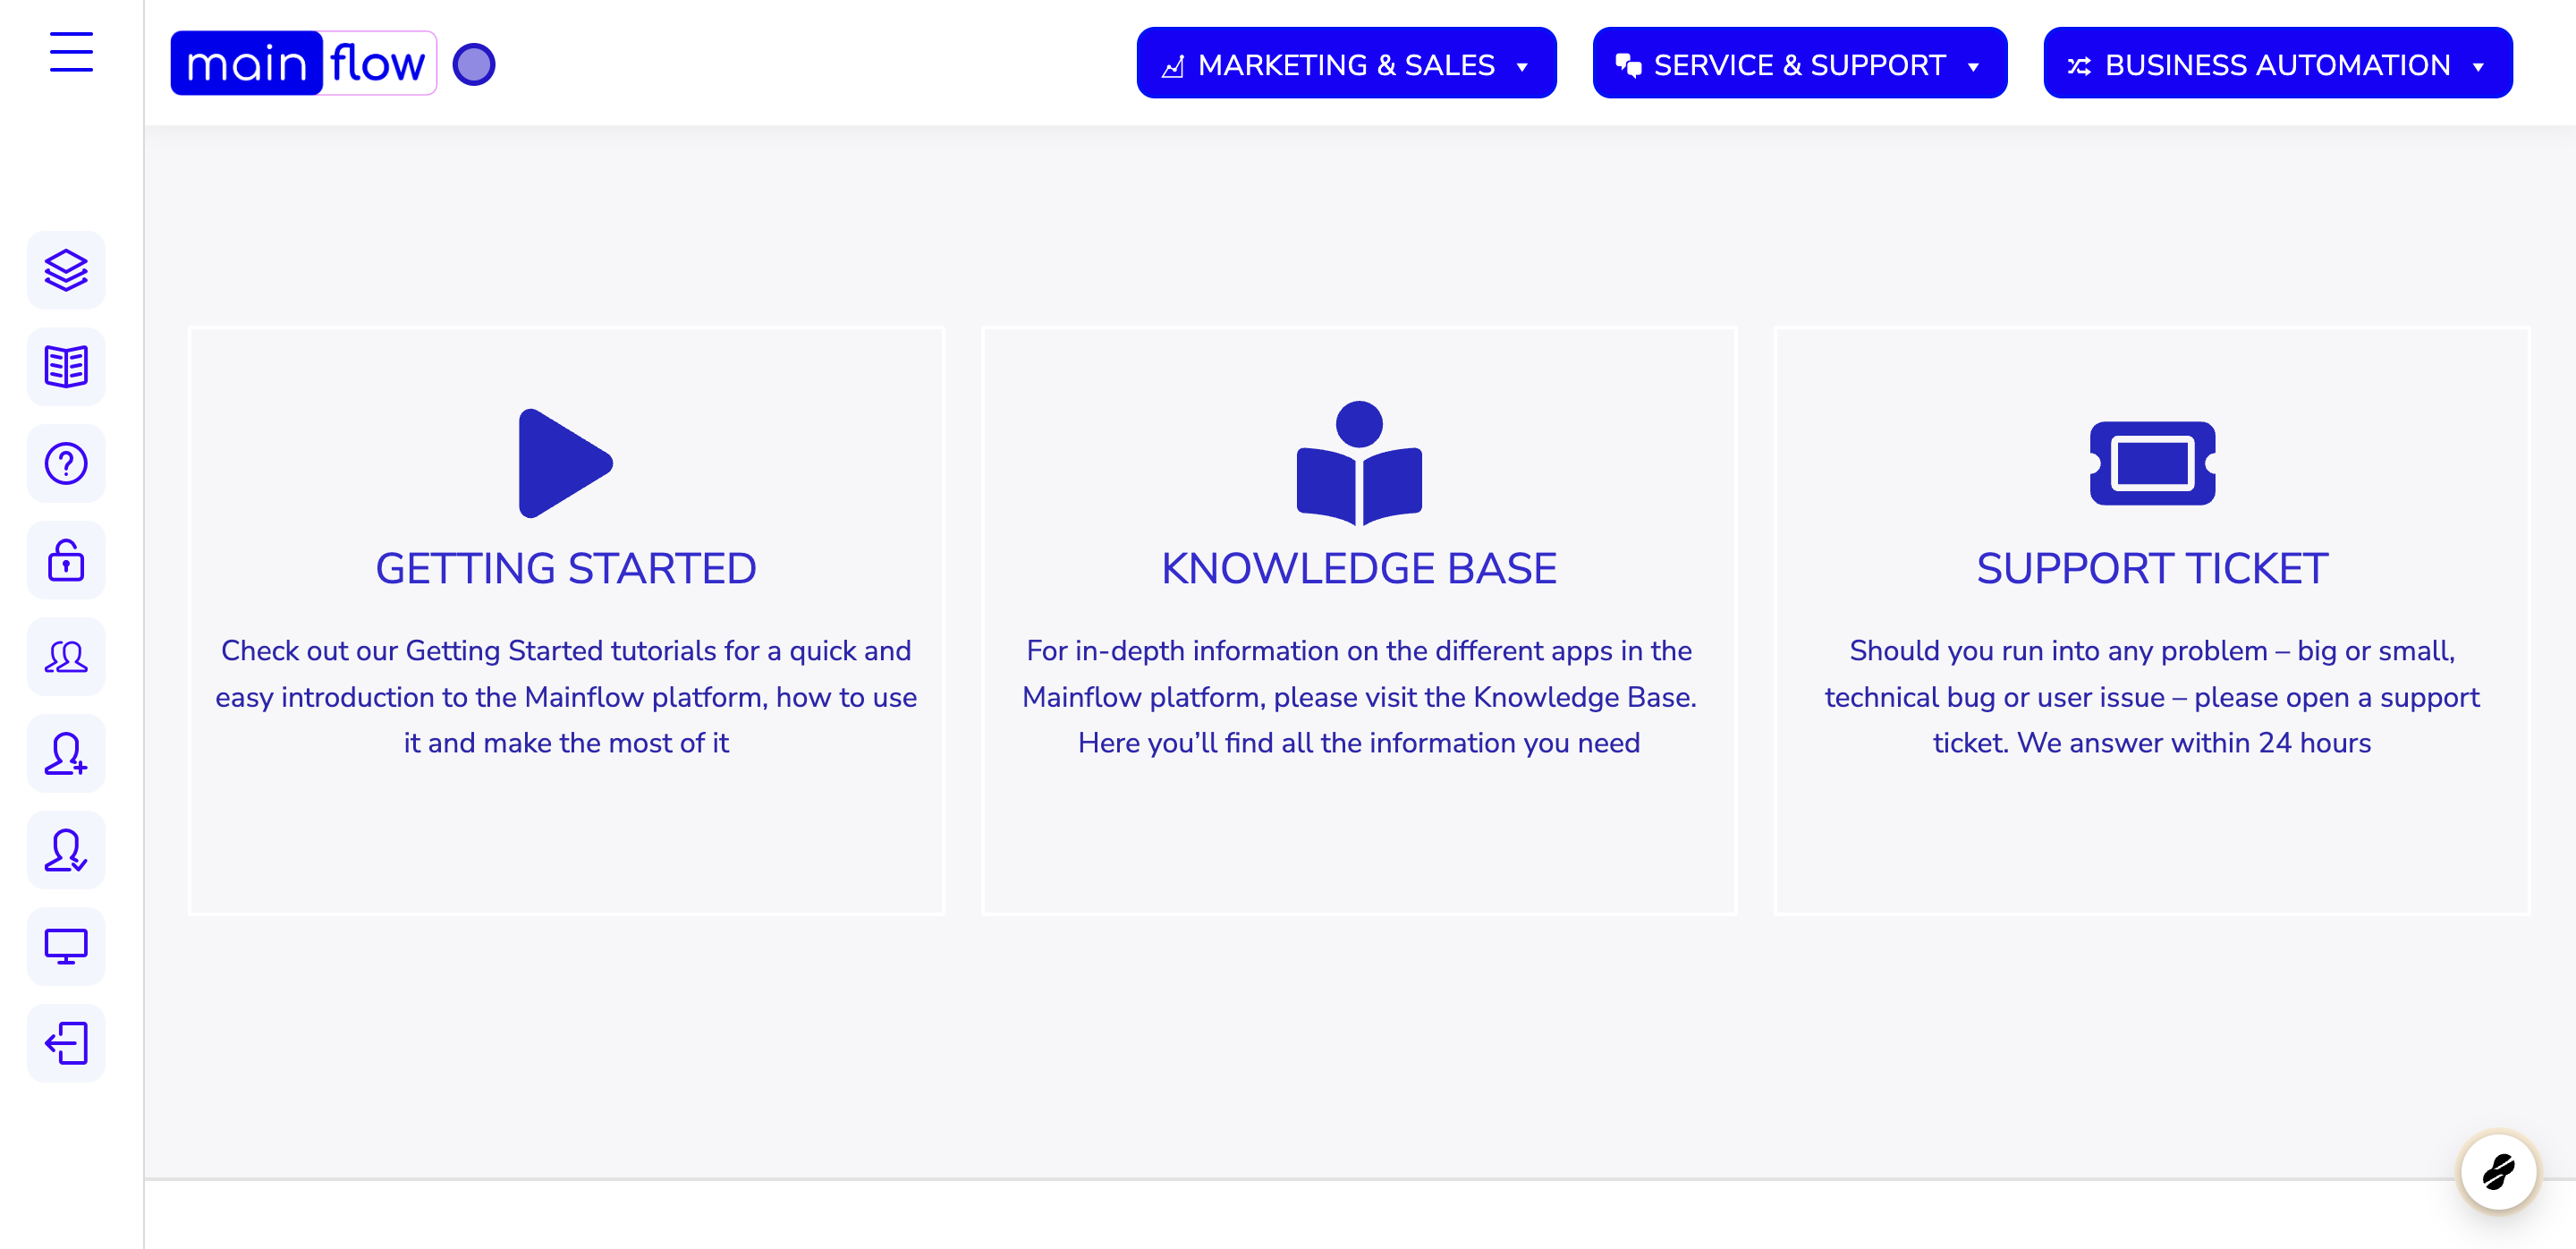
1. The Mainflow Dashboard
Inside the Dashboard, you have easy access to all the controls of your Mainflow platform. Simply hover over any menu item and you’ll see the various apps. Right in front of you there’s also help right at your fingertips – just click through to Getting Started articles, the Knowledge Base or create a Support Ticket if you need help.
2. The MARKETING & SALES plan
The Marketing & Sales plan holds 6 apps that work in combination and are all designed to help you grow your business. The CRM inbound app is an email marketing automation app, the CRM outbound app is a sales pipeline, The SO-ME Publisher is for creating brand awareness on social media on autopilot, Landing Pages is for creating beautiful, engaging and high-converting landing page for your products or services, the SEO app is for optimizing your landing pages for free organic traffic and the Analytics app is to help you analyze how your marketing and sales efforts are working. Everything is right there, at your fingertips.

3. The SERVICE & SUPPORT plan
The Service & Support plan holds 3 apps, the Knowledge Base app, the Live Chat app and the Support Tickets app. These apps will help your service organization take care of your customer’s requests in the most professional and efficient way,

4. The BUSINESS AUTOMATION plan
The Business Automation plan has 6 apps, all designed to work together to support you in automating your business as much as possible. As with anything on the Mainflow platform, it’s important to remember that everything is drag and drop, also when speaking of automating complex business processes. The Form Designer app is essentially your data capture functionality, i.e. where your customers or users input their data. This data can then be processed in a structured and automated way using the Workflow app. In many cases, your customers will request a self-service capability and that’s exactly what the Customer Portals app is for: With this, you can create customer portals and let your customers enter, update and maintain their own information, and even let the Customer Portal be part of the automated workflow. For great reporting on your business processes, we have the Data Manager app and if you deploy the features of the E-Signature app, you can even generate contracts and send them on for e-signature in an automated workflow.

5. Admin functionality
In the left side menu you’ll find all the Mainflow admin functionality: Your Account settings for upgrading/downgrading, Access to the Knowledge Base, creating a Support Ticket, granting Support Access to your Mainflow application, a User Overview of all users on your Mainflow application, Adding New Users, managing User Access, and your Mainflow Intranet portal.

6. The Account area
Inside the Account area, you can manage your Mainflow account. This means that you can up- or downgrade your plan according to your needs, you can see your billing history and you can also set a custom domain for your Mainflow application. By doing so, you can use your own domain for your Mainflow application and Mainflow built landing pages.

7. Click on KNOWLEDGE BASE

8. Click on SUPPORT TICKET

9. Click on Create a New Ticket

10. Click on SUPPORT ACCESS

11. Click on Create New

12. Click on USER OVERVIEW

13. Click on Add New User

14. Click on Add New User

15. Click on USER ACCESS

16. Click on Add Restriction

17. Click on highlight

18. Click on highlight

19. Click on INTRANET

20. Click on highlight
